
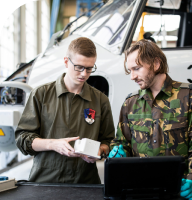


This year I had the great fortune to work with the Pennsylvania Museum of Archaeology and Anthropology at the University of Pennsylvania in Philadelphia. This was my first year at Charter High School for Architecture and Design(CHAD), as I had been hired that summer as a Design teacher.
3D printing artifacts from the Penn Museum
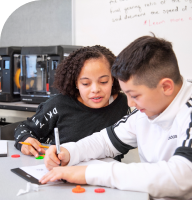
The chance to hold a 3D printed historical artifact in our hands is one of the greatest ways to boost students' engagement with science, engineering, design, and culture. Christopher Sweeney is here to share his experience on how challenging and exciting it can really be.
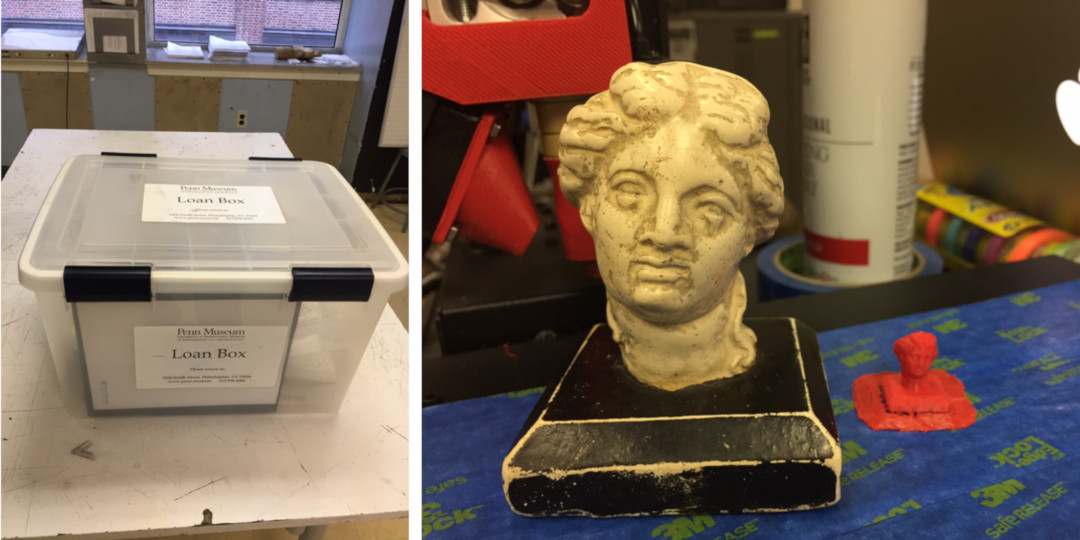
I had wanted to work with the Penn Museum as my own personal scanning and 3D printing were leaning in that direction. In addition, I wanted my new students to engage themselves and learn about history, art, design, and culture through the Penn Museums’ artifacts, both in the museum, and through the Loan Boxes we used to scan the materials. So I reached out to their Learning Programs department and worked with their Outreach Programs Manager, Allyson Mitchell, as well as others in her department. After speaking with Allyson and her colleagues, we decided to try a pilot program where CHAD students and myself would scan and 3D print the artifacts from the Greek/Roman and African collections and then use these scans in class, with Penn retaining the rights and CHAD students using these designs in their Design class. Penn would eventually put these files, in STL file format, on their website so that any educational facility, individual, or educator would be able to download our scans and use them in an educational setting.
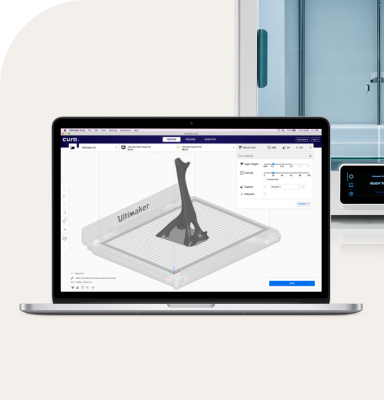
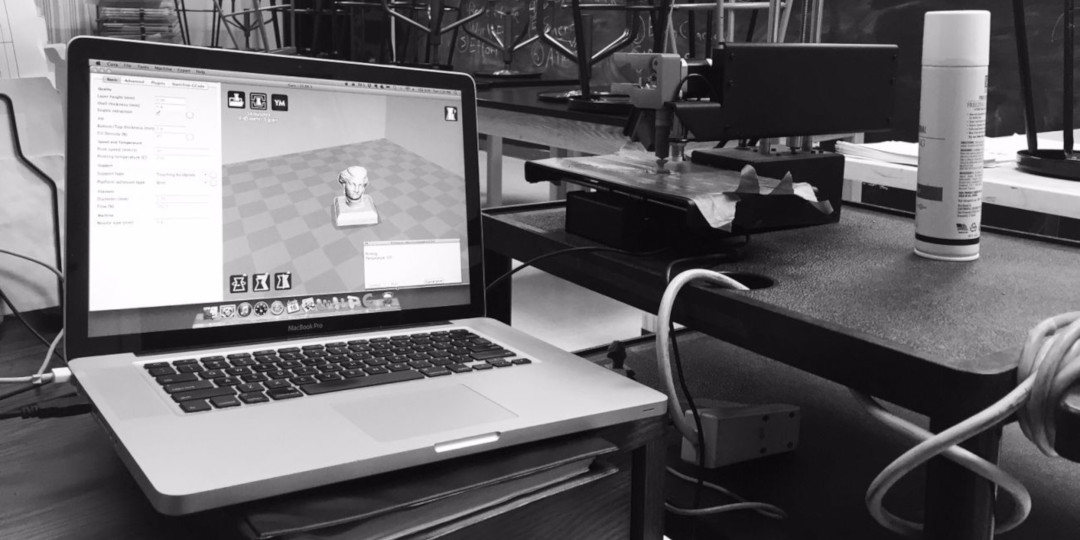
The software we used to process and fix the scans was all freeware provided by Autodesk. We used 123D Catch to scan the objects with our cell phones, and then used Meshmixer to fix and repair scans as needed. Finally, we used Cura to slice the files for printing, and printed the models using a Printrbot Simple Metal printer in a variety of ColorFabb materials such as bronze and bamboo.
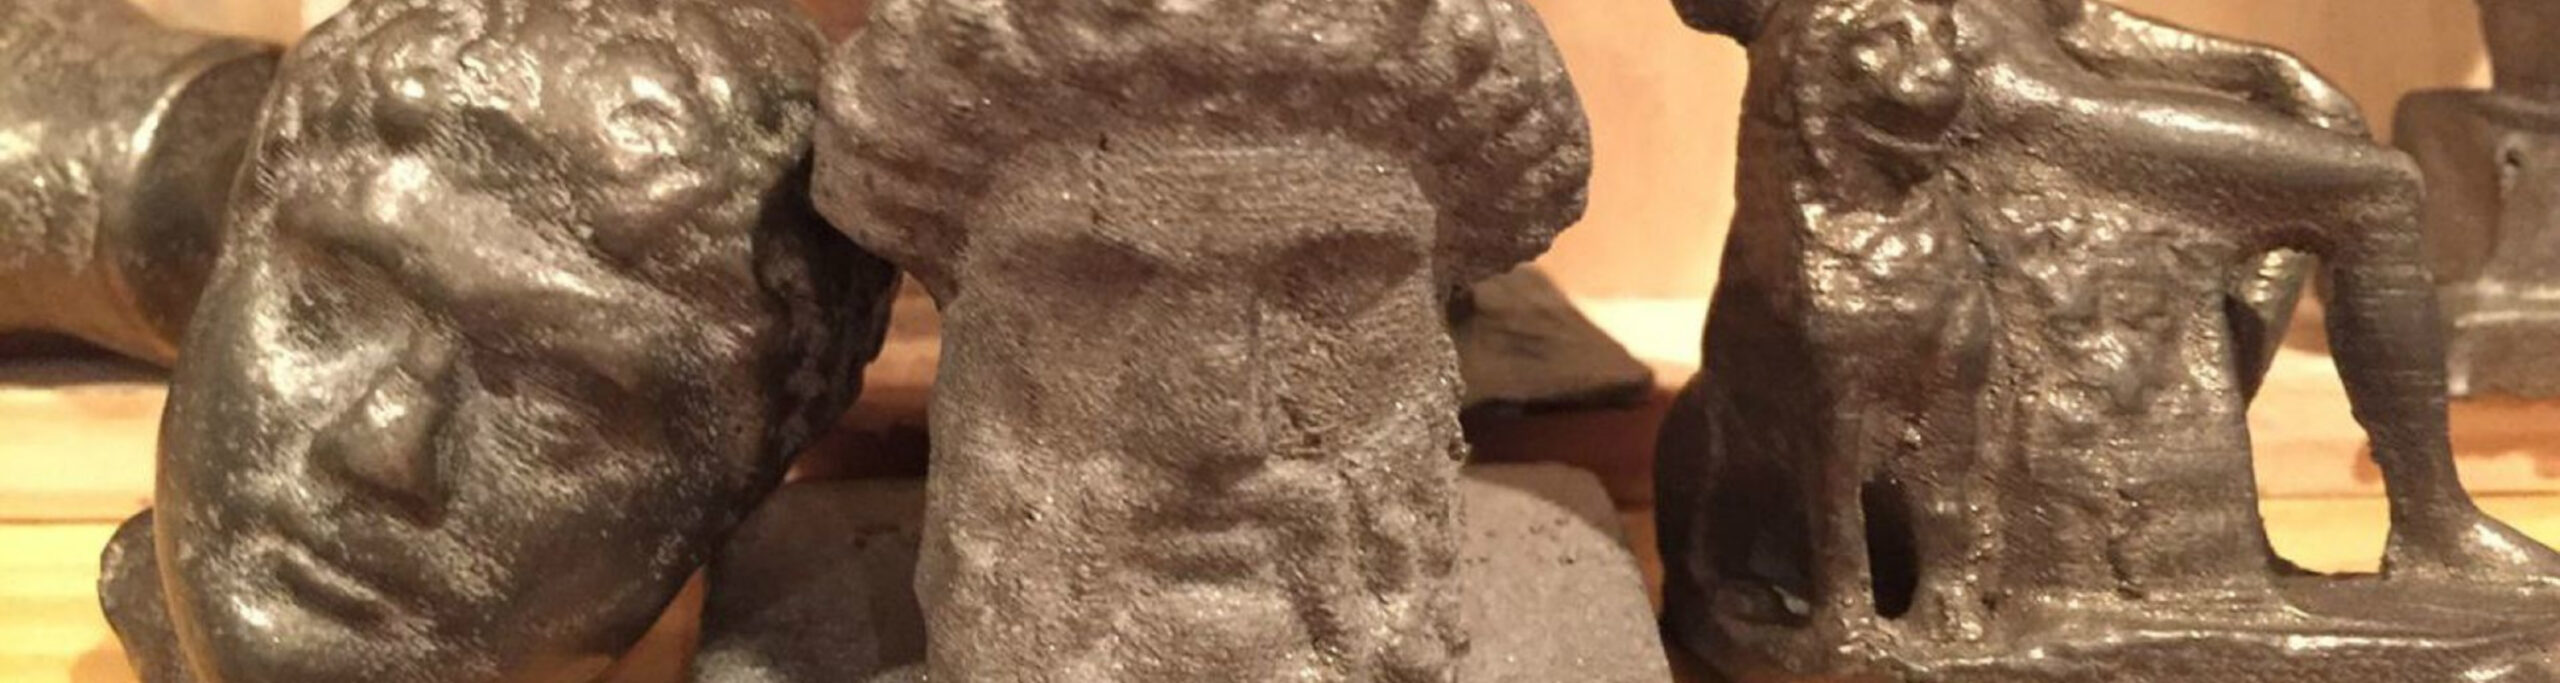
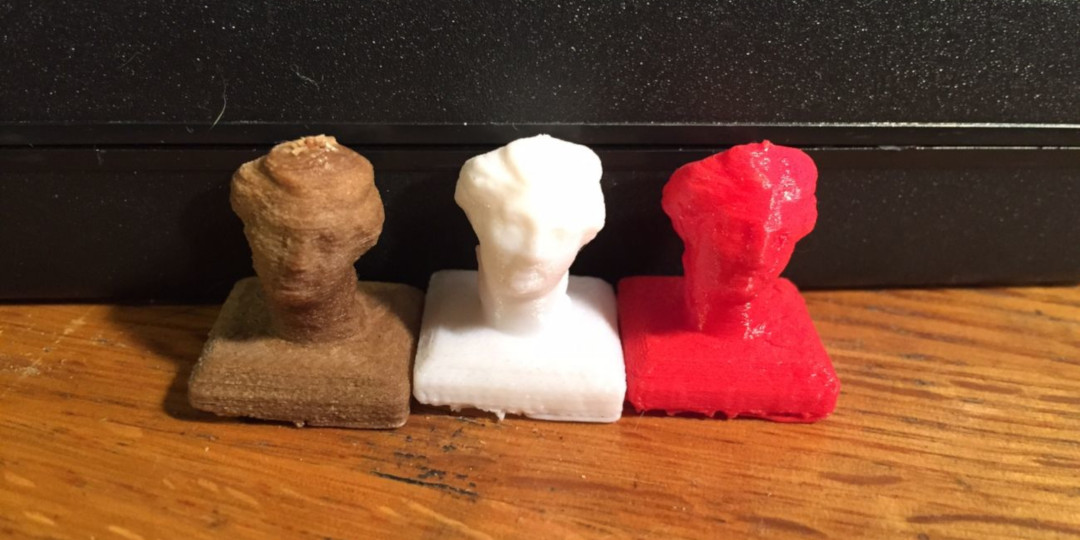
We had the chance to scan and print artifacts from the Greek, Roman, and African collections of the museum. Of all of the artifacts (both in the Loan Box, and in the museum), by far the most interesting and popular one in our class was the Head of Aphrodite. This artifact pre-dates the birth of Christ, and was one of our first very successful scans. We ended up printing the scan using ColorFabb bamboo, bronze, and wood. Penn was given the bronze scan for their collection, which was printed in solid 100% infill to replicate a real cast bronze statue. Most other prints were printed with 20-25% infill for cost purposes.
We scanned and printed the majority of the objects in both Loan Boxes we borrowed: Greek/Roman in the Fall/Winter, and African in the Spring. However, not all were printed because of time constraints with the class and 3D Printing Club that were working on the pilot project.
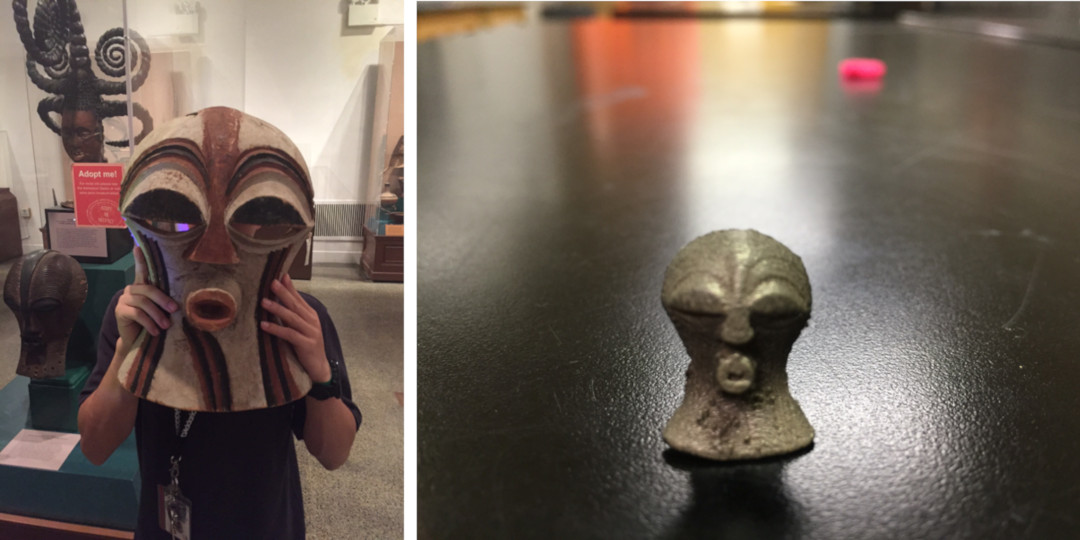
My students also had the chance to go on two field trips to coincide with their learning of 3D printing technology to enhance their learning of ancient designs, culture, and history of the artifacts that they were working with in the class and in the field. Below is an example of an African mask that we scanned, and the resulting 3D print in bronze.
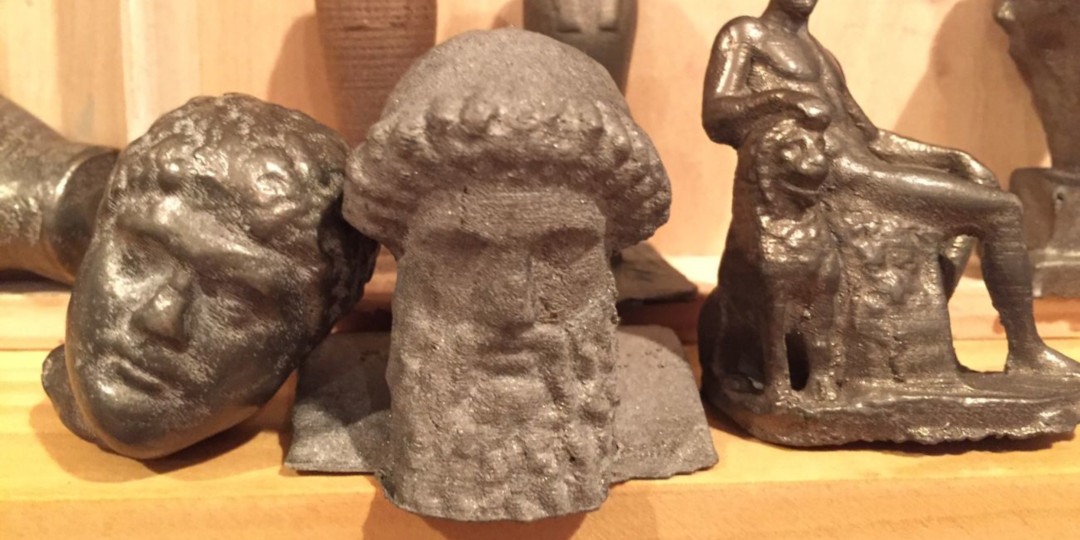
The Autodesk 123D Catch app is very good at creating scans with non-optimal settings. We found that we could actually scan through display glass, as well as at weird angles and in less-than-perfect lighting conditions in the gallery. Below are some other items we scanned and printed from the Roman and Egyptian galleries, taken on multiple visits throughout the year. In the images, you can see the original artifacts as well as the finished 3D printed products.

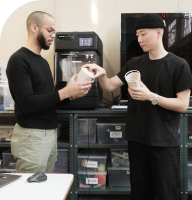
Post-processing of the prints was mostly done by myself in my studio, using rock tumblers that I have in my workspace. Hand sanding with various grit sandpapers is a good start, but for optimal sheen and brilliance I use the tumblers.
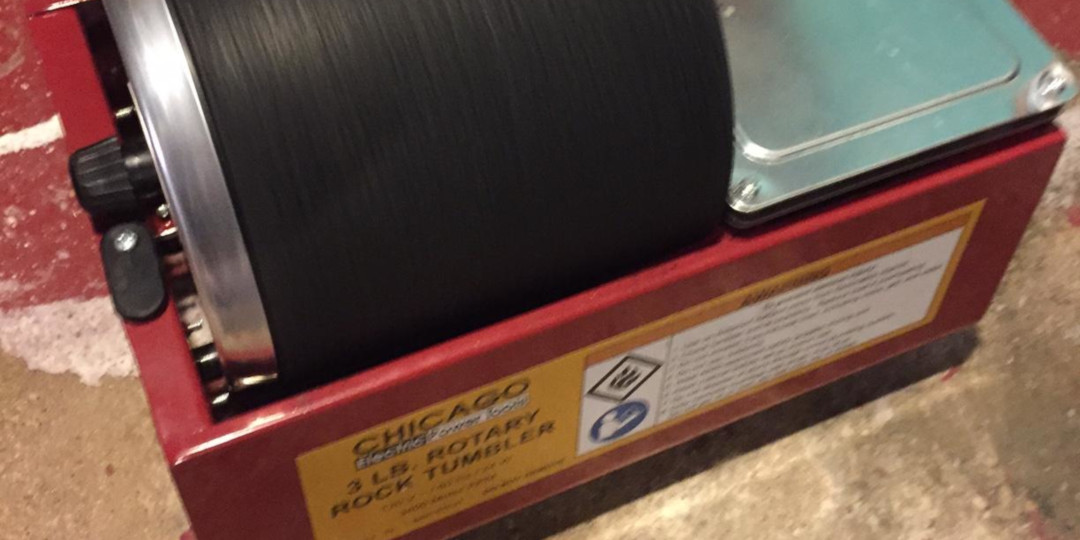
For most prints I use inexpensive tumblers from Harbor Freight as well as a larger one for bigger pieces. I also use the larger one for shaking the initial pieces of support material off of the models.
The tumblers are more efficient than hand sanding as long as you use the correct media for the kind of patina or coating you want on your print. The media I use in the larger tumbler is Rust-Cutting Resin. For the smaller rock tumbler, which I use more frequently, I use brass wood screws of various sizes and shapes to create a gloss on the finished pieces. Before I use either tumbler, I sand the models with about five different grits of sandpaper, usually starting with 150-200 grit paper and finishing with a 1500 grit paper, depending on the print.
This pilot program has been an overwhelming success, for CHAD, Penn Museum, and most importantly, for the students and myself. It is a real joy to be able to scan and repair a design using great freeware and ancient authentic artifacts, and then to use those design files to make 3D printed objects and digital replicas that students and educators all around the world can access. It has been one of the highlights of my career as an art and design educator. I am looking forward working with my students and Penn this year to expand our relationship and continue 3D scanning and printing, and making the Penn Museum collection come alive to the world.