Last week we covered how pioneer Wendy Aracich received a grant to set up the Mobile MakerSpace at Georgia Connections Academy, a virtual charter school in Georgia. This week, she shares her story about purchasing equipment and training teachers.
So what exactly does a Mobile MakerSpace look like? That's the question I had to ask myself once I began the project of bringing 3D printing technology to virtual students. When we started this project, we knew we needed something that would be easy to transport and we also wanted a variety of printers that could be used by students and teachers of all levels. We also knew we would need a way to store and transport the equipment.
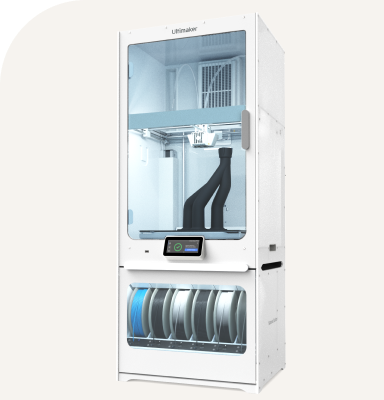
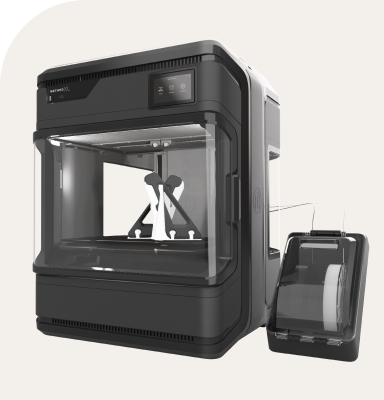
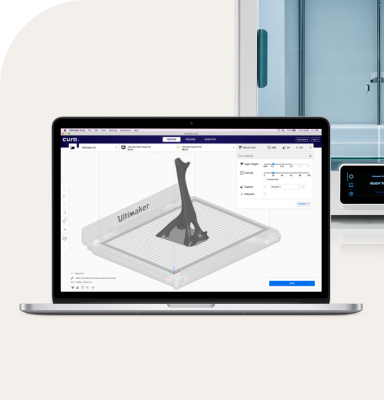
Our original printer was a MakerBot Replicator 5, which we won back in 2015. We've been using this printer for all of our school projects so far, and I have even traveled with it to area conferences to demonstrate what our school has been doing with the program. While the MakerBot can be buggy at times, it has served us well over the past few years and is fairly easy to transport. To expand our MakerSpace, we purchased four MP Select Mini V2 3D printers. I love MP Mini because it’s easy to use and I have found it to be less intimidating for beginners. Plus, the small size makes it perfect for transport. While the MP Minis are great, I also wanted to have a printer that could accommodate larger and more complex projects. For this, we purchased an Ultimaker 2+.
The Ultimaker 2+ is reserved for our more advanced students and will not travel as much as the smaller printers. Teachers will also be able to use the Ultimaker 2+ to print classroom aids and manipulatives. In addition to the printers, we purchased filament in every color of the rainbow, as well as five 3D pens, which will be used for smaller projects as well as with our younger students.
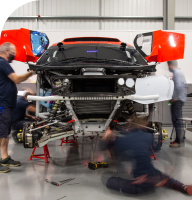
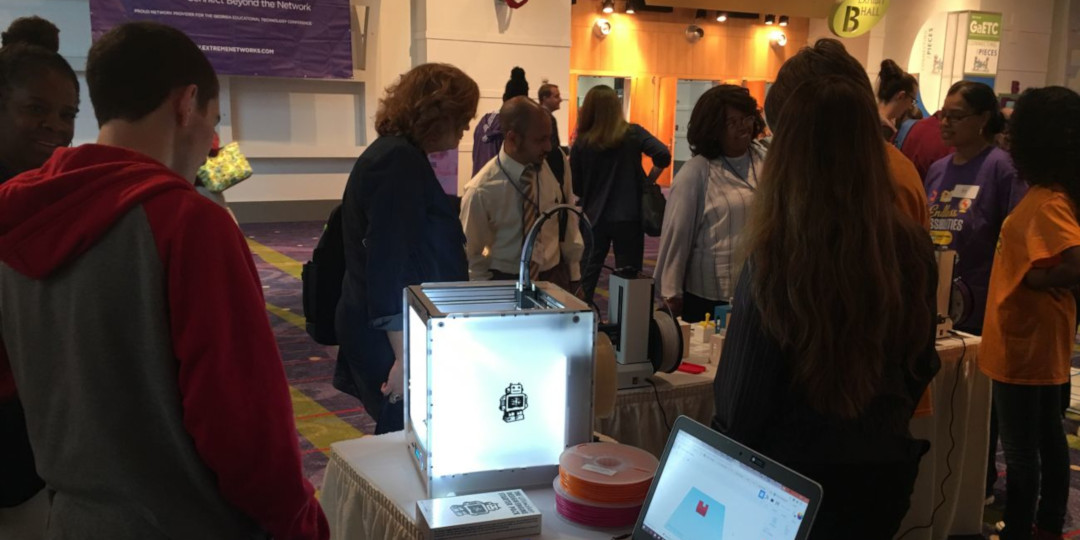
Georgia Connections Academy students recently took the Mobile MakerSpace on the road to the Georgia Educational Technology Conference, where they demonstrated for educators how we use 3D printing in a virtual high school.
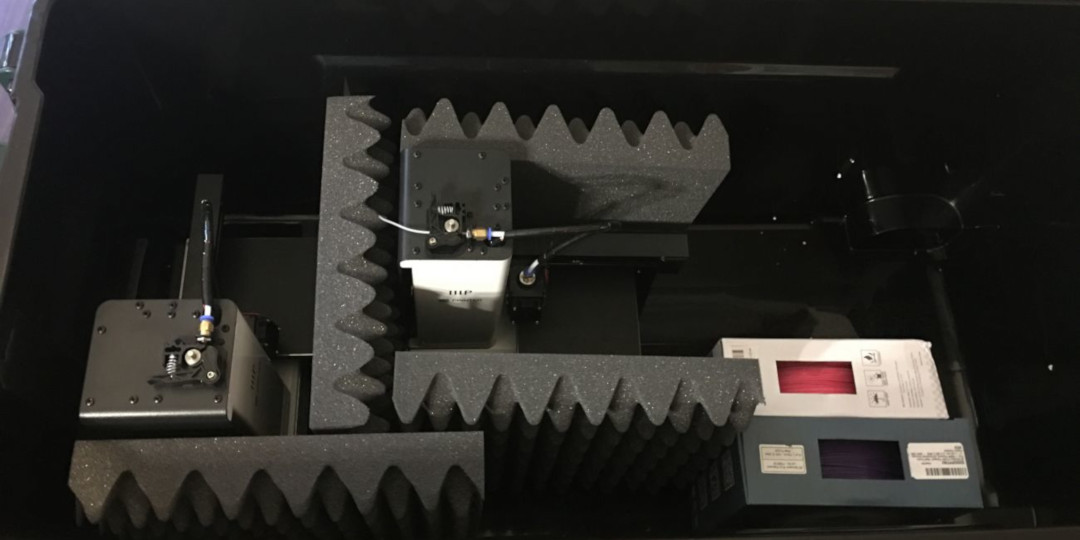
To make our equipment truly mobile, we purchased two sets of rolling storage containers — specifically, the Remington 2-Piece Heavy Duty Rolling Storage Trunk Set, which I found on Amazon. (The price is currently $115 for a set of two, but I have found that the price tends to fluctuate a lot; I was able to get ours for $58 for the pair.) These storage containers are large enough that we can fit at least two printers along with spools of filament in each bin. We use saved styrofoam packing materials to pack everything in securely for transportation. I have also built binders that go in each bin, which contain manuals for the printers, including easy visual guides, and lesson resources.
Once our equipment purchases were made, we had to start thinking about how we would implement and utilize the Mobile MakerSpace. A big goal of this project was to get teachers from all subject areas involved, because so far, I have been the only teacher to utilize 3D printing in our curriculum. I have found that many of our teachers were receptive to 3D printing, but just did not know where to start or how to incorporate it into their classes.
Containers can fit up to 3 small printers or one larger printer, along with filament rolls and supplies. Foam soundproofing material is added to the containers to ensure everything is packed in tight and securely for transport.
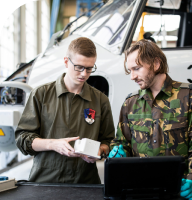
I began by offering training to our teachers that allows them to become “3D Printing Certified.” Once they earn this designation, they are able to check-out the printers for use in lessons. During the training, we talk about ideas and ways that printing can be utilized, and each teacher gets to load and unload filament and print a small model to help them get more comfortable with the 3D printing process. Once a teacher completes the initial certification training, I meet with them individually to discuss ideas and planning specific to their subject area. Once a teacher is ready to use the equipment, they are able to take the printers on the road to an in-person workshop (called “G-labs” at our school), or use the printers in live video lessons that students can access virtually. I was encouraged that the entire Science department and about half of the English department signed up right away to be trained. Teachers are currently working on ways to build 3D printing into their lessons, and I can already see the shift to more project-based learning occurring as a result.
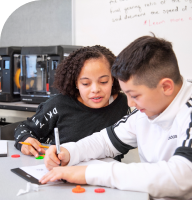
Recently, we started a 3D Printing Innovator’s Club as a way to get student feedback on ideas and to pilot some of our projects with this smaller group. Currently, we have science students working on 3D modeled molecules, graphic design students converting logos designed in Inkscape into 3D models, and photography students using a 3D printed character to create a unique and collaborative photography series.
I am encouraged by the progress we have made so far, but there are still many details we are working to figure out.
How do we prioritize which teachers get to check out the equipment?
Do we limit how long a teacher gets to keep a printer or how many printers they can check out at a time?
How best do we manage student print jobs?
How do we encourage more teachers to use the MakerSpace?
How can we showcase student designs so they can be seen by the whole school?
These are things we are still working out, but our hope is that over the two-year implementation phase of this project, we will develop a solid process for managing and operating a MakerSpace that is truly mobile. Stay tuned!