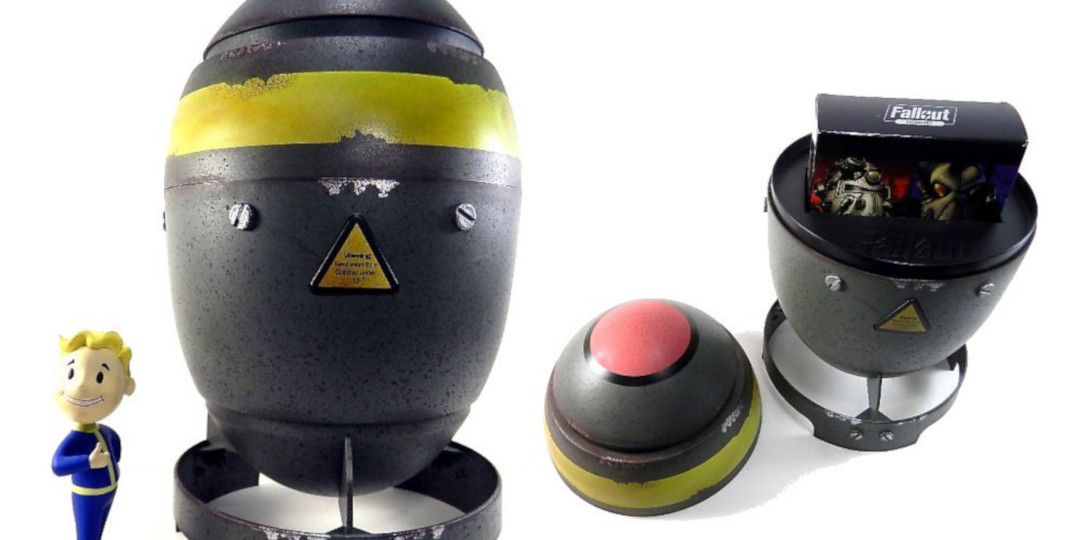
The highly anticipated game from Bethesda, Fallout 4, was slated to be released in November 2015. Gaming sites and online advertisers were hard at work getting the word out. While I was excited for the release of Fallout 4, it wasn’t the Fallout 4 hype that really caught my attention, it was this special edition Fallout anthology pack released around the same time that did.
It wasn’t even the games contained within. What I was really excited about was the packaging design. The games were boxed in a mini nuke case. How appropriately awesome is that? Needless to say – I needed one.
I couldn’t justify buying it just for the package, so I decided to make my own instead! What better way to wait for the release of Fallout 4 than to design my own mini nuke!
Modeling the mini nuke
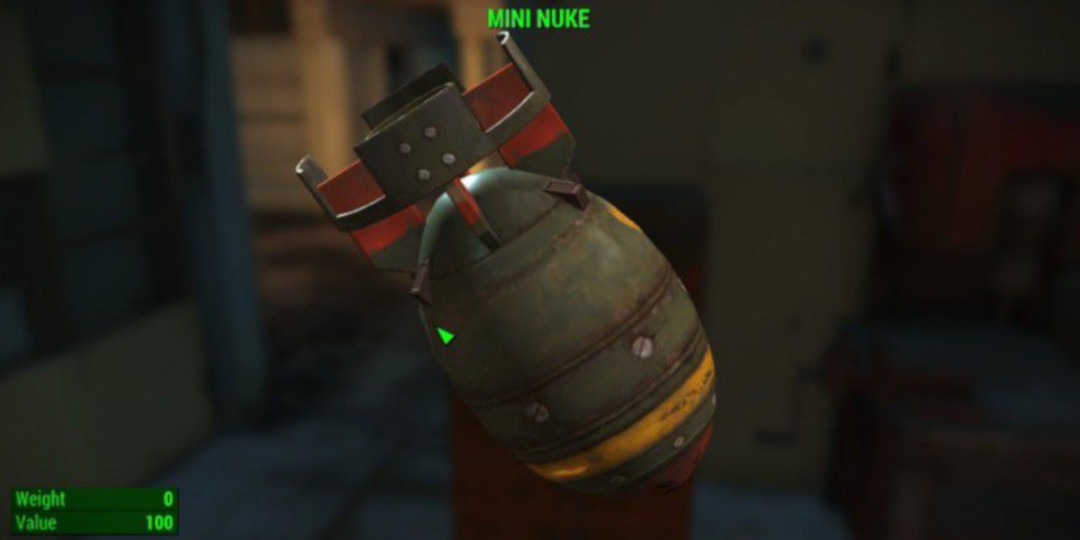
I had a very specific shape, feel and size I wanted for the mini-nuke, and none of the official versions felt totally ‘right’ to me. I knew I wanted something mostly based on the Fallout 4 Nuke, but it had to include some of the essence of the anthology nuke that inspired me in the first place.
There were little details that bugged me about each nuke. I felt the anthology nuke had fins that were disproportionately short, the Fallout 4 nuke had too many screws, lights and segments, and the Fallout 3 nuke looked like they were stretched spheres. I was looking to make something that was carefully balanced and proportioned, and less concerned about matching any particular one.
Profile design
I drew and re-drew the curves for the shell many times before I settled on a curve I liked. Then I drew the interior profile to make it hollow. This curve is then revolved around the central axis to create a 3D surface.
(Pro tip: you can use the nuke as a planter since it’s hollow and the bottom has a hole for drainage. Neat!)
I drew each piece separately attempting to make it as smooth and round as possible, but resisting the urge to use an actual sphere or oval for reference.
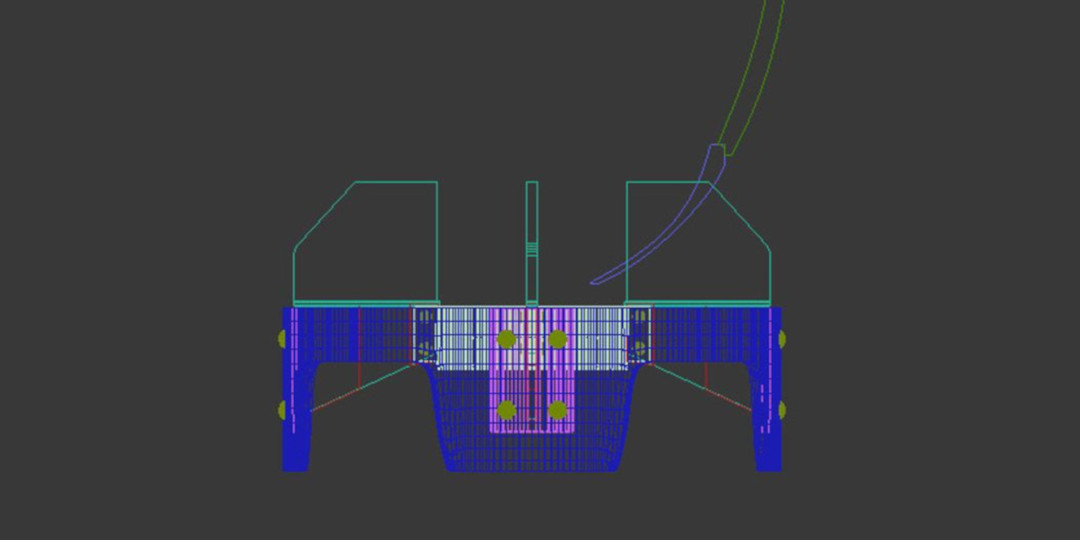
The fins, screws and details were traditionally modelled with mesh modelling techniques.
Printing considerations
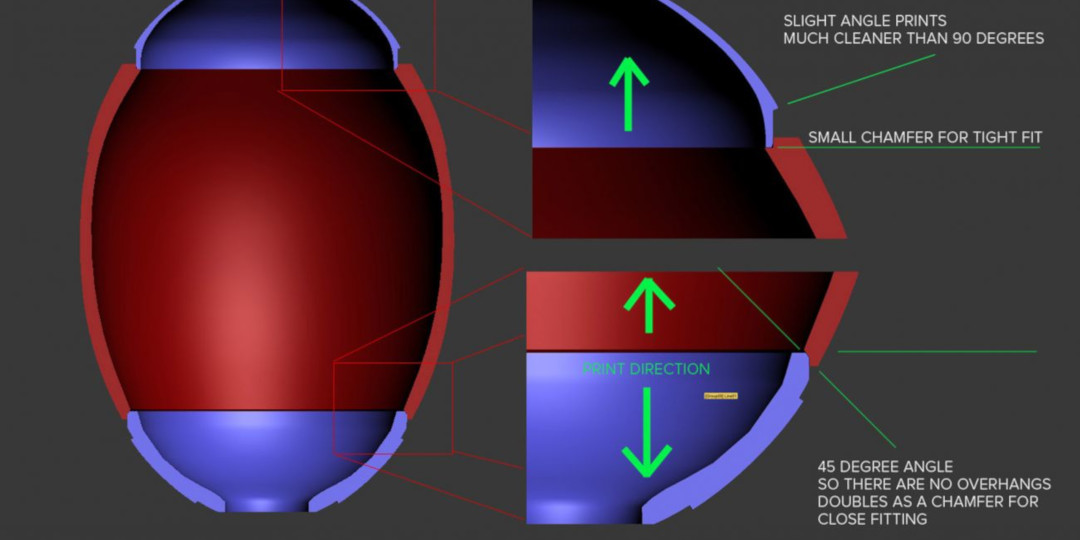
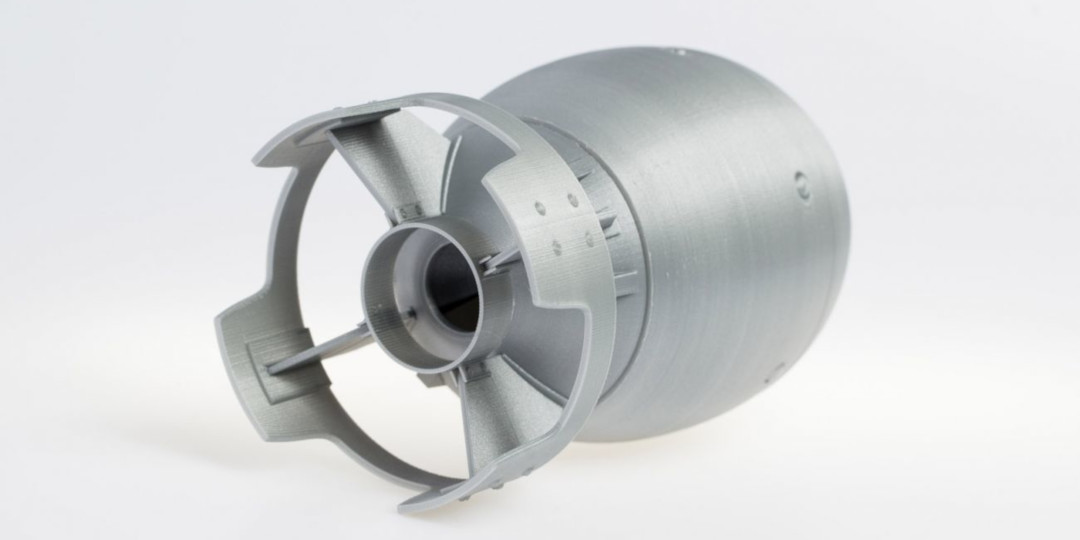
Once the exterior was roughed out it was time to design for the proper printing direction and how it will come together. Despite its simple looking egg shape, there is a lot of attention that needs to be paid to where the parts meet, and how the parts are to be printed. The body is broken up at the natural seams, and the connections and lips designed so that the nuke could be friction fit. Adding small chamfers on the connecting edges will help in the assembly process later.
Mini nuke part connection design
At this point you might think, why on earth would you not have started with a sphere and stretched it out to the resulting shape? It would have been so much easier! That's because your shell would end up looking like an egg. The profile of your object would look ‘just’ a little too perfect – enough to make you question if a manufactured item would look like that. Drawing each part of the profile individually gives it a subtle, organic proportion to it rather than a mathematically perfect one.
Drawing each part of the profile individually gives it a subtle, organic proportion to it rather than a mathematically perfect one.
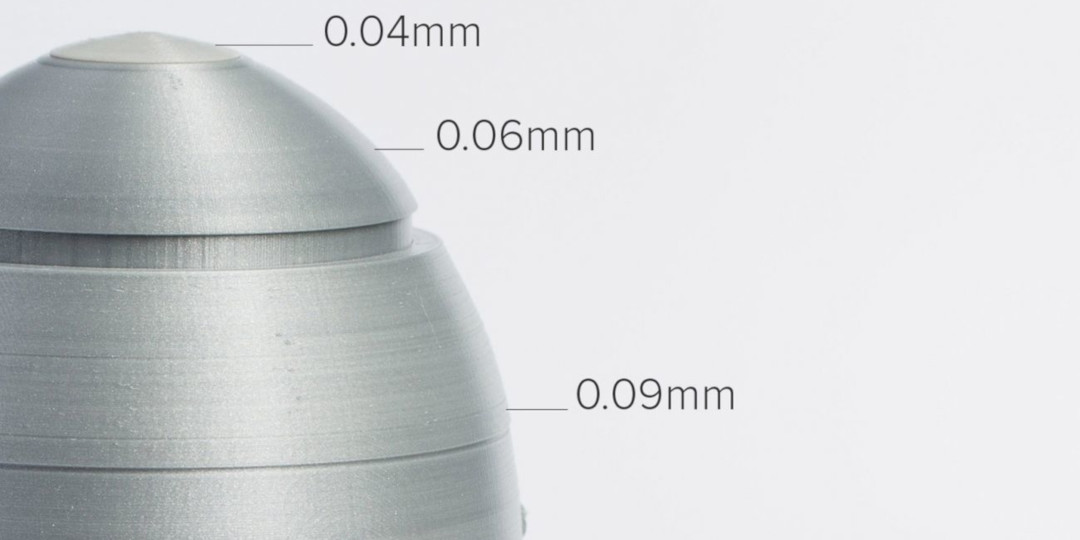
Once I was happy with the shapes, I printed them out on my Ultimaker 2’s. The advantage of having multiple segments is that you also get to customize your resolution. The more parallel the angle of the surface is to the ground plane, the more ‘stepping’you will see. You can combat this by printing at lower layer heights (higher resolution). So as the angle gets steeper, you decrease your layer height so that the quality remains somewhat consistent throughout – with an added bonus of saving you print time, and increasing overall quality.
Different layer heights per segment
The more parallel the angle of the surface is to the ground plane, the more ‘stepping’ you will see. You can combat this by printing at lower layer heights.
Printed in Ultimaker Silver Metallic PLA. 35 - 45mm/s, 210 C, 0% infill, 0.4mm nozzle on Ultimaker 2 Go and Extended
Creating the internals
Once all the pieces were printed I started putting it together. As I was doing so I started to wonder what might be contained in the guts of this fictional bomb?
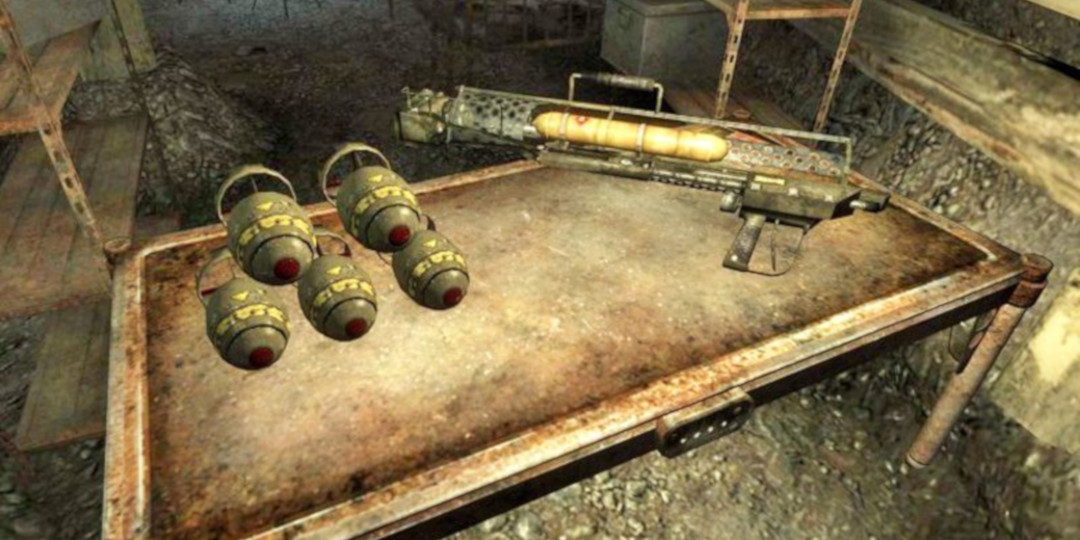
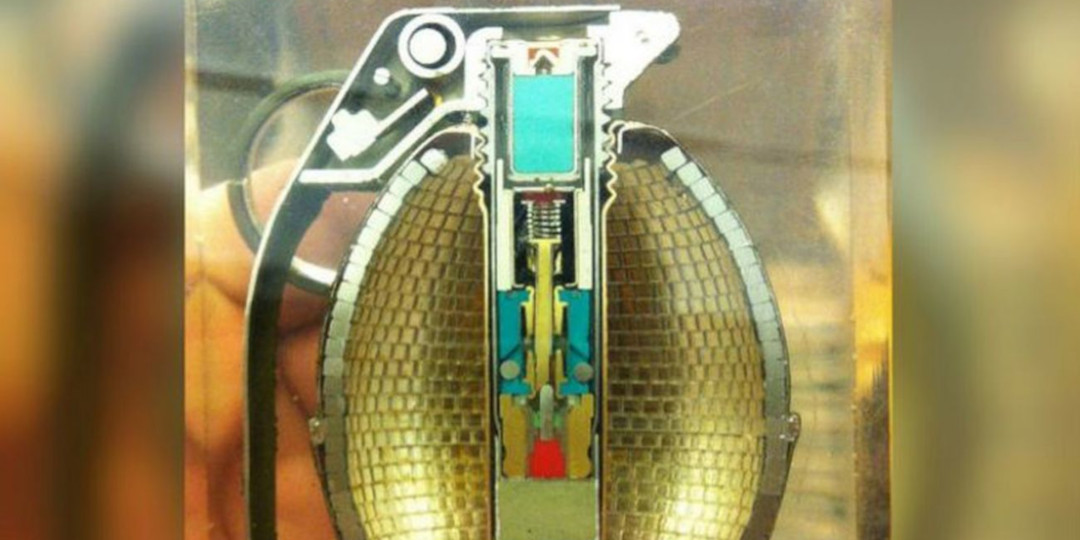
After some questionable search terms, I got enough references to really explore that idea. I really liked those cross section display pieces, like you see in this grenade, so I decided to make a cross section version of my nuke.
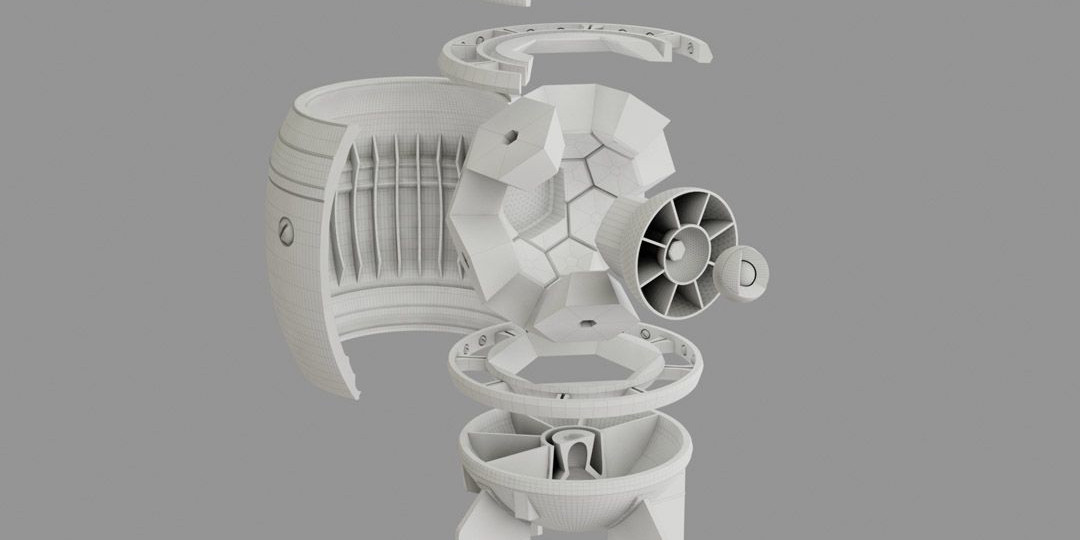
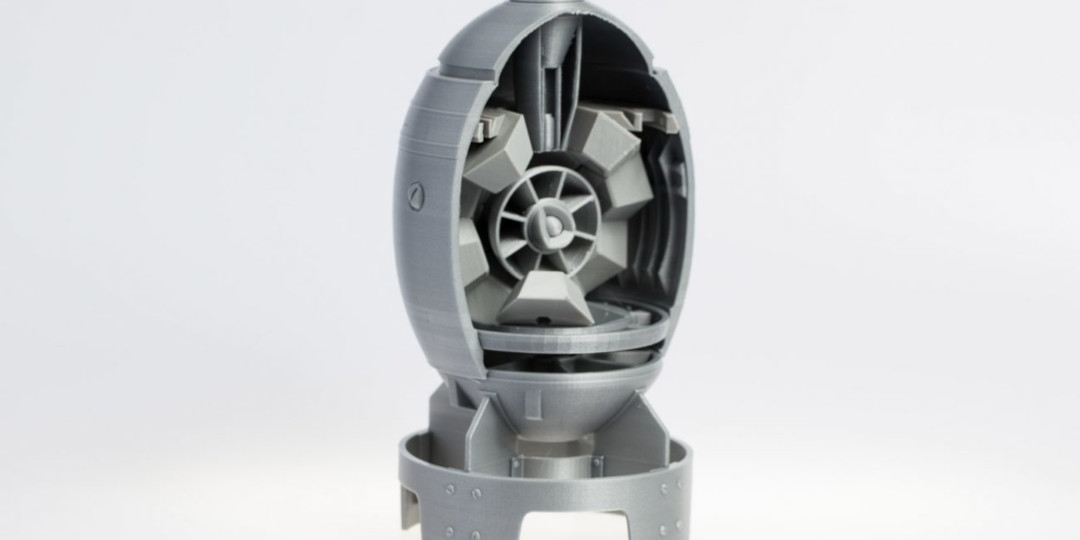
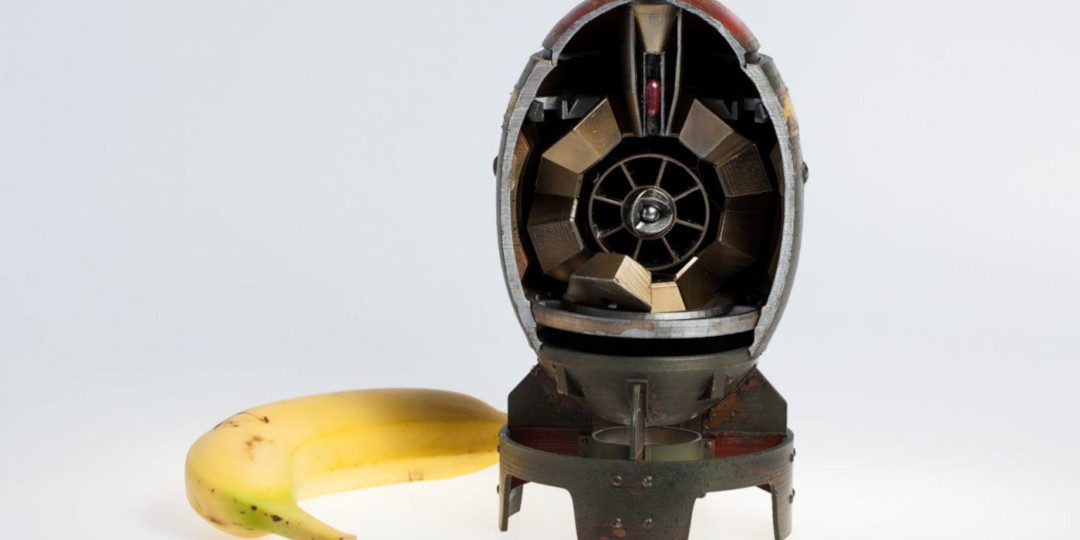
I cut my nuke in 2/3rd and started designing the interior. This was a vastly different process since I had no references of any kind besides some really old technical drawings of real nukes. It was much more of a creative exercise. I didn’t just make random objects and throw them in there however. Each piece needed to look and feel like it serves an important role in the function of the device. And, like all my other stuff, I made it so that everything was able to snap together. With 3D printing, you’re truly free to design what you like. Here is the breakdown of the parts.
I didn’t just make random objects and throw them in there. Each piece needed to look and feel like it serves an important role in the function of the device.
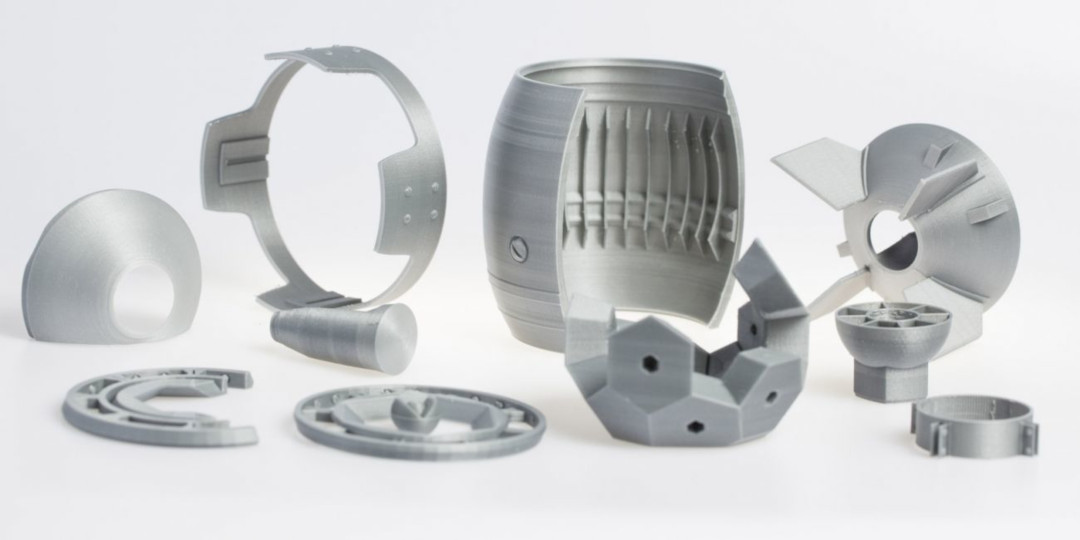
Final 3D printed parts breakdown
Printed in my favorite shade of Ultimaker metallic silver. All the pieces were designed to be printed with no supports and completely or mostly hollow, because this gives you a better surface finish and saves materials.
Dry fitting all 3D printed parts before painting
Painting the Mini Nuke
Once all the pieces fit together, it was time to paint. I had bought this 'Liquid Mask' a long time ago, but never had the chance to try it, so I thought I would experiment with it on this piece. Liquid mask is a paintable rubbery substance that dries into a peelable skin. This allows you to brush it onto an area you want to mask off, paint over top of it and then remove it along with the excess paint.
Final painted Fallout 4 mini nuke model
Liquid mask is a paintable rubbery substance that dries into a peelable skin. This allows you to brush it onto an area you want to mask off, paint over top of it and then remove it along with the excess paint.
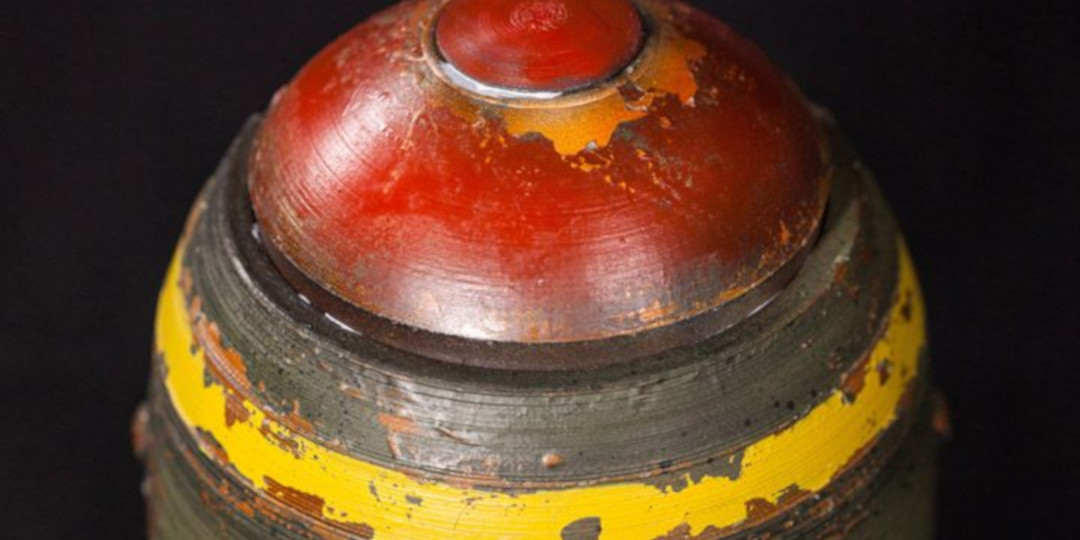
Mini nuke tip paint detail
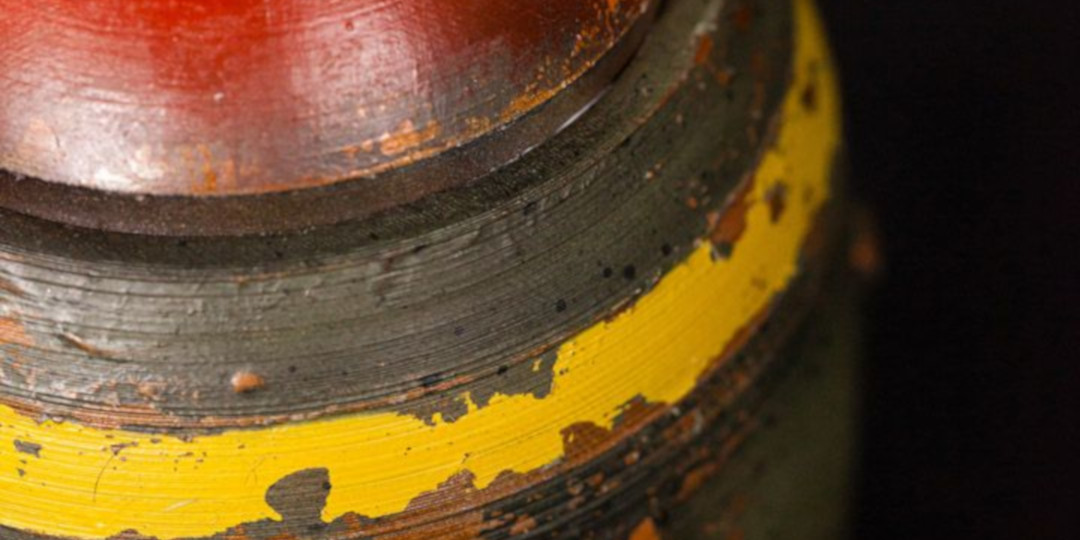
The technique is not unlike the process I used to paint the lightsaber. Basecoated in a rusty color, then masked the rusted areas with the liquid mask instead of using salt to achieve the same thing. Once the mask was dry, I painted on the base colour. Another layer of liquid mask was then applied to the yellow strip area so I could create the chipped paint look. Then the yellow stripe was airbrushed on, and the mask lifted to reveal the underlying rust and paint chips. This was also done with the red tip.
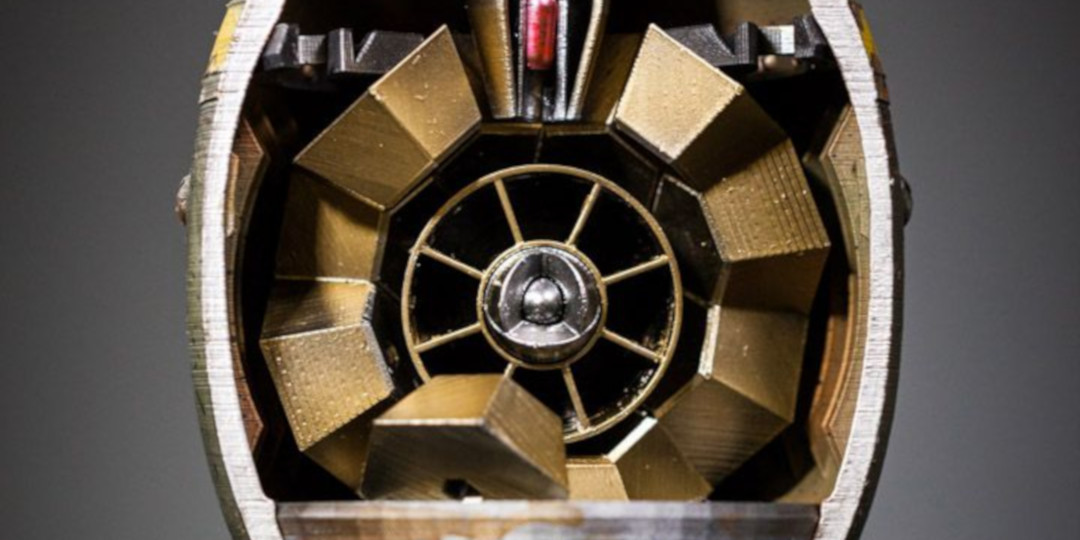
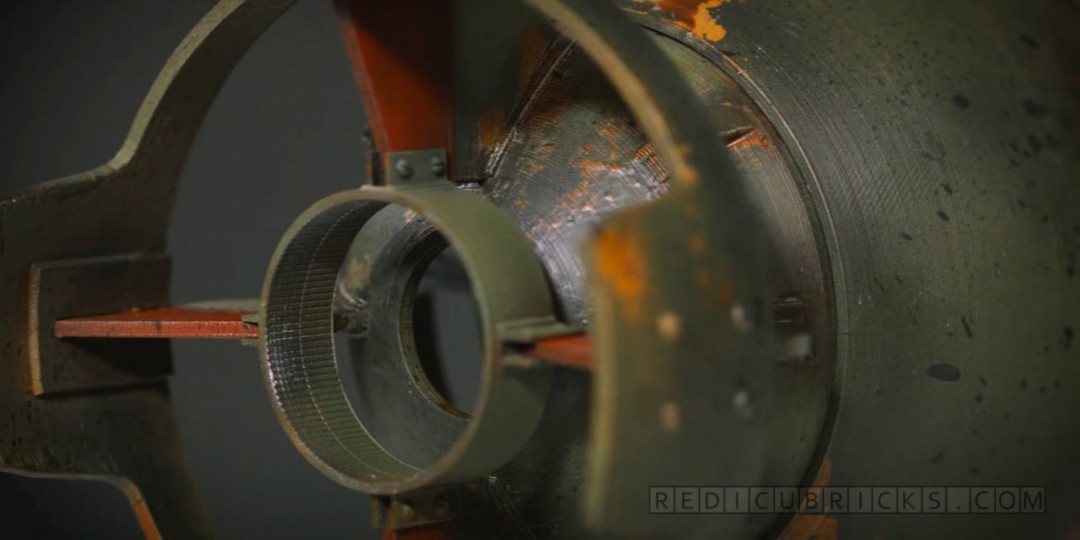
Finally, the nuclear reaction internal parts were painted with metallic liqueur paints to give that shiny chrome look. If you look closely at the beryllium core (the center sphere) it was designed with a gap between the inside sphere and the outside sphere. This is to prevent the paint from pooling at its intersection and causing it to loose its perfect sphere shape definition.
The body was purposely printed at a lower resolution and not sanded to create a roughly lathed look. Fallout is a strange universe in which you have portable fusion power, but rudimentary computers and electronics. I wanted to have a bit of this flavor in my design by having a weathered and roughly machined shell, but a perfectly clean and precise core to contrast.
And there you have it! If you have a 3D printer already, we’re putting the full shell model (the mini nuke with no internals) files up on YouMagine for you to practice your painting skills on. If you want to help support our cause for world domination, we are offering kits of the mini nuke with internals for purchase, printed at high resolutions (0.04 to 0.09 layer heights) on our new Ultimaker 2+’s. Proceeds go to feeding our coffee addiction to bring you more fun things. Check out our other stuff at redicubricks.com.


