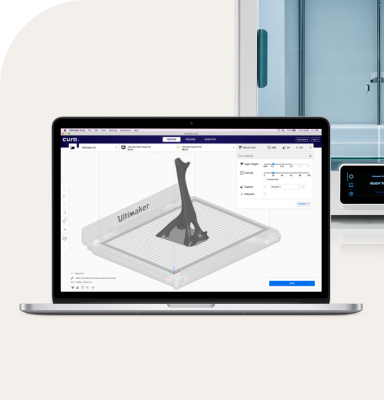
Your Ultimaker 3 has a wealth of exciting new features, and Cura is designed to help you get the most from them. This series of guides explains how to use your 3D printing software to achieve the best possible printing results.
Printing with two colors not only looks visually impressive but makes it easier to highlight aspects of your 3D printed model. Here’s a handy guide, explaining how to create a dual color print.
How to print with two colors
1. Load the model. To make your dual color print, you’ll need to export two model files, which have been created to fit together. In this tutorial, we will use a famous dual color Ultimaker hand drill model. You can load both parts into Cura by selecting the Open File icon in the top left corner, which will display all the available files. Simply select the file you want to get started. Note, Cura supports the following files: .3mf, .x3d, .stl and .obj. You can also load multiple files simultaneously if you want to speed the process up.
To view some model examples, just browse popular 3D model websites, searching for ‘dual color’ or ‘dual material’. There are several examples online.
2. Set the print cores and materials. You’ll need to check that the print cores and materials are correct (using the sidebar). Print Core 1 should contain a print core AA 0.4 loaded with PLA (your first color). Print Core 2 should contain the same, but with your different color. Cura is loaded with generic materials which don’t represent colors, so to choose a colored material, you’ll need to go to Ultimaker > PLA > Color.
If your Ultimaker 3 is connected to Cura via the network, and loaded with the right print cores and materials, Cura will automatically sync to it.
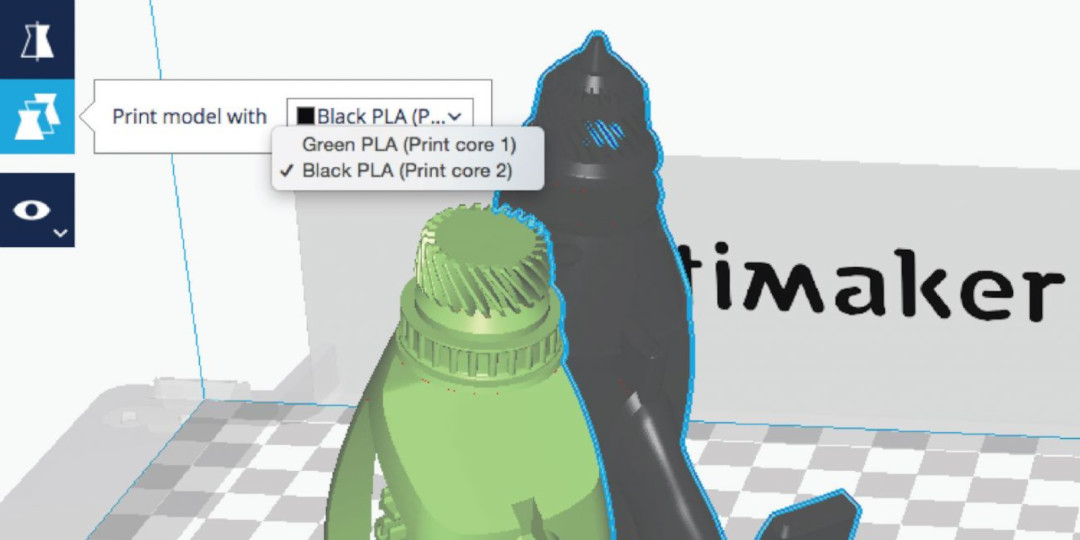
3. Set print core per model. All loaded objects are set (by default) to be printed using Print Core 1. The material color set per print core relates to the color of the corresponding model. If you want to change the print core, select the model by left clicking on it. Next, select Per Model Settings (left side of the screen), then Print Model with Print Core 2. Please note, the color will automatically match Print Core 2’s color.
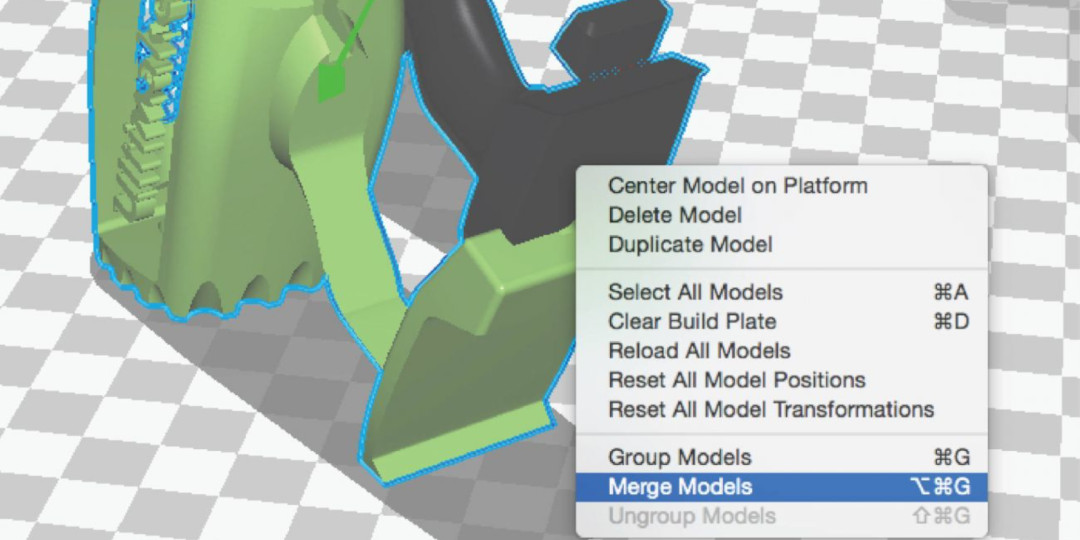
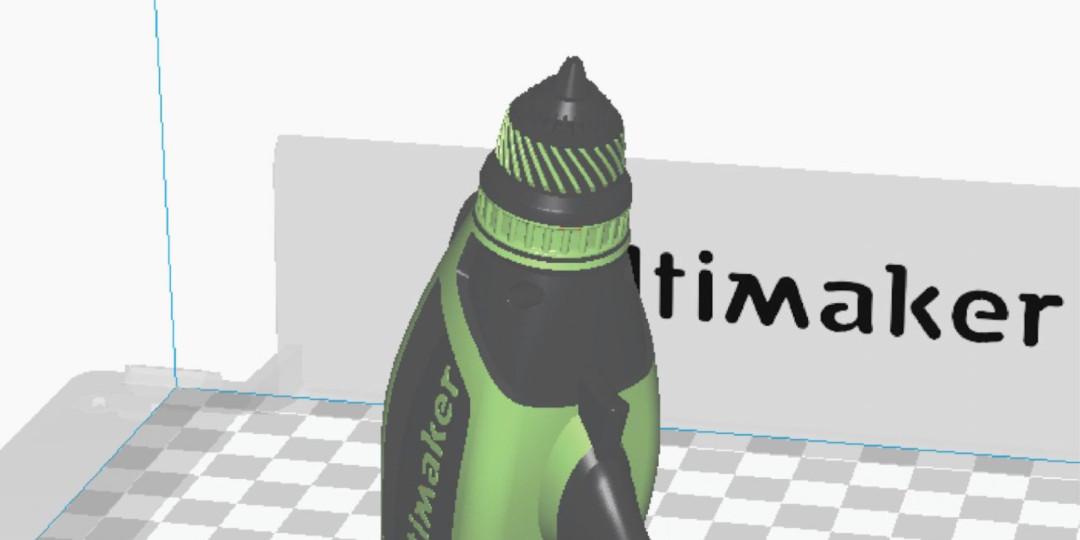
4. Merge your models. Once you’ve established the right colors, it’s time to merge your models. First, you’ll need to select them, which you can do by holding shift and left-clicking. You’ll know you’ve done this once they’re both outlined in blue. Then, right click and select Merge Objects. The models automatically merge, in preparation for dual printing.
If you’ve forgotten to adjust one of the settings, just press CMD / CTRL + click on the model to select it within the group. If your models don’t merge as intended, this means your model files weren’t exported correctly. To correct this, you’ll need to resolve the issue in the design software.
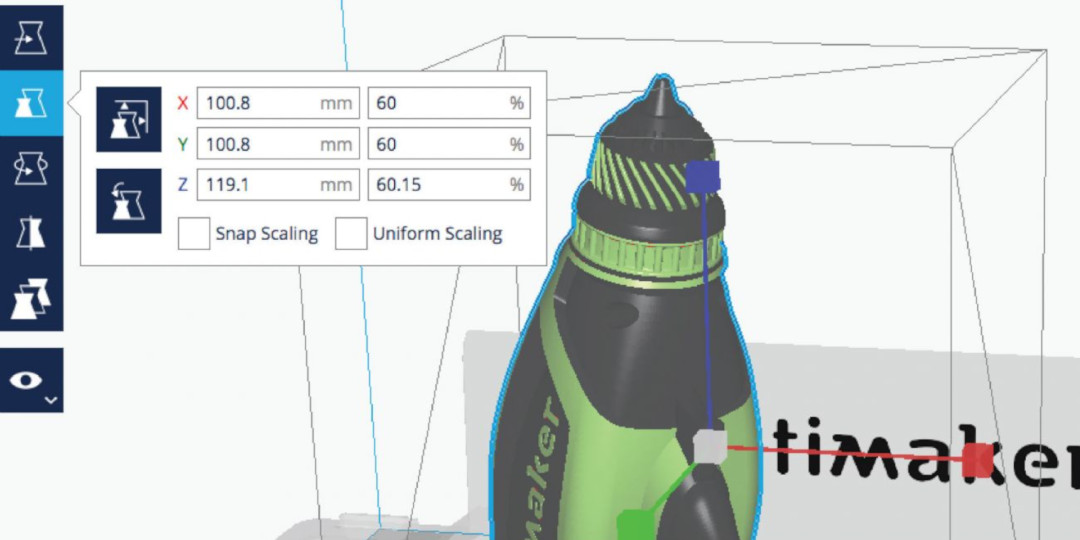
5. Using adjustment tools. Adjustment Tools are handy for positioning, scaling and rotating your object. To use them, left click on the merged model group. Once they’re merged, you can adjust them as a group, which speeds things up considerably. When you’re using two colors and no special support material, it’s a good idea to rotate the model to generate the least support and best surface finish.
6. Select the profile. Before printing, you’ll need to select a Profile quality. The options are: Draft Print, Fast Print, Normal or High Quality. The material is displayed per print core at the bottom right of the 3D viewer, which also tells you how much material you’ll need per spool. Please note, in Recommended mode, both print cores share the same settings. If you want to make adjustments per print core (e.g. infill or number of walls), you’ll need to use the Custom mode.
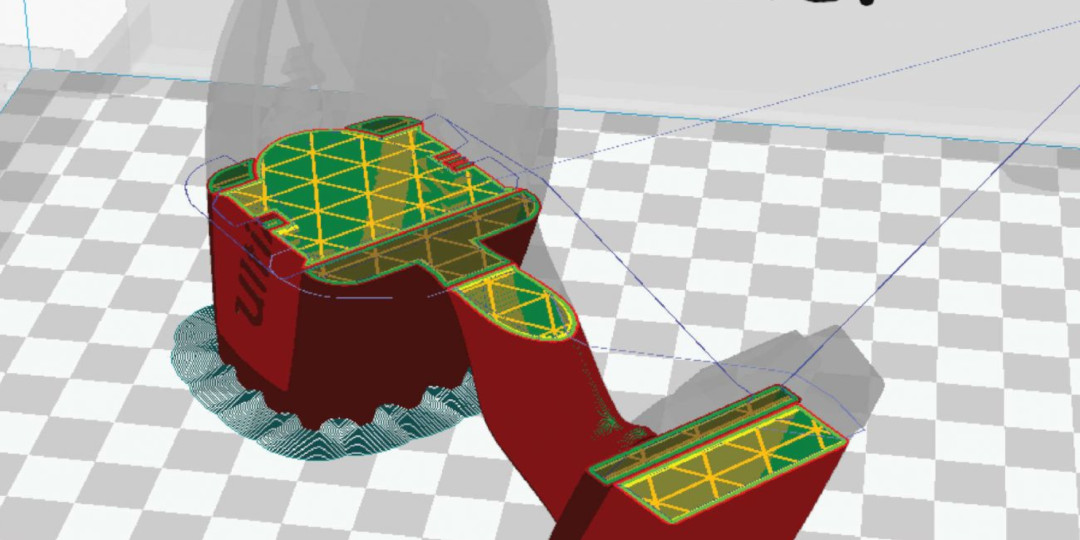
7. Preview your layers. You can view the result of your profile settings in the Layer View. When you’ve got Print Core 1 selected in the sidebar, the model will be highlighted - showing which parts will be printed with each print core. If you switch visible print cores (selecting the print core in the top right), you’ll see which sections will be printed using Print Core 2.
8. Get printing! Now, you need to select either Save File, Save to USB or Print Over Network, depending on how you want to print your 3D model. To watch the printing process, simply enter the Print Monitor (please note, you’ll need to be connected to the network to do so). We hope your print turns out exactly as you’d hoped… have fun!
Feel free to download this guide for free and keep reading our Cura tips to find out more about using this 3D printing software. Can’t wait for the next guide in our series or have some burning questions about Cura 2.3 features? Join our community forum today!


