As most of you already know, Ultimaker 3D printers use fused filament fabrication (or FFF) to manufacture physical objects. This process works by slicing a digital model into a stack of horizontal layers, with the help of ‘slicing’ software such as Ultimaker Cura. Layers are then printed on top of each other sequentially to make a physical object.
Quality vs speed
Most slicing software will assign a constant spacing between each layer–known as the layer height. Very fine layer height will result in a high-resolution model, but each extra layer will add time to the printing process. A thicker layer height will print faster–since there are fewer layers to print—but the level of detail for the finished model will be reduced. These situations put the user in a position where they must choose to optimize either print time or print quality.
What if you could have the best of both worlds—where the layer height of your print adapts to the shape of an object? Adaptive layers, a new slicing feature available since Ultimaker Cura 3.2, makes this possible.
Applying adaptive layers in product development
What does it mean in practice? Poly-Tainer Inc. is a plastic bottle manufacturer and decorator that produces containers for products in the health and beauty market. To speed up their 3D CAD design implementation process, they have invested in two Ultimaker 3 Extended printers, which are used for in-house prototyping. By adopting 3D printing to their processes, Poly-Tainer are able to share accurate concept models with their customers—often major retailers like Target and Walmart—and remove any uncertainty from their designs before investing up to $100,000 in tooling for mass production.
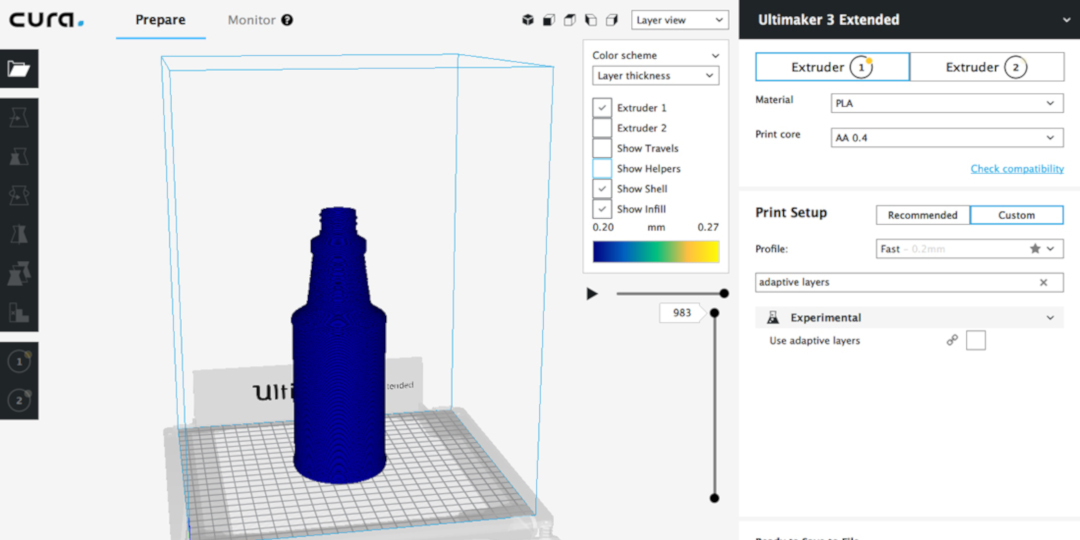
Bottle prototype sliced using the “Fast” slicing profile in Ultimaker Cura. Layer height is constant at 0.2 mm (200 micron).
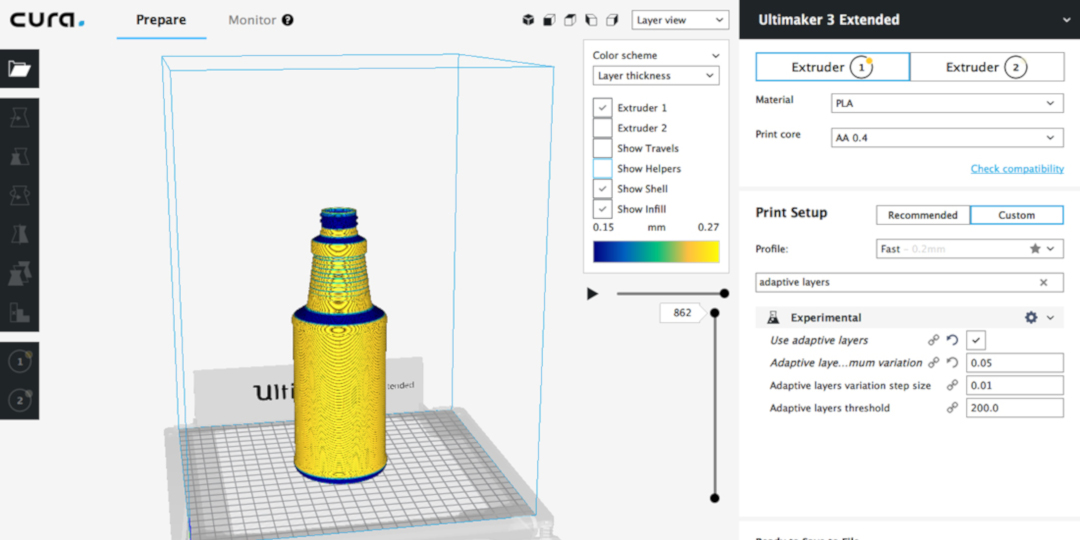
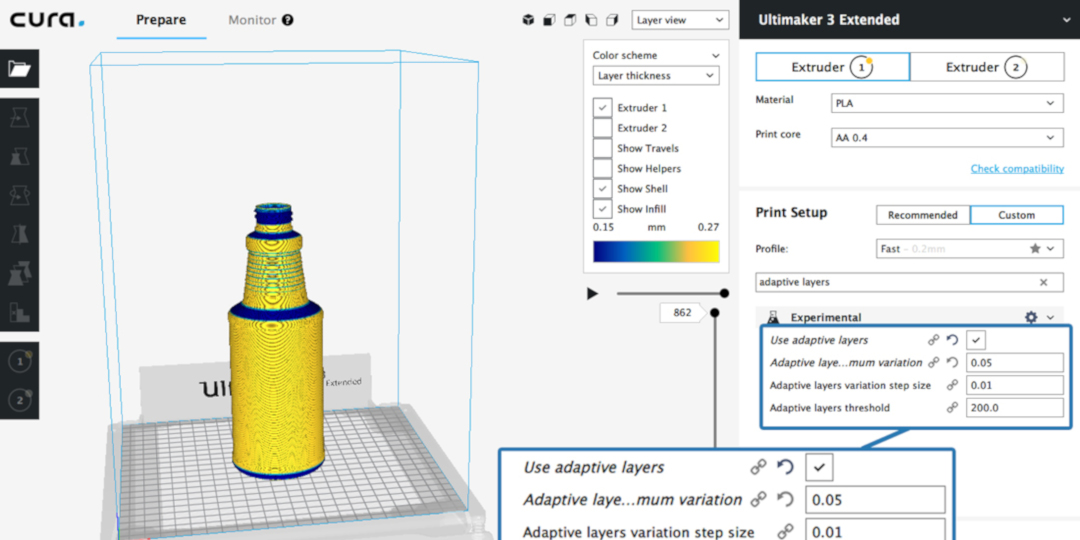
Bottle prototype sliced using adaptive layers. The print time has reduced by 10%, and greater detail is given to areas that need it.
How the final product will look on the shelf is an important consideration for the marketing process. Using adaptive layers, Poly-Tainer can print detailed concept models with improved look and quality in less time than a model with a constant layer height. Angular sections of a model have much finer steps per layer, and important design elements, such as the thread finish of the neck of the bottle, have superior detail.
The Ultimaker 3’s dual extrusion capabilities make it possible to use dissolvable PVA support material, which has helped to implement design features such as a ‘bottom push up’, an important design element in bottle manufacturing. Using adaptive layers and dissolvable PVA support creates concept models with well-defined decorating ramps in less time compared to a constant layer height, and the increased detail helps to facilitate accurate multi-color screen printing for the bottle decoration process.
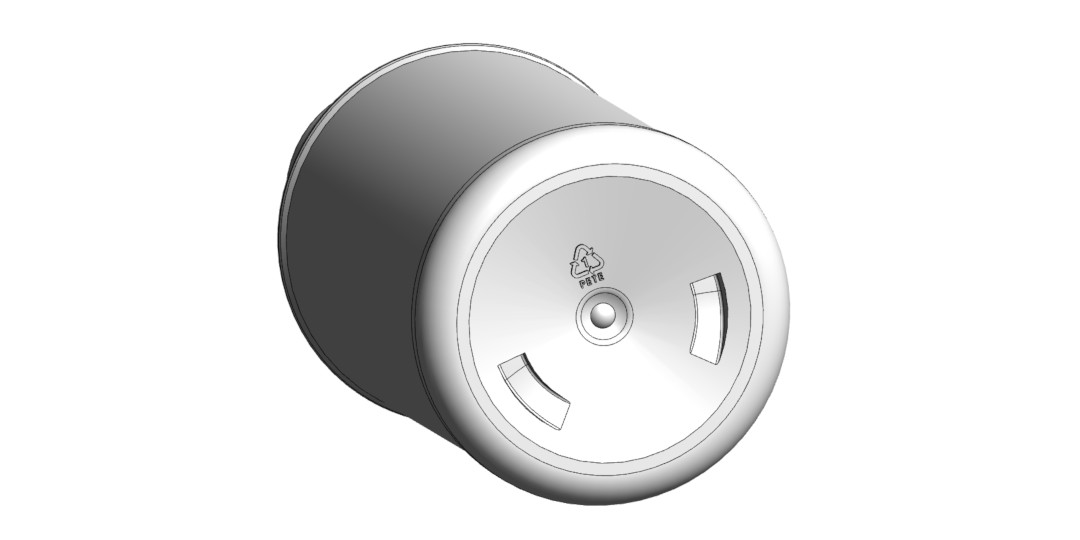
A bottom push-up is a desireable feature for health and beauty product containers.
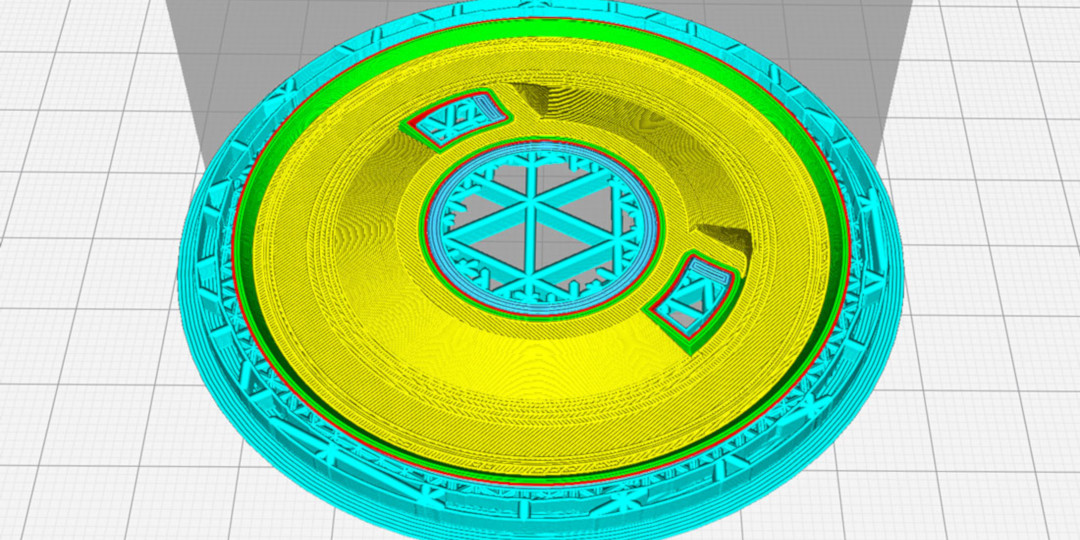
A horizontal cross-section of the feature shows the support structure in blue. After printing is complete, support material is easily dissolved in tap water.
An accurate 3D printed concept model puts Poly-Tainer in a position where they can order custom decorating tooling before the first product is created from production tooling. This can result in as much as a four to six-week time savings in getting a new design to market.
How adaptive layers optimizes speed and detail
Ultimaker Cura’s adaptive layers feature analyzes the slope and angle of the outer wall of the model. The slicing engine will then optimize the layer height for each section. Curves are printed with a finer layer resolution, while vertical, flat areas are printed with thicker layers, often reducing the print duration. The calculating algorithm is automatic, based on three parameters, which can be specified by the user: maximum variation, variation step size, and layer threshold. Default parameters are usually adequate to deliver good results, but can be experimented with in order to optimize print time further for the user’s specific model, while still retaining fine details.
Free, accessible slicing software
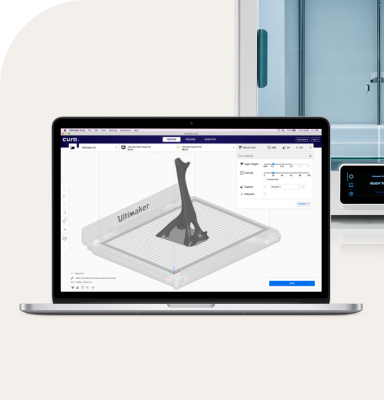
Ultimaker Cura is available to users completely free of charge. Access the adaptive layers setting from within Ultimaker Cura’s interface by switching to custom mode, and searching for “adaptive layers” in the search bar.
We always love to hear about how Ultimaker has helped people streamline their business processes. What features do you find most important for your workflow? Share your thoughts in our community of 3D printing experts.
Special thanks to Frank Cowles, Poly-Tainer Inc.


