Guest blogger Astrida Valigorsky writes about combining the old and the new at Timothy Belliveau's GlitchCraft class (assisted by Dan Kereji) at UrbanGlass, in Brooklyn, New York where students experimented with 3D printing and glass blowing.
UrbanGlass is the United States’ first and largest artist glass studio and the New York metropolitan area's leading state-of-the-art glass-blowing facility. The facility partners with local universities, but it also offers several classes that are open to the general public for a modest fee, and scholarships are available. This summer, UrbanGlass partnered with Timothy Belliveau, a visiting instructor from Toronto, Canada. Belliveau is an expert in the 3D rendering program Blender, and has honed his experience with glass blowing over many years in the hot glass shop. He began experimenting with Blender to create products for casting in glass about three years ago.
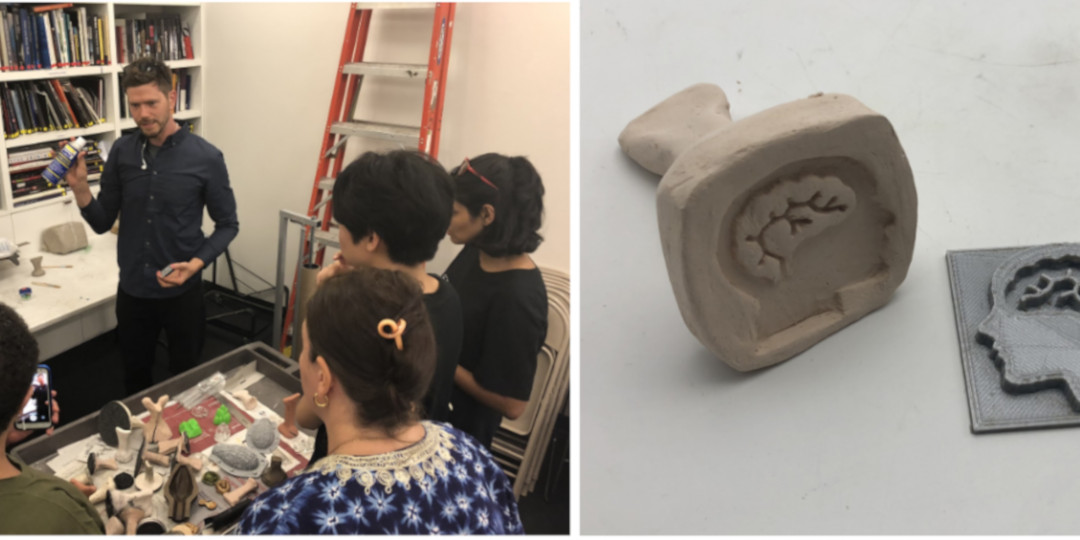
The end result of his experiments was the rediscovery of using clay molds for hot glass blowing and casting – a process that was used heavily in Roman times. Using this method of creating a multi-part clay mold around a 3D printed master object, 3D shapes can be recreated in blown glass. Simpler clay stamps can also be used on hot glass to create decorative designs and smaller impressions on blown glass vessels.
Day one of the class began with a lecture before moving straight into familiarizing ourselves with the material we were going to form our molds from – the clay. That evening we made a simple stamp using the clay and basic clay-carving tools. It was a memorable evening, resulting in a few "hand-made" marks. For some, it was satisfying, while others discovered a new-found respect for those who had clay skills. The clay stamp was then dried and fired in the kiln, to be ready for our use a few days later in the hot shop.
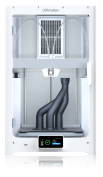
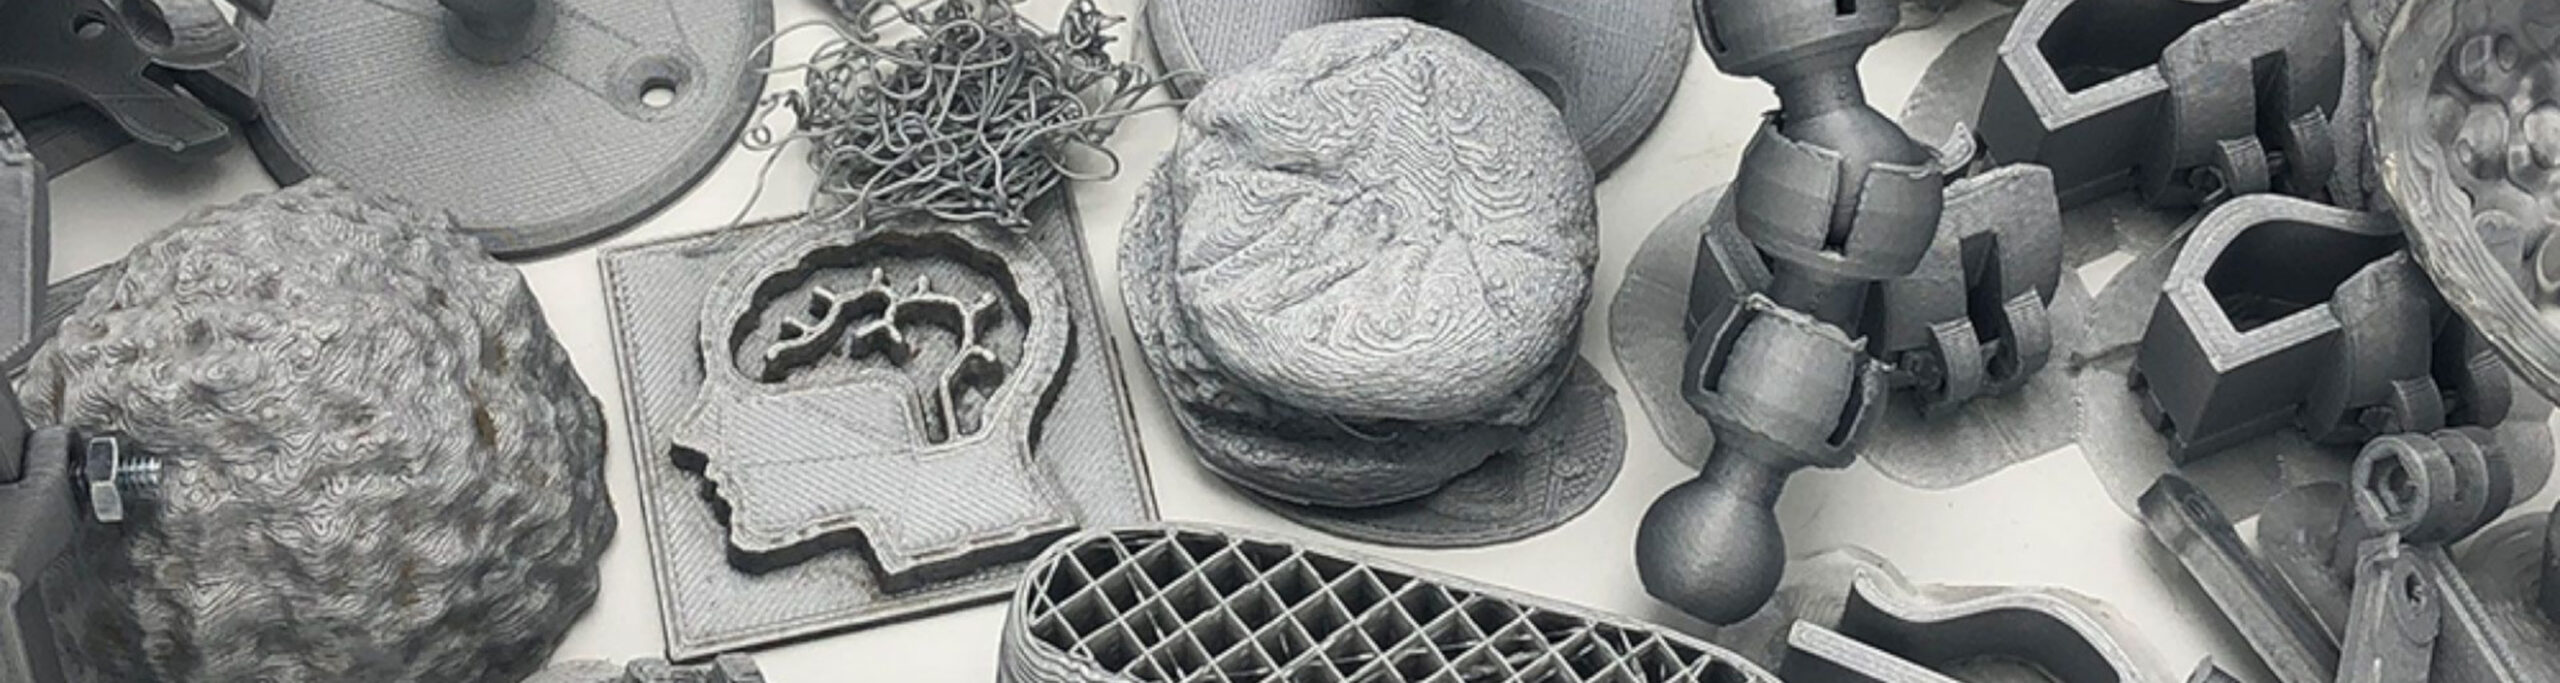
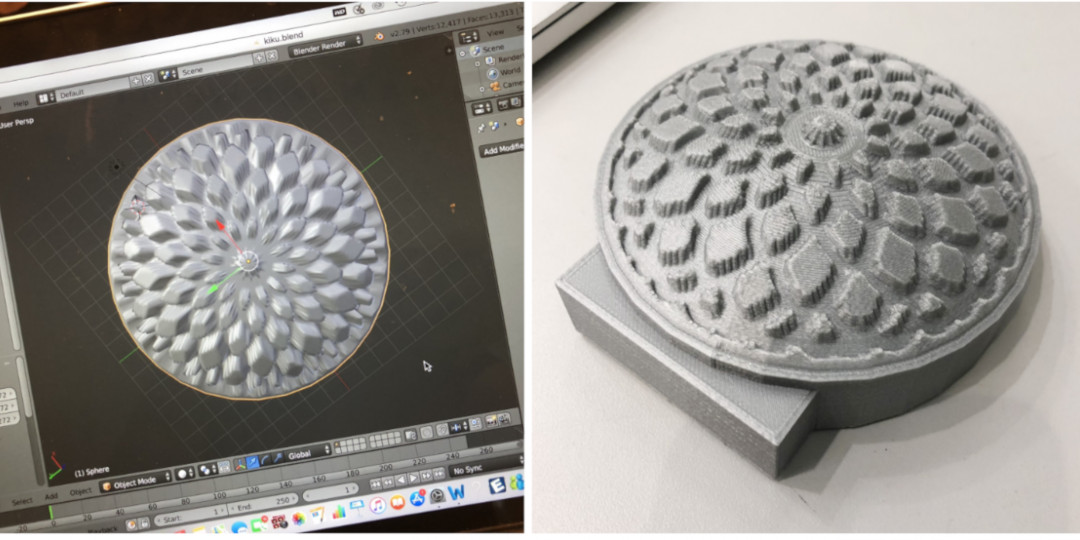
Night two of our class ushered in the arrival of Blender. By importing black and white line art graphics into Blender and learning how to extrude those images into 3D objects, we were well on our way to creating more elaborate and precise stamps. After a few evenings tinkering in Blender, prepping 3D print files in the very user-friendly Ultimaker Cura – and several Ultimaker 2+ prints of stamps later – we started to see designs emerge that would be the foundations of our final clay molds.
In between making 3D prints, making clay molds and waiting for them to dry, and firing molds to a stone hardness in the kiln, there was time to get oriented in the hot shop.
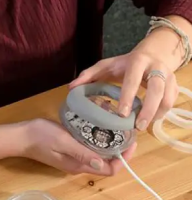
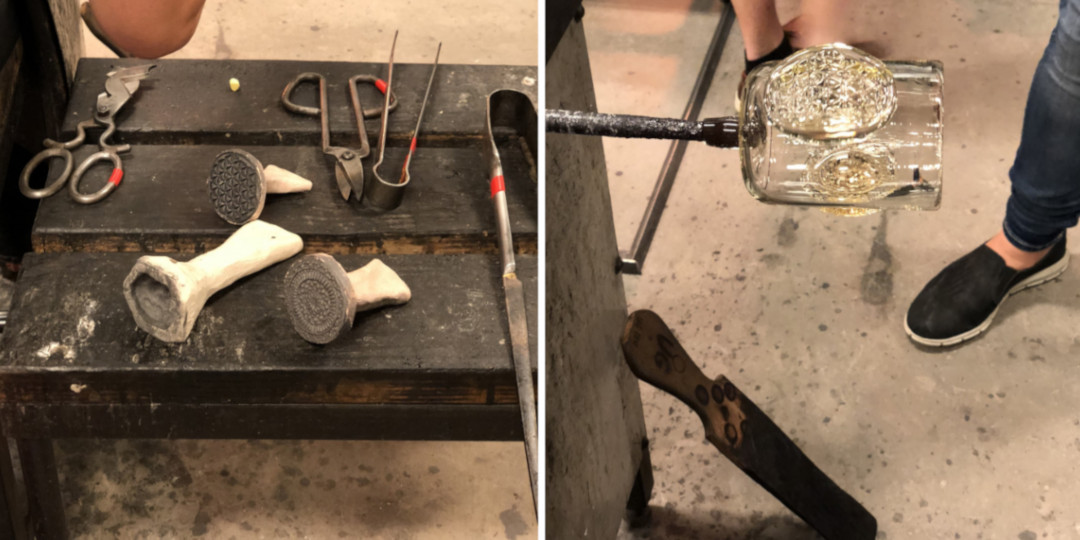
We learned basic glass principles, as well as how to blow glass and how to create blobs of glass that we could stamp our molds onto, and practised getting ready for our molds.
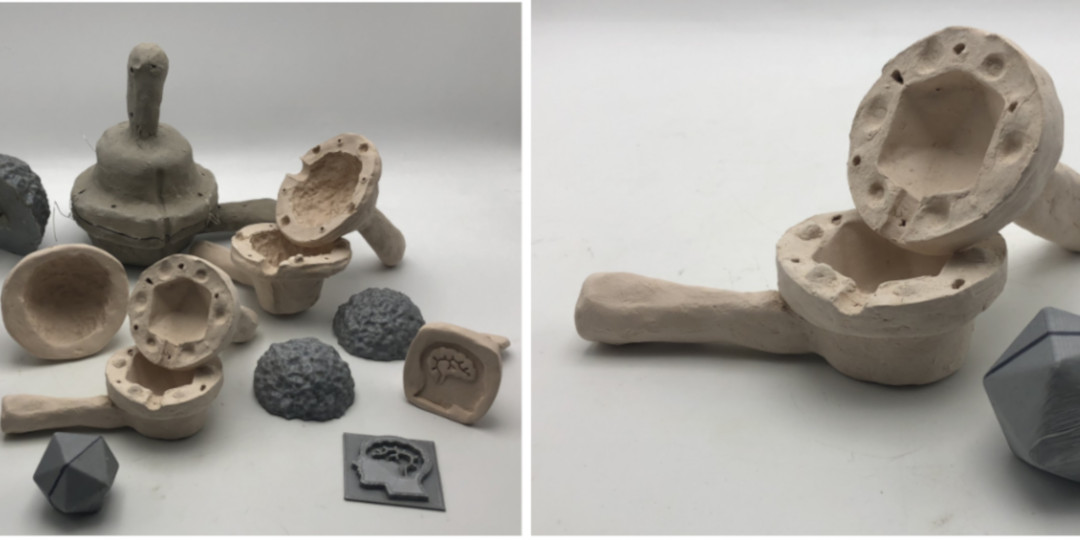
Then we went into another demo on making multipart clay molds. This took us beyond making stamps for glass; it was a way of recreating entire forms. We also learned how to blow glass into a mold. More 3D prints meant more clay molds. We were starting to get somewhere.
Ah! Wait, what? We’re out of time?
Fire your last clay items! Two weeks went fast.
Because of the shortness of the two-week intensive class, none of the students had a finished project completed. In our final class, Timothy guided us in the creation of a quick 3D art gallery space in the virtual world of Blender. Our final evening ended in a virtual gallery soiree.
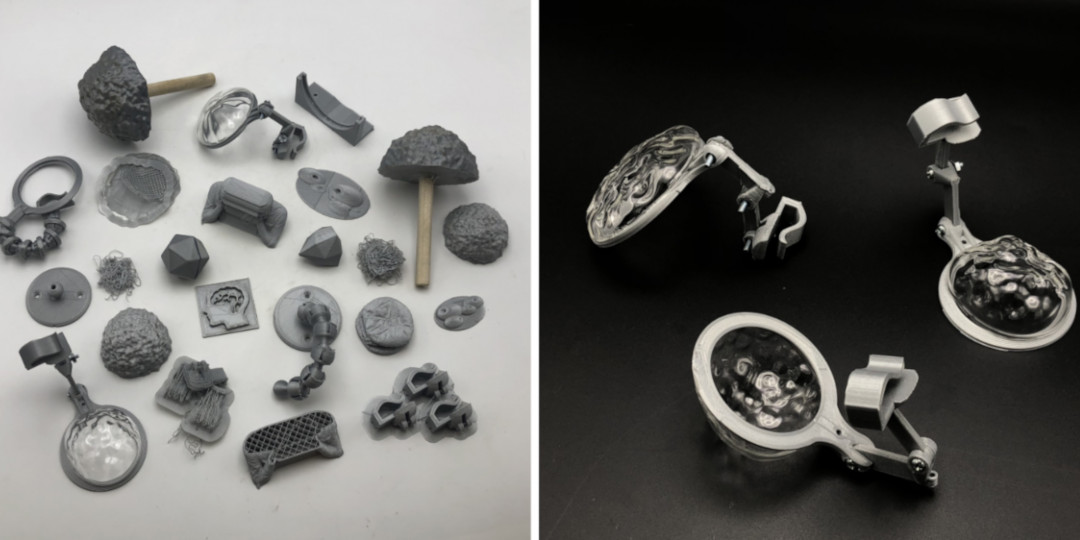
We came out of the class with plenty of molds and 3D designs. Thankfully it wasn’t completely over as we still had some studio time left. UrbanGlass offered studio hours for those attending the class to practise their skills independently in the hot shop, or to refine their pieces in the cold shop.
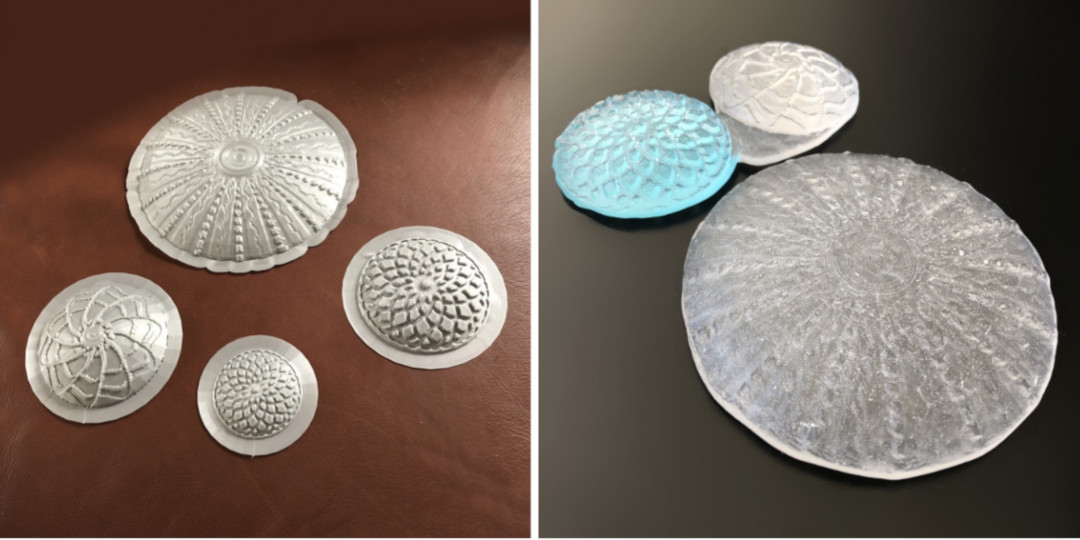
Some of the results:
Amy Lemaire, an UrbanGlass resident artist and accomplished borosilicate glass-blower, had a blast creating items to 3D print using the Ultimaker printers. She specifically wanted to learn how to create clay molds for custom camera lenses that she was fabricating for a photography project. The aim of the lenses were to create a "warped" view of reality. Lemaire succeeded in achieving her goal, as well as helping a few less experienced glass-blowers. She also helped Beryl Benbow apply her clay molds to hot-blown glass bubbles with successful results, as seen in the video linked at the bottom of this page.
Astrida Valigorsky realized she was too much of a newbie to learn to blow hot glass well enough to realize her aspirations of creating a lamp design using the Glitchcraft process. To remedy her desire to advance further in achieving a 3D printed glass object, she enrolled in the subsequent class at UrbanGlass – Part & Parcel, which is taught by Anna Boothe. Anna is an expert in lost-wax casting technique and, through her class, Astrida was able to learn how to take her existing printed 3D objects and reproduce them in multiples for lost-wax molds. Finally she was able to cast those molds into various splendid hues of Gaffer Glass.
Astrida is currently investigating how to further develop her glass lamp ideas using MoldLay 3D printing filament at the nearby Brooklyn-based makerspace, NYC Resistor. She hopes to achieve greater precision and larger sizes in her glass castings. So far, her experiments show promise.
Amy has purchased a 3D printer and is currently completing an artist’s residency at the Brooklyn Navy Yard, featuring images captured through the borosilicate glass lenses she was able to fabricate using Ultimaker printers, clay molds, and a torch.
Beryl is going to be learning more about glass casting at UrbanGlass this fall.
Class video, courtesy of Beryl Benbow