


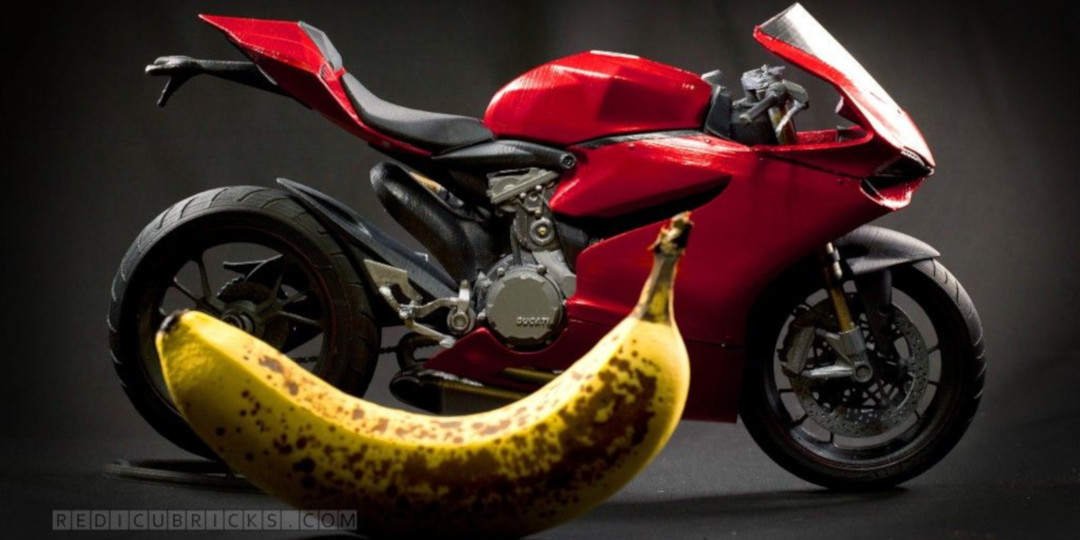
*Banana for scale
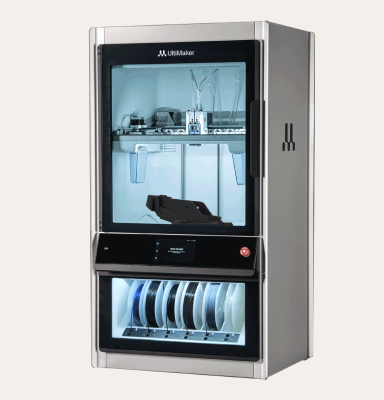
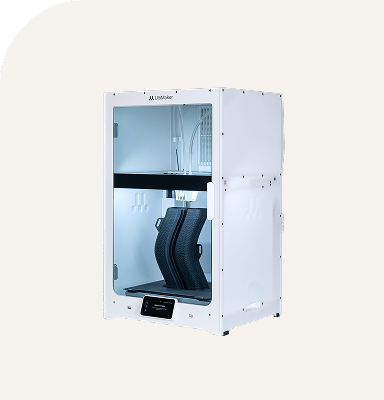
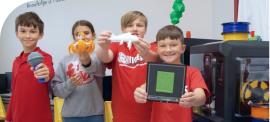
Unlimited application potential.
Specialized for engineering applications.
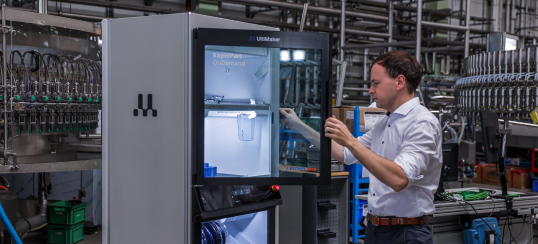
High-performance and certified materials
Over 300 materials to choose from.
From polymers to composites to metals.
The Ducati Superbike project was an ambitious one. It is perhaps the most complex FFF printing challenge I’ve tackled in the shortest amount of time with the most unknowns.
By now I’ve had a lot of experience creating complex mechanical internals while staying true to the original exterior like the Atlas and Jenner mechs. On the onset, this project didn’t seem that different. But the challenges readily became apparent during the design process.
My (self imposed) design goals for this bike was simple:
Be as true as possible to the original design on the exterior.
Snap fit (for alignment only) so that it could be easily glued.
No excess seams or grooves
Printable on my UM with no supports (where possible)
While my parameters are pretty standard, the characteristics of a bike is far different than anything I’ve done before. A motorcycle exhibits all the characteristics that make it difficult for FFF printing. Suspended pieces, thin handlebars, chains, and small attachment points.
Thin objects tend to break or fail to print. Grooved objects often require supports, and unconnected surfaces and strange shapes require many separate parts to print correctly. The easy way out would have been to use supports and combine many parts together to eliminate the internal grooves, but I was determined to keep it authentic and clean looking. Which meant many, many small and separate parts.
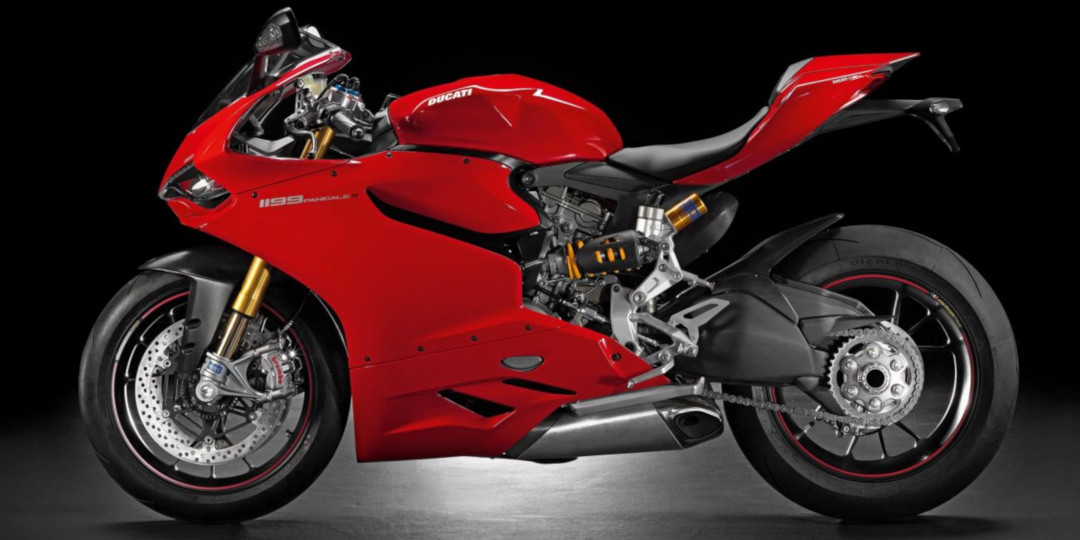
This was my reference. Quite a beautifully designed machine! In order to make the short deadline, I started my process with a 3D model that had all the right physical dimensions, but was entirely unprintable.
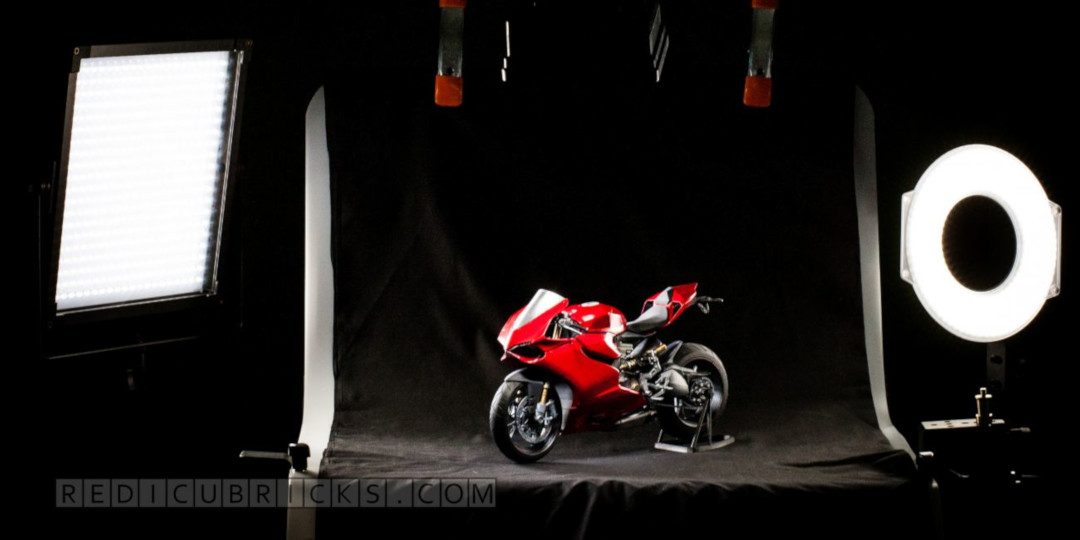
Step one was to get it to a place where you can see how the finished piece will look while ignoring any printability issues. Not only is this useful for ensuring that your finished piece will be exactly as you intended it, but it gives you a much needed morale boost in seeing a finished model.
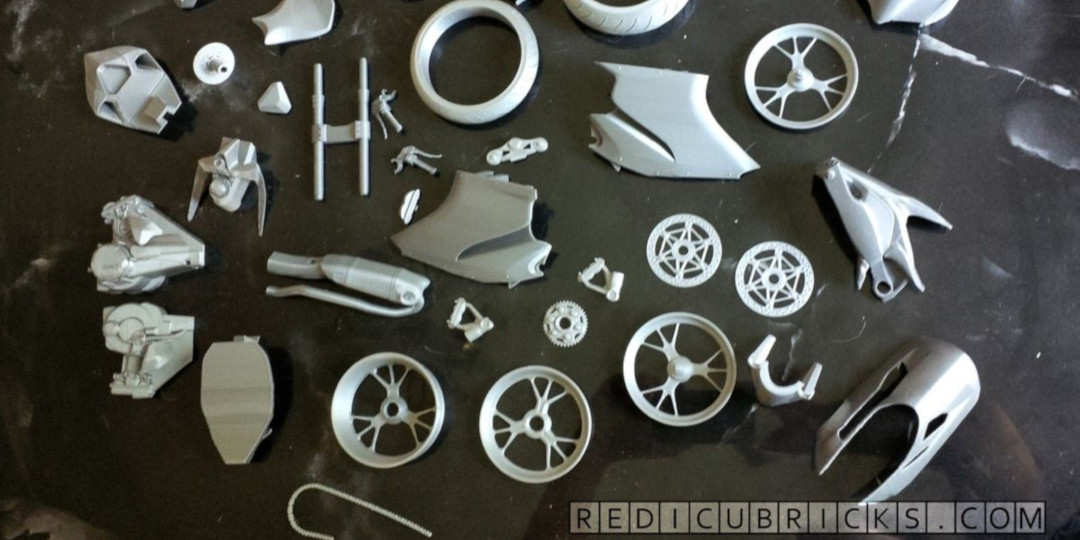
Step two is to start solving. This is the delicate balance between technical mesh cleaning, optimizing for print direction, combining or separating objects and designing interconnects. Coming in at over 40 pieces, it is a daunting task to ensure that every piece is watertight, clear of STL errors and non-interpenetrating.
This part contains 14 individual pieces. None of which require supports to print. Additionally, they all snap together. In order to meet the deadline, I printed pieces as I finished them so I would always have a part printing as I was modeling the next piece. Having this many parts created unique challenges as I had to design components to be forward compatible with any interconnects I was planning to make. So in my mind, I was a few pieces ahead of my designing, which was ahead of modeling, which was ahead of my printing. It was a lot to keep track of.
Progression happened in a natural way since each piece inevitably connects to the next, which dictated the flow of design. The only exception being the center mass where the shell and engine block ‘touched’ everything. I continued to fit parts as I printed them to ensure proper tolerance and contact. Some pieces required minor filing/sanding. Very rarely did I have to re-print a part. Everything fit as it did in my modeling package, so I was sure my printer was printing true.
Some pieces were particularly difficult to solve such as this windshield piece. This was in the forefront of the bike so it needed to be as clean as possible. At the same time it had no flat surface on which to sit, and no angle where it didn’t need support. The solution was not obvious. I eventually settled on some custom supports which allowed the windshield maximum resolution.
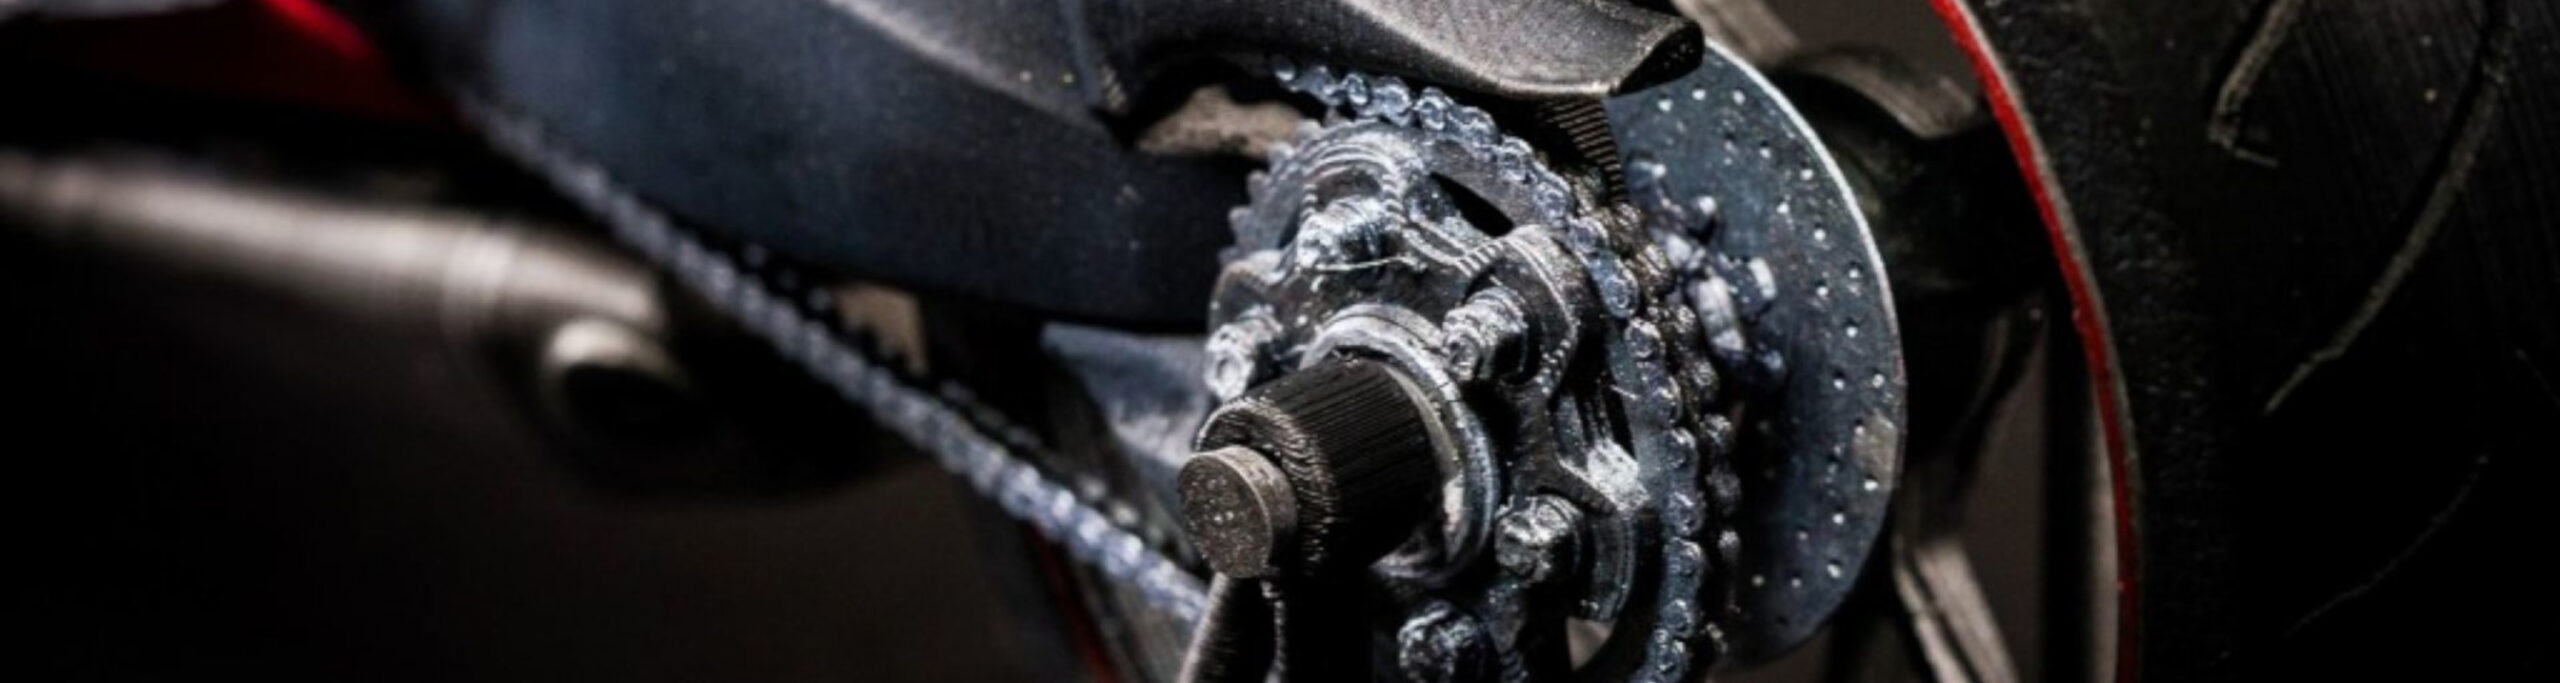
The chain printed amazingly on the Ultimaker original. The teeth of the gears actually slot into the chain. Each link is less than 1mm high. I think the results speak for themselves. FFF printers like the Ultimaker are more than capable enough to produce stunning, complex and highly accurate models that are traditionally thought to be only viable on more expense professional systems.
Try it yourself! Download and print this for free from YouMagine, courtesy of Ultimaker, designed by me, Valcrow @ redicubricks and share your own Ducati Super bike with the Ultimaker community!
Check out the full gallery of this 3D printed 1199 Ducati Superbike at Redicubricks.com.