In manufacturing, product development, or maintenance, there are many times when off-the-shelf tools can’t be used on the product you are assembling or repairing. Custom jigs and fixtures help operators ensure accurate and repeatable work, for example by guiding a tool or holding an object in place. In a fast-paced production environment, this efficiency can make a big difference to the bottom line of a business.
Benefits of custom jigs and fixtures
Jigs and fixtures have many benefits for the manufacturing industry, making working on products easier, faster, or even possible at all. They can also have ergonomic benefits by making a task easier for an employee to perform.
Custom jigs and fixtures can be designed to be adjustable, so they can handle a range of items. Alternatively, they can also be designed for a specific part.
3D printed jigs and fixtures
Creating jigs and fixtures can be time-consuming and costly with conventional production methods. Not every company has a workshop with CNC machines, and outsourcing can take weeks, is expensive, and makes iterating a design a drawn-out process.
3D printed tools usually cost around $10 to produce, whereas traditional methods can cost easily over $1,000 for the same part. By using 3D printing, you will have the first results in a matter of hours, enabling you to validate your design directly.
As many engineers know, the first design is never the right design. So being able to quickly print these parts, makes iterating to the perfect design fast and efficient. And once you have the design finalized, it’s easy to print a replacement part or share your design with other locations around the world. No matter where you need the part, with a 3D printer you can instantly create the right tool without having to deal with long lead times.
Proven examples of jigs and fixtures
Here are four examples of 3D printed jigs and fixtures, proven to save time, money, and make work easier for the user.
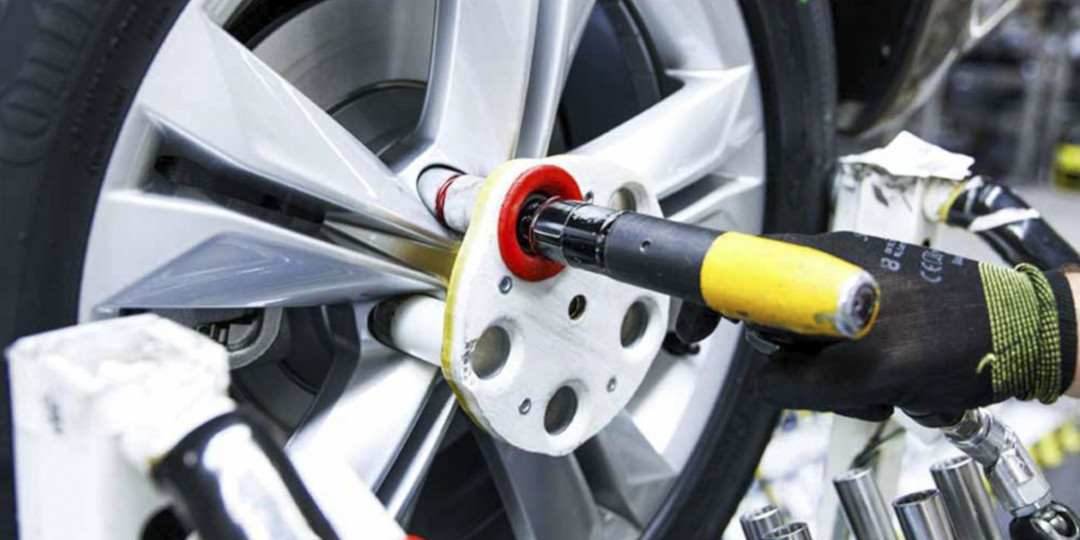
Volkswagen Autoeuropa – wheel assembly tool
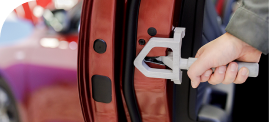
Ford – Car emblem jig (top)
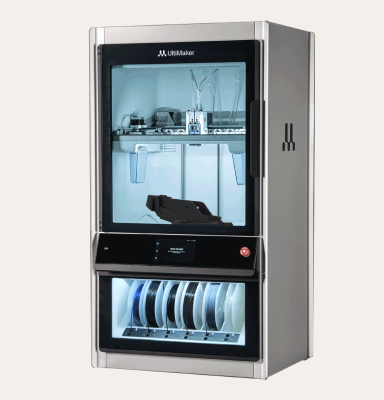
The engineers working in Cologne at Ford’s pilot plant developed a tool which they can hook on the rear of the car. This jig enables them to quickly position badges and emblems of the car on the rear, resulting in fewer deviations. The tool was printed with Tough PLA –a material as strong as ABS, but soft enough to prevent bodywork scratches. The added holes on the tool contain magnets to keep it in position. It was printed in two parts on the Ultimaker S5, and glued together in the middle during post-processing.
Volkswagen Autoeuropa – wheel assembly tool (bottom)
The engineers from Volkswagen Autoeuropa in Portugal created this wheelgun jig to guide their wheelgun into the wheel. In combination with another 3D printed jig, all five nuts will be tightened at once, without any chance of scratching the wheel’s rim. The shorter red tube guides the locking nut. It was printed in multiple parts for easy and quick replacement if damage occurs. This way, engineers don’t have to reprint the whole model, saving time and material. Since there are no extreme forces on this tool, it can be printed from PLA.
eBike manufacturing – Bicycle pedal assembly fixture
Ultimaker – Sliding block fixture
eBike manufacturing – Bicycle pedal assembly fixture (top)
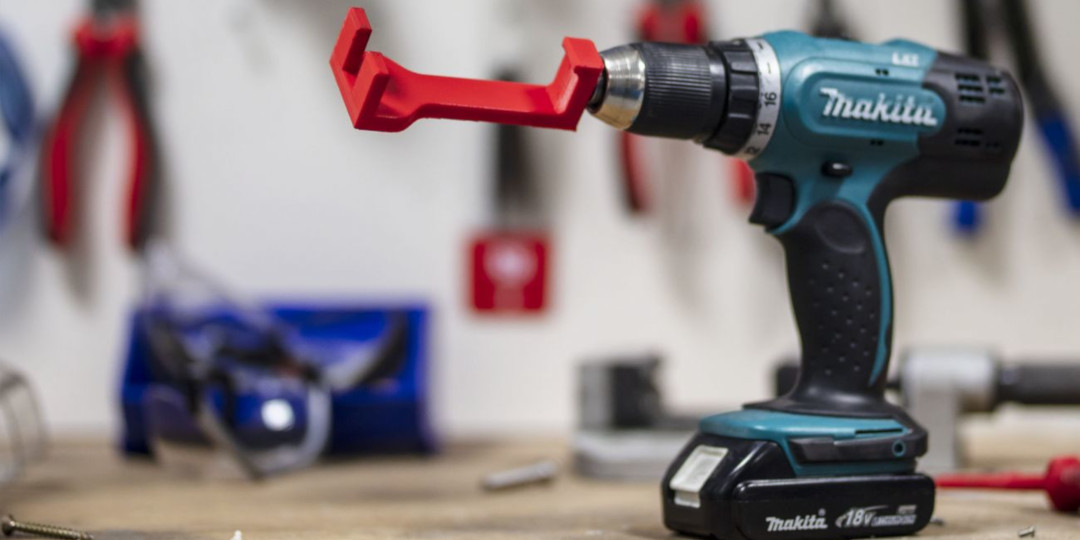
Attaching the pedal to a bicycle can be a time-consuming job since the actual nut is quite difficult to reach. Traditionally, the employee has to use a wrench and tighten the pedal manually. This 3D printed tool fits perfectly around the pedal and grabs the nut. When attached to a drill, the pedal can be mounted in seconds. Tools like these are usually printed from polycarbonate since it’s extremely strong and rigid.
Ultimaker – Sliding block fixture (bottom)
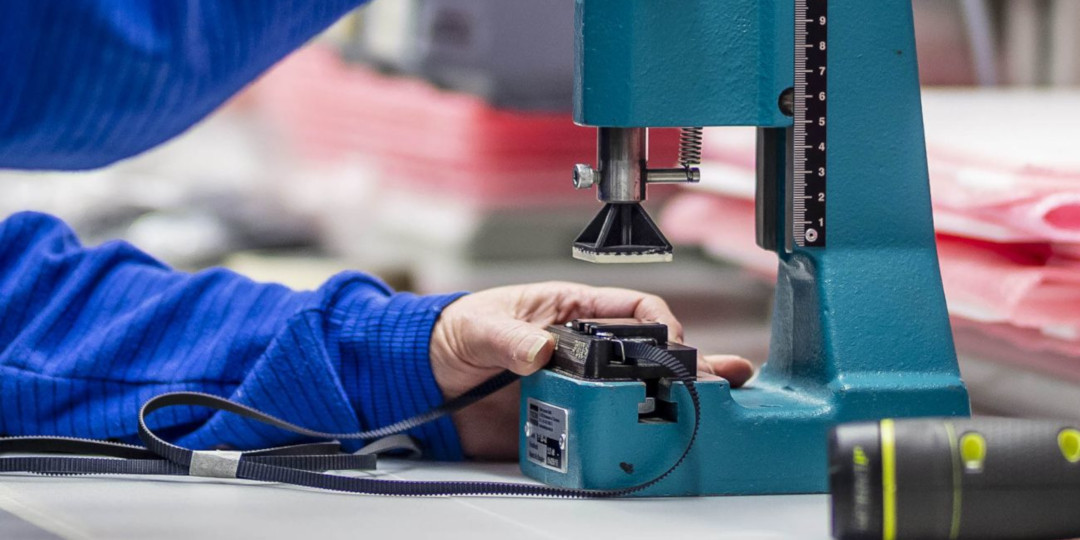
At Ultimaker, we practice what we preach. Many tools, jigs, and fixtures in the Ultimaker manufacturing facility are printed on our own 3D printers, to optimize the assembly line workflow. The Ultimaker 3D printer’s main axis are connected to the motors through the sliding blocks. This custom-designed pressure fixture helps the assembly of the sliding blocks. The lower casing is placed in the 3D printed fixture, the belt is inserted, and the 3D printed press tool will press the other side of the sliding block in place. The tool is printed from XSTRAND™ GF30 PA6 (nylon with 30% glass fiber) for extreme strength, combined with Ultimaker TPU 95A, a flexible, soft material, to prevent the tool from damaging the sliding block.
Using the right material
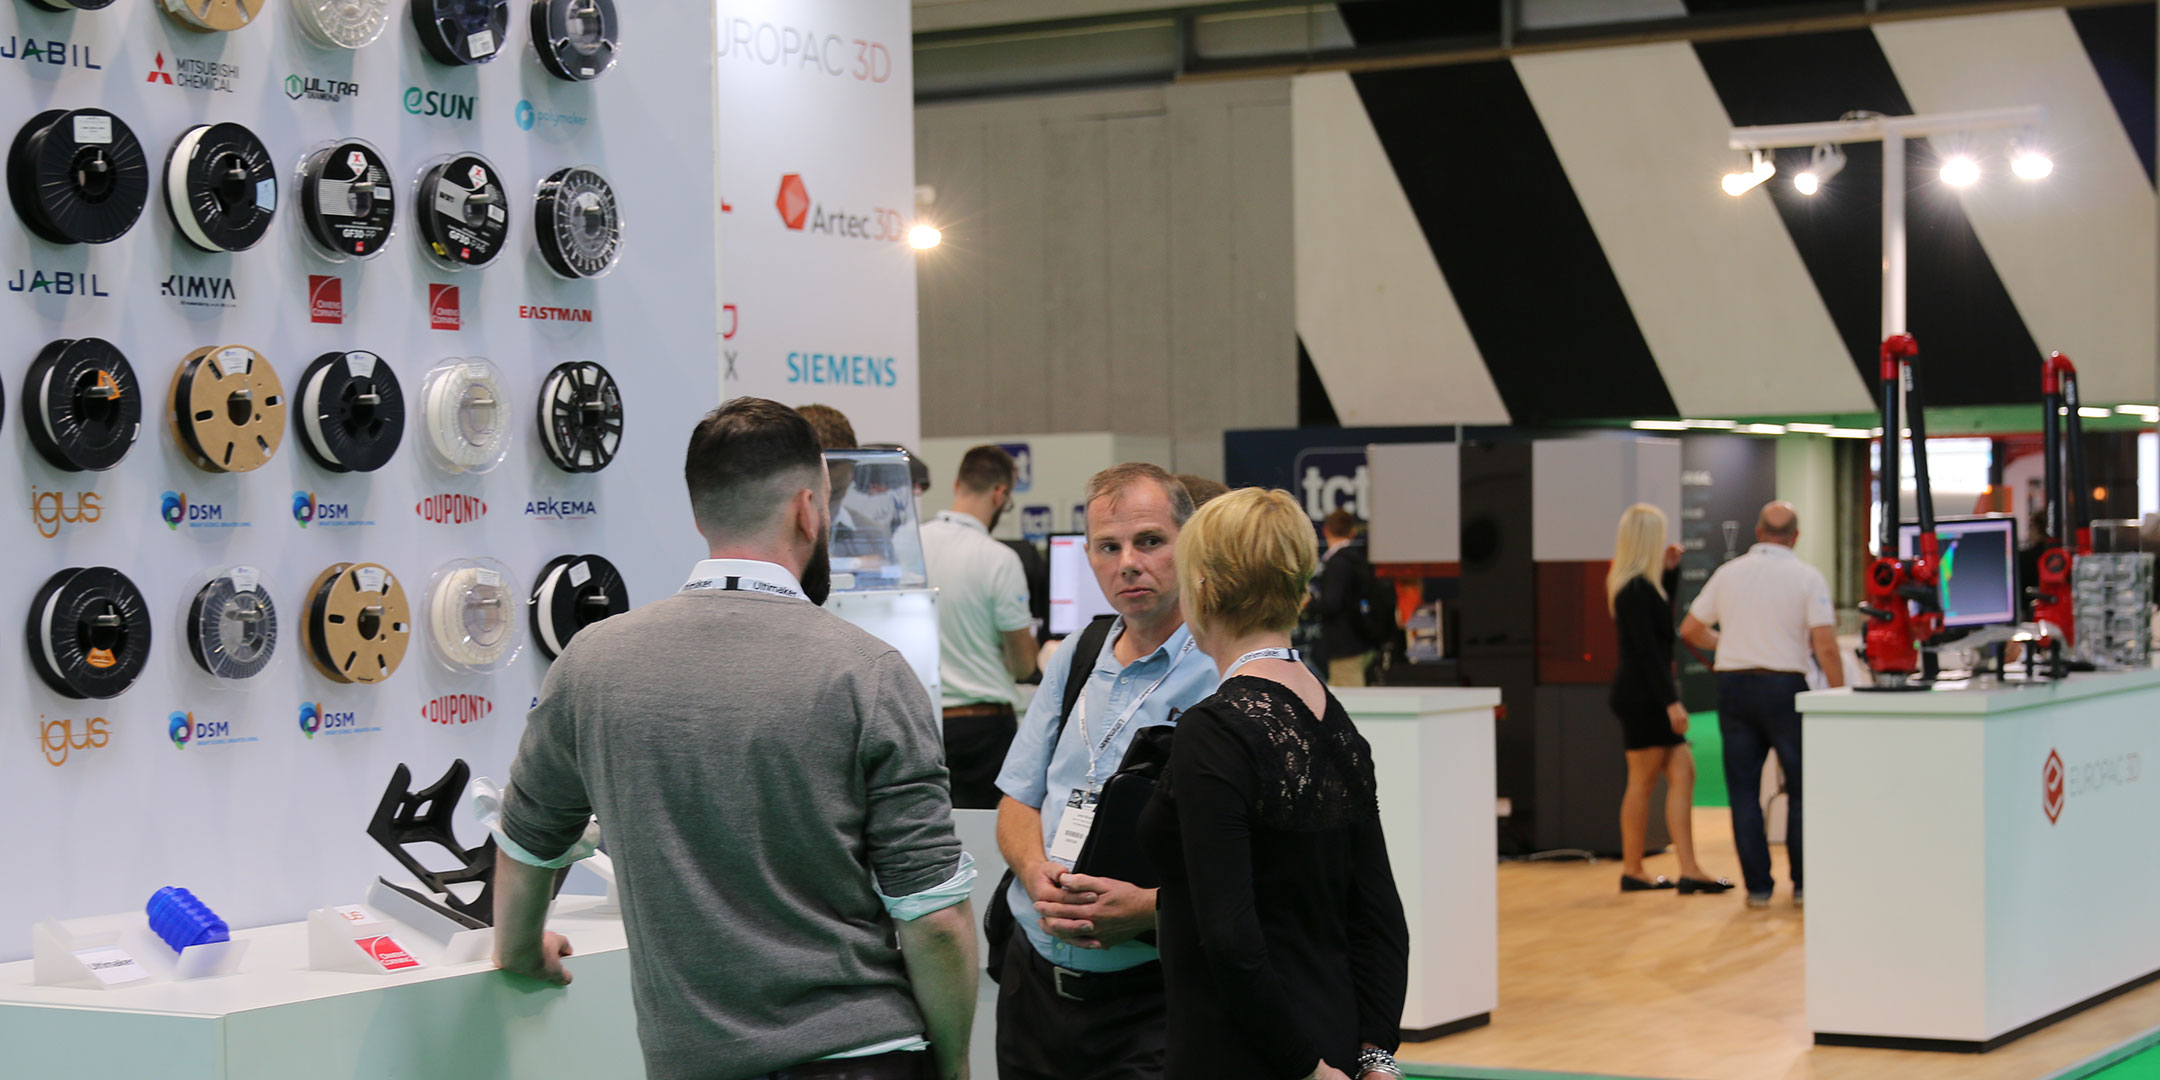
Jigs and fixtures used in factories might need to withstand high stress or temperature. That’s why it’s essential to use the right material for your jigs and fixtures. Ultimaker offers a wide range of industrial-grade materials. The open filament system enables you to use any material from any brand. Among these are a wide range of industrial plastics and carbon, steel, or glass-fiber reinforced filaments. This way, you have a constantly expanding range of strong, tough, high-temperature resistant, flexible, or rigid materials at your disposal. You can even have filaments custom-designed with the right properties specifically for your needs.
Combining materials with dual extrusion
One of the biggest advantages of our dual extrusion machines is the possibility to combine various materials. Many of our customers use materials such as Ultimaker Tough PLA for strength, combining it with the flexible TPU 95A to add grip and protect the product from scratches.
Another great benefit is the use of two colors. When a different color is used for the outside of the part, the inner color will show when a part is worn and ready to be replaced.
Learn more about 3D printed jigs and fixtures
Read our white paper to find more 3D printing applications for your business.