


Improving your 3D printing success rate with Ultimaker Cura
It is essential to properly prepare a print file before you begin the actual 3D printing process. There are many ways to do this, depending on the type of part, materials used, and many other factors. Here are a few tips on how to best prepare your print job files using Ultimaker Cura – ensuring you will have the best shot at success.
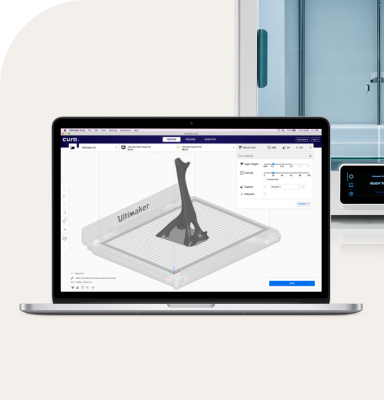
When using Ultimaker Cura, your models are "sliced" into horizontal layers and transformed into files that your printer can understand.
Ultimaker Cura’s Preview mode will show you what the layers look like and how they will be printed.
Preview mode
Preview mode has two views – X-ray and Layer view
X-ray view. With X-ray view, you don’t need to slice your model yet. Just load the model, go to the “Preview” tab and switch to “X-ray view.” This is useful to check, as you are able to quickly tell if your design is broken or not watertight. Missing surfaces will be drawn in red in X-ray view. If you try to slice it, but your design is broken, Ultimaker Cura will not be able to generate layers for it, resulting in missing layers. Should this occur, you can repair your model using tools like Meshmixer or Netfabb.
Layer view. Layer view will give you four color schemes, each with a purpose:
Speed shows you the feed rate
Layer Thickness shows you the layers and differentiates by thickness. This is useful when you have the “Adaptive Layers” setting enabled.
Material Color shows you the layers in colors, depending on material type.
Line Type is the best option when you want to better see the parts of your model
More about Line Type
Line Type is especially useful, as it shows detailed information about specific parts of your print.
Helpers (in cyan) are commonly printed with your support material, but are not part of your model. These helpers are printed parts that you will not see in Solid View. Rather, helpers exist to ensure the quality of your printed model. They are the following:
Support structures – so your overhangs will not fall
Build plate adhesion – the skirt, the brim, raft – so your models stick better to the build plate
Prime towers – structure typically placed at the back of the build plate so that the nozzle can wipe the oozing material. This helps prevent stringing when switching nozzles
Shell (in red) represents only the vertical outer wall of your model. Do not confuse this with top or bottom surface, or the skin. The green wall is the inner wall. Inner walls go between skin or infill the inner parts of the model and the outer wall. The outer wall will always be present, although this may not be the case for the inner wall.
Top/Bottom (in yellow) represents the skin – the horizontal parts of the model including the top-most parts and the bottom-most parts.
Infill (in orange) shows how your model is filled. Ultimaker Cura has different distinct infill patterns. You can also modify their density.
Different grid infill patterns available in Ultimaker Cura
Travel moves (in lilac and blue) When printing, we often use this view to show us where the nozzles would be travelling to. You can see Z-seam or you can use this to optimize your travel moves. Blue lines are regular travel moves, while lilac lines represent a travel move with material retraction. This prevents a lot of oozing when the nozzles travel on your printed parts.
In Preview mode, Ultimaker Cura also has Simulation view. This essentially shows how your nozzle travels – you can even see it moving!
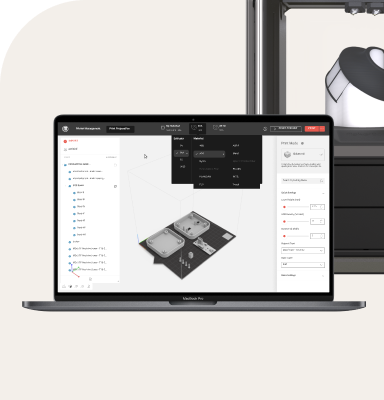
Dual extrusion
Ultimaker Cura also allows you to choose an extruder to print certain parts of your models. In the below image, the model is printed with extruder 1’s red PLA, but we modified the outer wall extruder to use nylon – seen here in white.
A 3D printed part designed to alert the user to wear
This model was created to push cans off of a conveyor belt. The outer wall will be printed with the color white. This way, when the outer wall wears down, the red PLA will show up, indicating the part’s need for replacement.
There are many other ways that you can use dual extrusion feature:
Complex geometries – use the second extruder for printing with support material, such as dissolvable PVA
A gearbox printed with dissolvable PVA support material
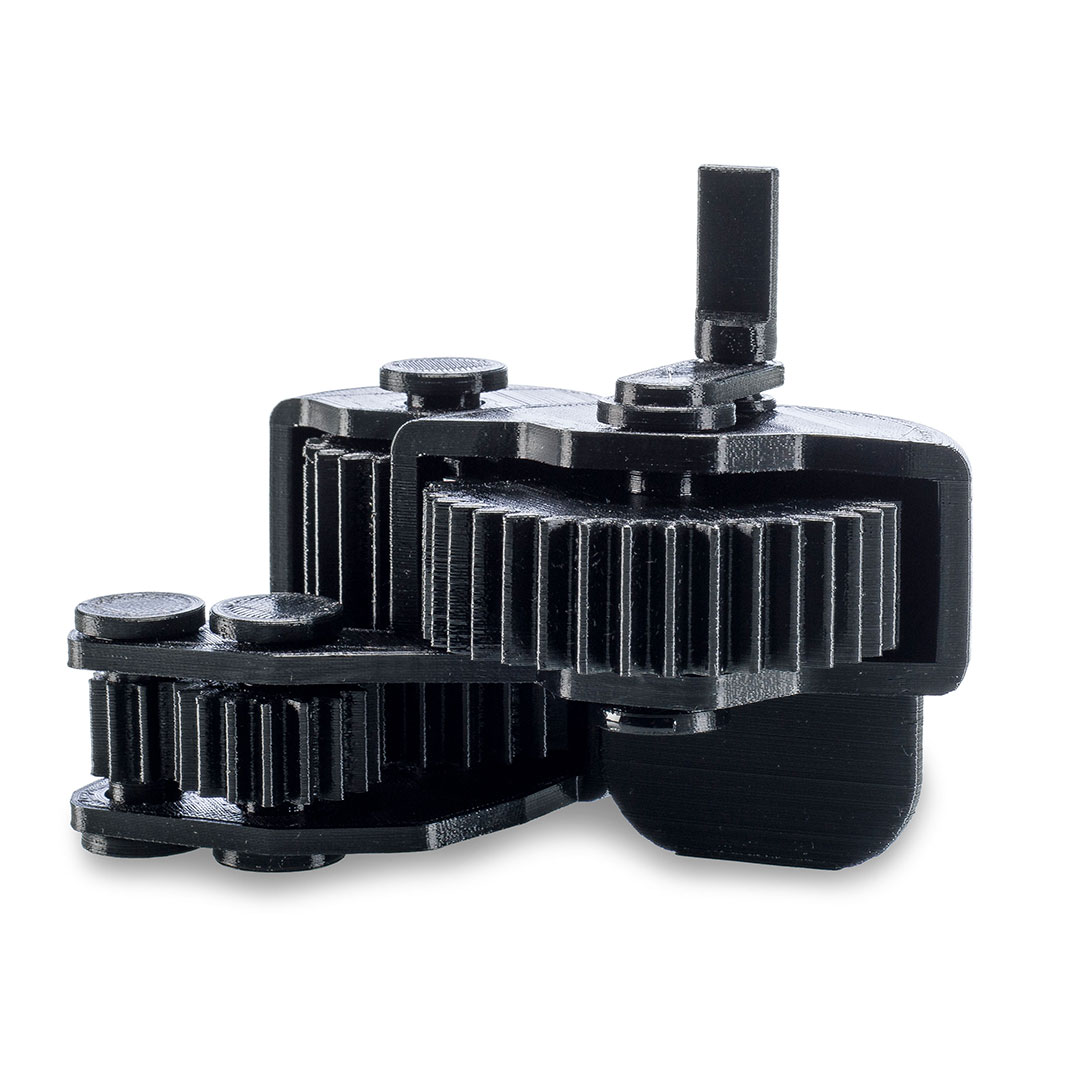
After the PVA support material has been dissolved
Color coding – the different color line indicates a marker for quality tools
Combinations of hard and soft materials
Text integration to vividly show labels
Mesh modifiers
These are features that allow you to make modifications to your print’s design without having to open CAD.
Custom support. Allows you to change the properties of a mesh so it will be printed as support. This lets you put support yourself on areas you need, instead of having Ultimaker Cura automatically generate it. It is best practice to use support when your overhang angle is 45° or lower.
Support blockers. Prevents support from being generated on the area where it overlaps with the model. This can be useful on areas in which Ultimaker Cura has generated support, but that don’t necessarily need it.
Mesh settings modifier. Modifies the settings of the overlapping area. This is particularly useful in different ways. For example, you can strengthen or soften an area of your model by changing the density of the modifier mesh.
Want to learn more?
Interested in learning more about creating the best possible print with Ultimaker Cura? Check out our free webinar, which offers a deep dive into the topic.