Jessica Lamarre is a librarian and makerspace coordinator at the Duxbury Free Library in Plymouth County, Massachusetts. In this article, she reflects on her experiences about how a 3D printer in a local community can be a powerful educational tool.
Imagine you are an eight-year-old and I told you that you could make anything that you wanted with a 3D printer and a little patience. What possibilities could be in store? What could you make?
We first thought that 3D printing would be a service at our library, just as we offer wireless access or inkjet printing. Our original makerspace initiative goal was “to provide a space where people can collaborate, innovate, and create using resources, tools, and collections provided by the library. People could play, tinker, or pursue their personal or professional goals.”
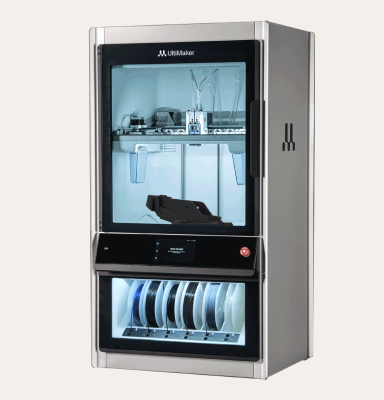
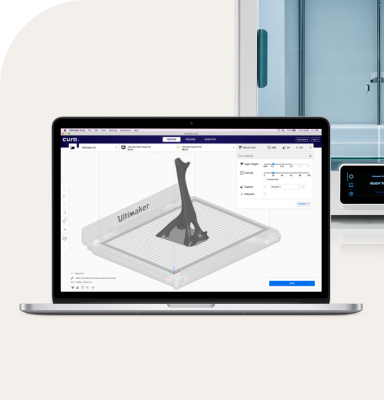
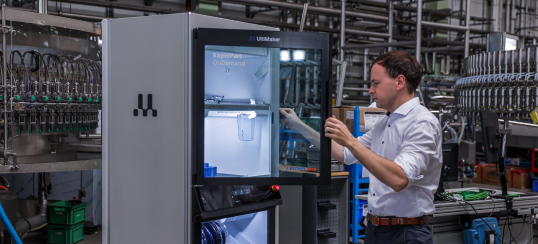
After purchasing an Ultimaker 2 with grant funds, we planned on running a monthly introduction to Tinkercad classes for one year to provide a jumping off point to empower patrons to go forward on their own. One library family member not only won first place in their 5th-grade science fair by presenting a project on 3D printing with the Ultimaker 2, but also co-taught an introduction to Tinkercad class for his Boy Scout Troop. This further inspired a parent to request a 3D printing jewelry class for the Girl Scouts. Now, two years later in our 3D printing journey, patrons still want a regular class structure to learn, be inspired, and have print help available. Every month, I still conduct Introduction to Tinkercad classes and have expanded to popular trends like Halloween-inspired printing, draw-to-print classes, and fidget spinners for repeat students.
Our teen librarian spent a summer with a maker-in-residence creating an Arduino interactive display wall. Teens programmed 3D designs and printed parts to move and interact. It was quite a masterpiece!
What I have learned from this experience is that a 3D printer isn’t something that you can buy and say, “Hey, look what we have! Now go forth and print!”---it requires retraining our brains as consumers. Librarians need to provide this transitional support from consumers to creators by encouraging all levels to participate as we work with this powerful piece of technology.
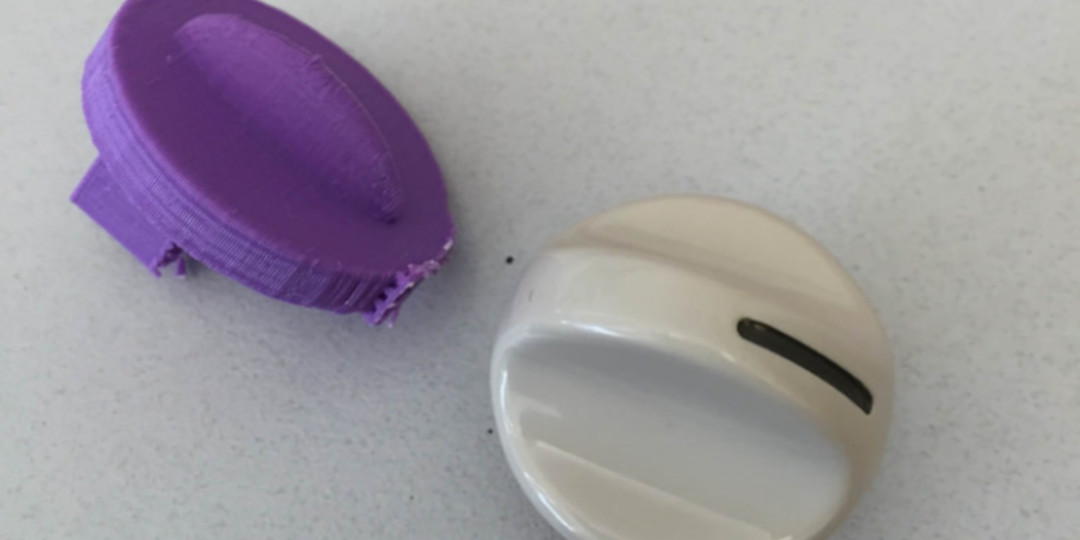
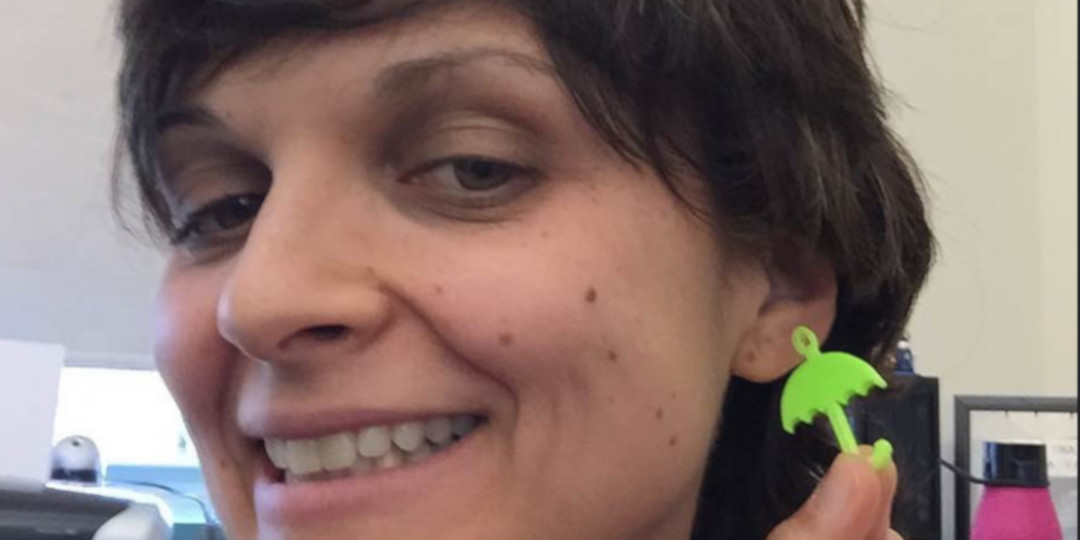
I never considered myself a “scientist” or “engineer.” These were classes that I was terrible at in school---I received 1 out of 5 on my AP Chemistry placement test and figured my days struggling through science were over after high school. The 3D printer provided an inspiring medium to learn skills that I wouldn’t have imagined possible otherwise. I was given an awesome pair of hand-knitted socks for 3D printing a replacement air conditioner knob for a staff member’s mother. I have made my own custom earrings and even presents for my friends. I’m also very enthusiastic about printing prosthetic hands for future volunteer projects. My point is that anyone can do it!---we just have to get over our fear of failure and embrace new technology. I have never taken apart a piece of machinery before the 3D printer and it felt good once I put it back together and it actually worked!
Here are some tips we have learned along the way:
1. Find someone who is comfortable taking the 3D printer apart, this can be a few key staff members or people within the community. The Ultimaker is a breeze to take apart but it is still daunting the first few times. You think to yourself, “Where did that screw go?!” The 3D printer needs routine maintenance, like any other piece of equipment, so make sure you are lubricating it and following directions in the manual. One staff member can be the key point person but if 3D printing really takes off, more staff should be cross-trained in preparing prints with Cura.
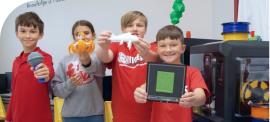
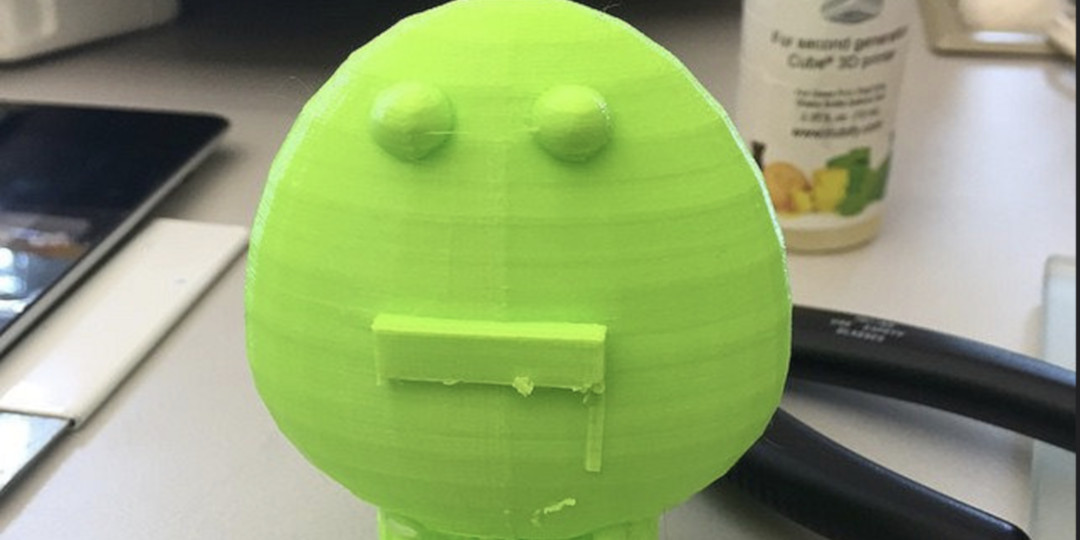
2. Make sure to have simple examples of objects that you want students to print in the introduction class. Sometimes kids will spend a lot of time during the program trying to think about what to print. We used to require everyone to make a keychain as their first lesson. We’ve also expanded to doing simple earrings or other pieces of jewelry. I don’t discourage kids if they have another idea in mind since most of our printer use is strictly during class. I’m currently printing a trophy (an eight-hour print!) from a beginner’s class for a student as I write this article. We have students as young as eight in our classes, each of which usually lasts about an hour, without parental supervision, but I do encourage family members to stay if a younger sibling wants to give it a try.
3. Find an eye-catching place for your printer (ideally somewhere ventilated). It can’t be hiding in the back room somewhere: people are still seeing 3D printers for the first time and until it is right in front of them, they might not know the library has it, feel comfortable using it, or be excited about it. This is a great way for staff buy-in, as all desk staff should be able to explain how the printer works. My first thought when I’m at a store or planning a library program is now, “Hey, I can probably 3D print that…” But it took a lot of time being exposed to the printer here to think that way. This is the same thought with our patrons. I don’t think 3D printing has become completely “mainstream” yet.
4. Think of staff uses for the 3D printer so they can “learn with a purpose.” We have made library signage such as aisle numbers, staff-pick-thumbs-up bookmarks, and Lego awards for Lego contests that we have run. We’ve fixed shelves, printed custom medallions for fandom events like Pokemon, Lego heads for stop motion classes, and more! The sky is the limit, we just have to change the way they think. I was at a restaurant last night and we had the worst wobble at our table. As I was about to stuff a napkin underneath, I noticed that a small square of plastic had become dislodged from one of the legs. I thought that I could easily re-design something and print it, and fix it to the leg to solve this problem.
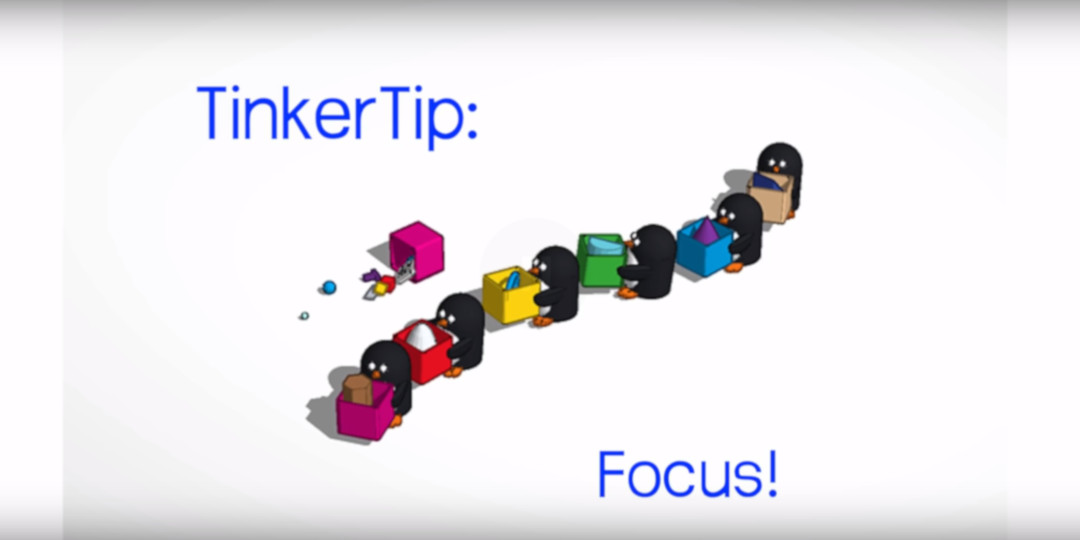
5. Stay up to date with Tinkercad. I was self-taught through a few of the beginner tutorials on the website — just enough to start teaching beginner classes — but there’s always something new to learn. I sadly just found the align tool watching the short Tinkertips videos on youTube last week!
6. The keyboard shortcuts alone are worth a print out.
7. Type D to drop. This will save you lots of time as students don’t always design everything to a flat 0mm on the workplane!
In conclusion, as social scientist Dr. Brene Brown said, “We are born makers. We move what we’re learning from our heads to our hearts through our hands.”
Now, go forth and imagine, create, and inspire!
You can read more about the library 3D printed signage here.
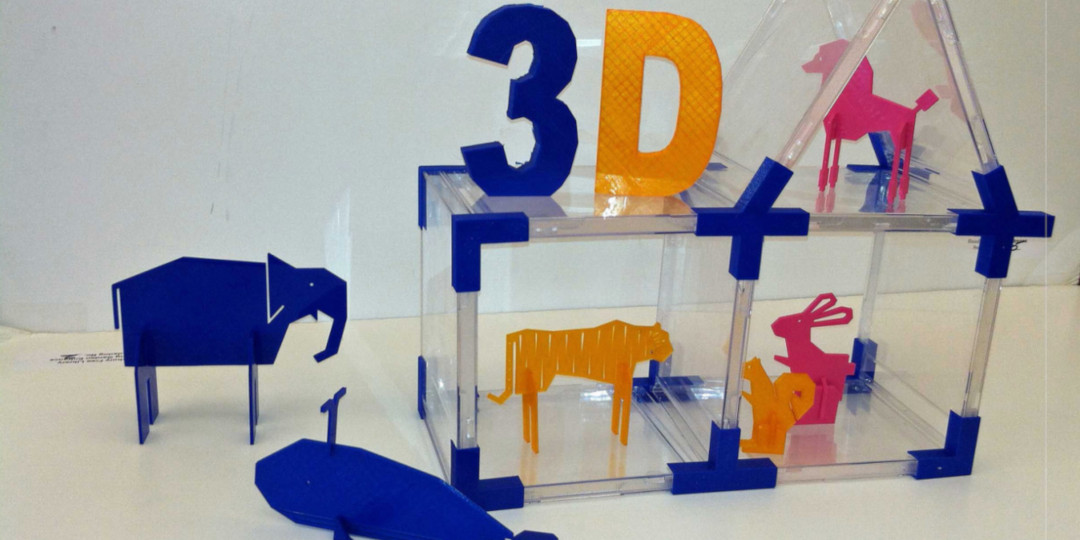
Our flickr page is where you can see many of the 3D items mentioned above.
My blog chronicles our 3D printing adventures as well as other Makerspace activities.