We owe a lot to our trusty Ultimaker Original. It’s where our journey into 3D printing began and we’ll continue to support it well into the future, just as we know our wonderful community will.
Such collaboration and our open source approach has led to many different innovations and modifications, some of which have actually made it into the factory produced machines. Think of parts like the UltiController (by Bernhard Kubicek) and the feeder (by Bertho). Besides the obvious hardware contributions, we’ve also received support with software and firmware too, like 3D print profiles. Overall, it has been an incredible platform for collaboration.
But there are lots of modifications that didn’t make it into the Ultimaker Original+. Not because they weren’t good, but sometimes they were just too complex or not really meant for the ‘general user’. We wouldn’t be Ultimaker if we didn’t share these upgrades with you – so we’ll let you decide for yourself whether or not you would like to adopt these in your machine. The modifications range from easy to expert, so make sure to read each guide entirely before you start taking things apart. In some cases you need to 3D print something with your Ultimaker Original+ too before you can pursue the mod. @Neotko from Sugarpop Store! has been a huge help in writing these manuals. We can’t thank him enough!
Ok, let’s start with the easy modifications first and work our way up to the expert mods.
Dust filter
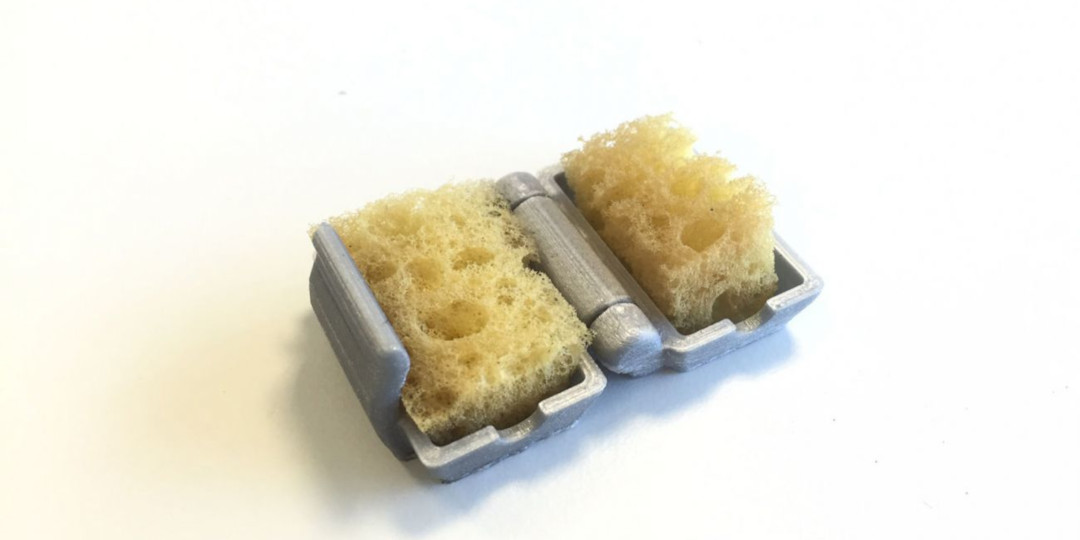
The first and easiest mod is adding a dust filter. As we’re all makers at heart, this doesn’t always mean we are cleaners at heart too! An active workspace quickly turns into a dusty workplace and this can have an effect on your 3D printer in the same room. Besides regularly cleaning the rods, this dust filter will ensure dust doesn’t travel up your filament and into your hot end.
Z-limit for bed leveling
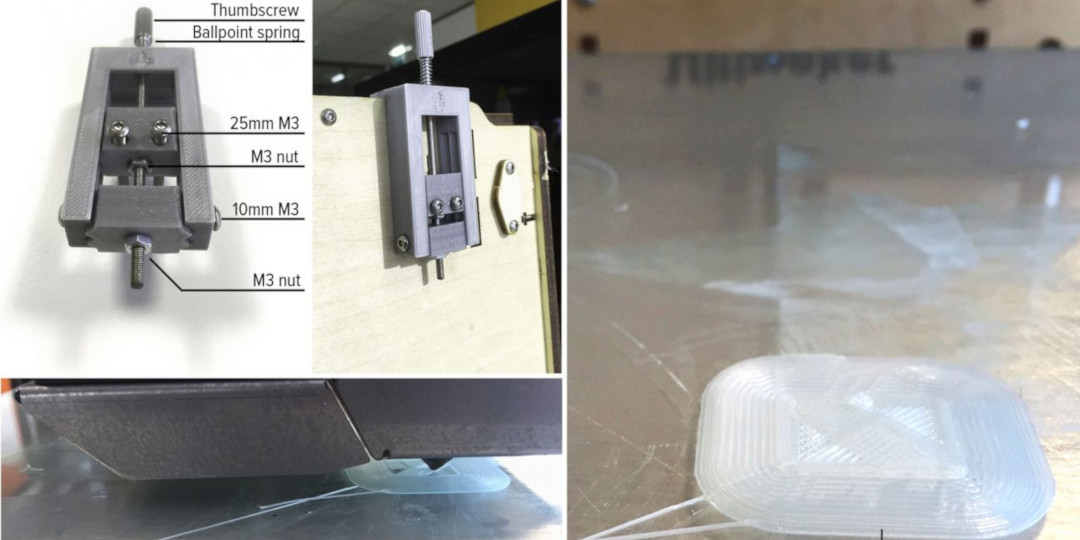
The next mod helps make bed leveling easier. I’m not talking about the thumbscrews, but the end stop which is mounted on the back plate. As it’s secured with two screws, it can sometimes be a finicky process to find the exact right place to fine-tune the bed. By adding this add-on to your end stop, finding that sweet spot will be a walk in the park!
Alternative firmware
For the next modifications you’ll need different firmware than the original. @Amedee has played a crucial role in making this more accessible for everyone by creating a firmware builder which allows a user to create their own firmware based upon their gear – with just a few simple clicks.
Dual fans
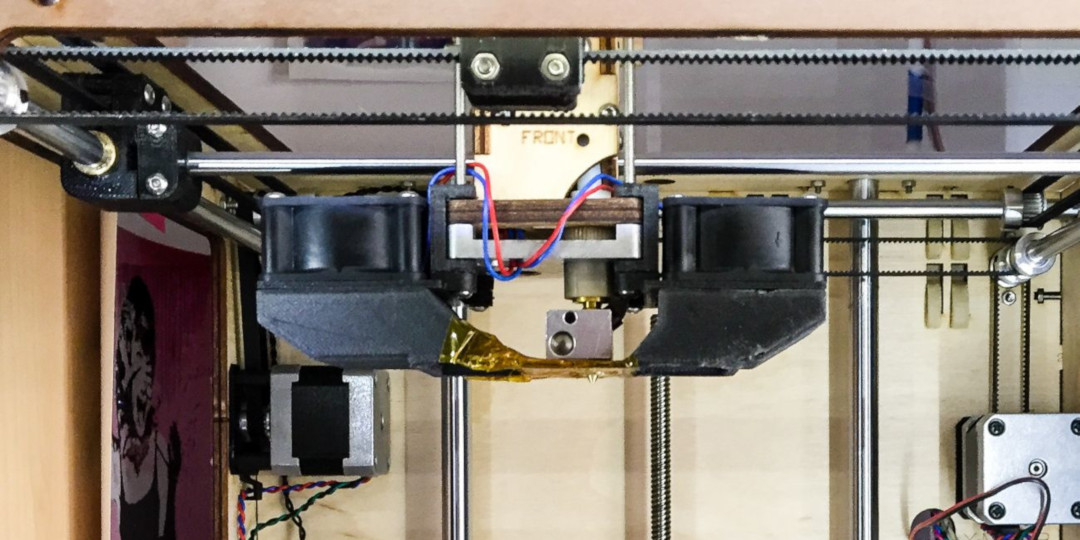
The Ultimaker Original+ has one main fan on the printhead which cools your extrusions to achieve the best surface quality. If one fan can do this... imagine what two fans could do! Through this modification you’ll learn how you can upgrade your Ultimaker Original+ with a dual fan setup. Get ready for better overhangs and even more amazing surfaces! But be forewarned, some soldering and 3D printing is required.
1.75mm filament conversion
Ultimaker has always used 2.85mm filament for its machines. Some other 3D printers use 1.75mm filament, usually those with the extruder motor on the head. If you happen to have multiple 3D printers it can be desirable to be able to stock up on just 1 type of filament for all your machines. The Ultimakers have an open filament system so you have lots of freedom in what type of material you choose, and now you can also be flexible about the size! If your other 3D printers do not allow you to modify them for 2.85mm filament, there is an option to convert your Ultimaker Original to 1.75mm. Be aware that this modification relies on third party parts and it’s really only something experts should attempt.
We have retained this article as a guide for Ultimaker Original owners who want to eplore upgrading their printer. But please be aware that not all upgrades may be available now. Check with your local Ultimaker reseller or search online for parts.

