We kicked off the schooling blog last month with a topic about maintenance. Looking forward we will cover the entire range of what’s involved with 3D printing, but for now we’ll focus on 3D printing in general.
Everyone who owns a 3D printer agrees there are certain ways of doing things to get the most out of your 3D printer. To help give you the lowdown on these best practices we’ve combined the knowledge of our local Ultimaker experts with our online knowledge base to regularly present a collection of tips. Sharing is caring people! If you follow along with these blogs you’ll become a specialist in no time. But just to be extra sure you don’t miss anything, make sure you register to our community.
When preparing a print, choosing the right 3D printing profile makes a really big difference. It’s why we put a lot of work into Cura to make it as intuitive as possible, with default profiles and the option to open the hood so you can get more in-depth when you’re ready. To help you get to that point, we’ll be covering subjects like: what guidelines are important to know, what are important settings, what do all those settings in your Tune menu mean, why do we use 2.85mm filament and how do you improve your overhangs? All will be revealed – just keep on reading!
Please note: most of the tips are demonstrated on an Ultimaker 2 but also apply to the Ultimaker 2 Extended and, except for the heated bed parts, also apply to the Ultimaker 2 Go.
Start of a print
A lot of things happen when your Ultimaker starts a print. Let’s start at the beginning. The first thing is that the third fan on the back of your printhead starts to spin. This fan is aimed at the PTFE coupler and at the end of your Bowden tube. The idea is to keep that part cool, so the heat can’t travel up the tube and cause trouble. It also helps to keep the molten plastic area as small as possible – the rule is that the less molten plastic there is, the more control you have, i.e. high-quality prints. Your printhead will move toward its starting position. From that position on it will calculate what the next steps are to complete your print.
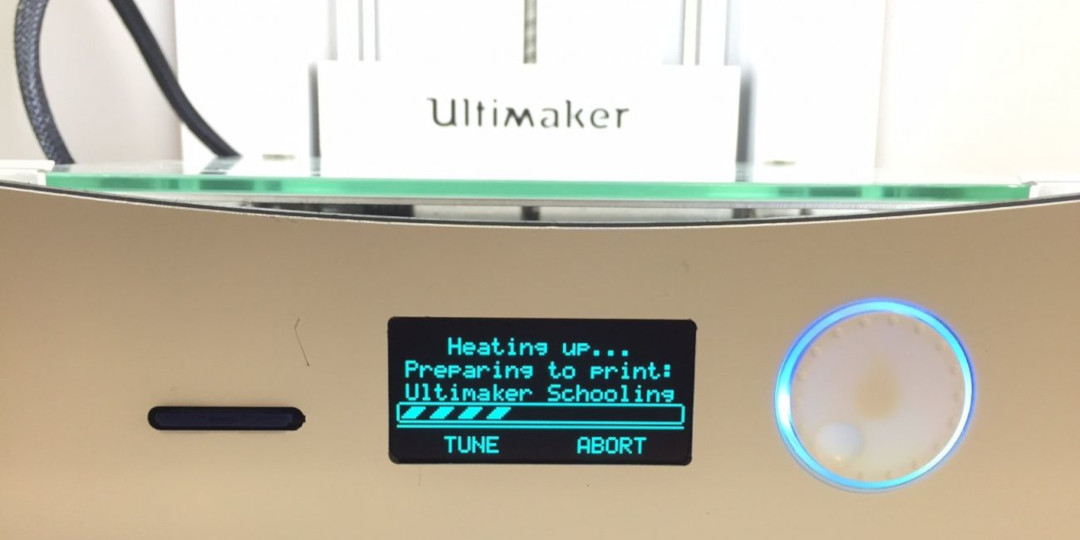
The next step is heating.
Heating up the build-plate
The heated bed heats up first and when it’s reached the correct temperature, the printhead starts heating – the reason being you don’t want the printhead to heat up and sit idle for a few minutes. In fact, this is important for a couple of reasons; first you don’t want to risk the filament inside carbonizing and clogging the nozzle. Second, if the filament has heated up it will of course melt and your nozzle will slowly run empty. That’s not good as you need a full nozzle when your print starts to build pressure in the nozzle so can you start extruding with control.
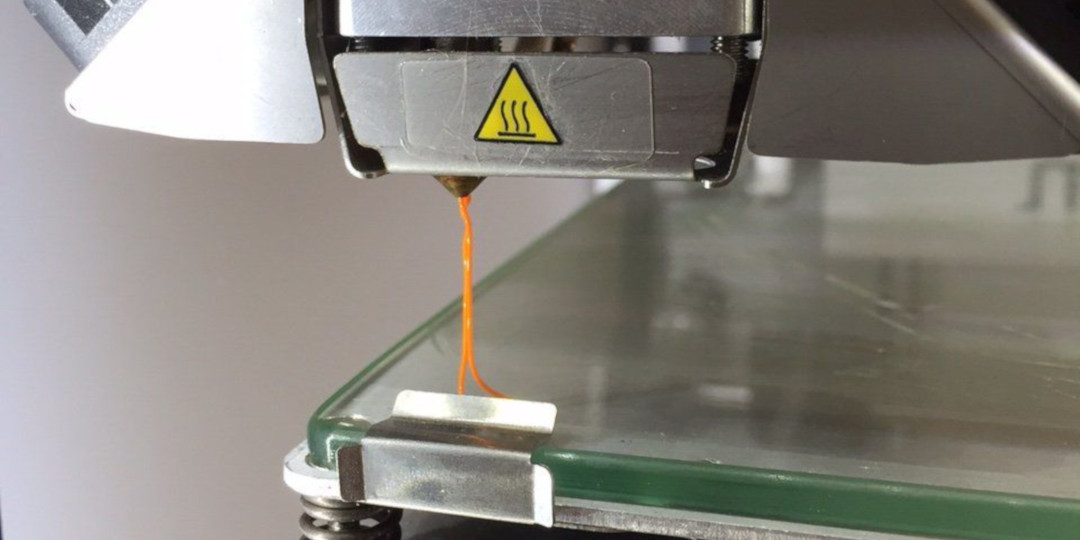
The last step of the start up cycle is ‘priming’. Priming is what your Ultimaker does to make up for the filament that inevitably leaked out during heat up.
When it has primed 3mm of filament, the platform moves up and ‘the skirt’ is printed. The aim of the skirt is to wipe off any residue from the filament before moving onto the actual print.
Tune the settings on your Ultimaker
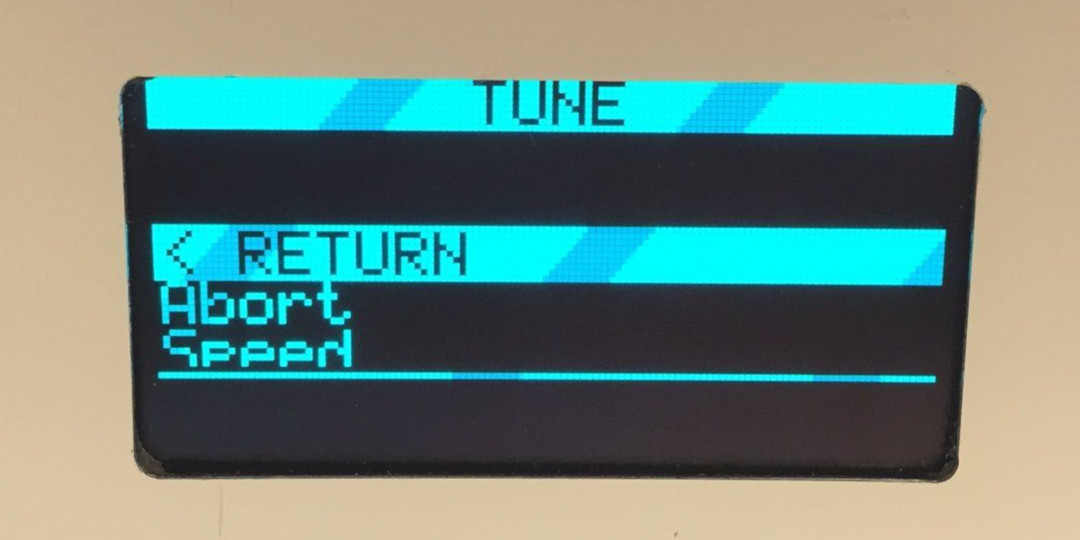
What do all the options in the Tune mean mean? Read on…
Abort
When you start a print and then decide to cancel it, just click 'Abort' and your Ultimaker 2 will discontinue its 3D print. Both the printhead and build-plate will start to cool down.
Speed
When slicing your model, Cura is set to a certain speed. Let’s say you sliced your model at 50mm/s. In that case speed (100%) means 50mm/s. With that logic, 200% speed would be 100mm/s and 50% would be 25mm/s. Cura will adjust the material flow by itself if you decide to change this speed. So you won’t have to worry about that. However, when speeding up or slowing down, it is recommended to adjust the temperature as well. This is something you have to do manually. We’ll go through this in more detail later.
Temperature
The default temperature on the Ultimaker 2 family is 210ºC for PLA. But when you’re in the temperature setting you can change this. Depending on your speed and resolution you may want to consider turning the heat up or down a little bit. For ABS the default temperature is set to 240ºC. You’ll see two temperatures displayed on your Ultimaker, the first one shows the actual temperature the sensor is reading that moment, the second one shows what temperature it’s working to.
Build-plate temperature
Just like the printhead, the build-plate has two default temperatures. For PLA it automatically goes to 60ºC, for ABS it is 90ºC. The representation of the temperature is similar to the printhead temperature. The first temperature is the actual reading, the second one is what it’s aiming for.
Fan speed
The value this setting represents will depend on when you check it. On the first layer the fans are turned off, but layer by layer they increase in speed. Cura influences when they will turn on and at what intensity. It’s all very clever stuff. Obviously, when you are more familiar with the ropes you can tweak these settings youself.
Material flow
By default, material flow is set to 100%. How much it extrudes is based on a few different values like the filament diameter. When you open up a new reel of filament, or try a different brand, make sure you double check that the diameter matches whatever value is entered into Cura.
Retraction
Length 4.50mm
This is the right length of filament needed to retract when traveling between two parts. In the previous schooling blog we told you how to make sure your Bowden tube is perfectly seated in the printhead. In this case 4.5mm is a great value – but if there’s some room for play, you can increase this value. However, if the value is increased too much, there’s risk of stripping your filament and allowing air to get into your nozzle. The result is an inconsistent extrusion. Therefor we recommend to be carefull changing this setting.
Speed 25mm/s
The most optimal speed for retracting is 25mm/s. Going faster could reduce the time spent retracting, but it also adds to the risk of grinding your filament.
Led
By default your Ultimaker’s LED lights are set to 100%. But if you want, you can turn them down all the way to 0%. Choose whatever you feel comfortable with.
Adhesion
A lot of the tips we’ll be sharing below are about improving your print, but before we can start improving we first need a solid foundation. One very crucial thing you have to get right is adhesion, because without adhesion all is lost.
The concept: The first layer of your 3D print needs to stick to the bed and stay there. It is the starting point of your print, and will be used as a reference for the entire continuation of your 3D print. If the adhesion fails, your 3D print will most likely be dragged along with your printhead and an abstract blob of plastic will start to form at the bottom of your printhead.
You’ll end up with a waste of time, a blob plastic and some cleaning work. So…let’s get that adhesion working! The first thing you need is a clean bed. Whether you’re using blue tape on your Ultimaker Original or a glass plate on your Ultimaker 2 (Go / Extended) – dirt or grease will undermine your adhesion. Blue tape should be replaced after a couple of runs and the glass plate should be cleaned with warm water when it looks like there is too much adhesive residue or dust/dirt.
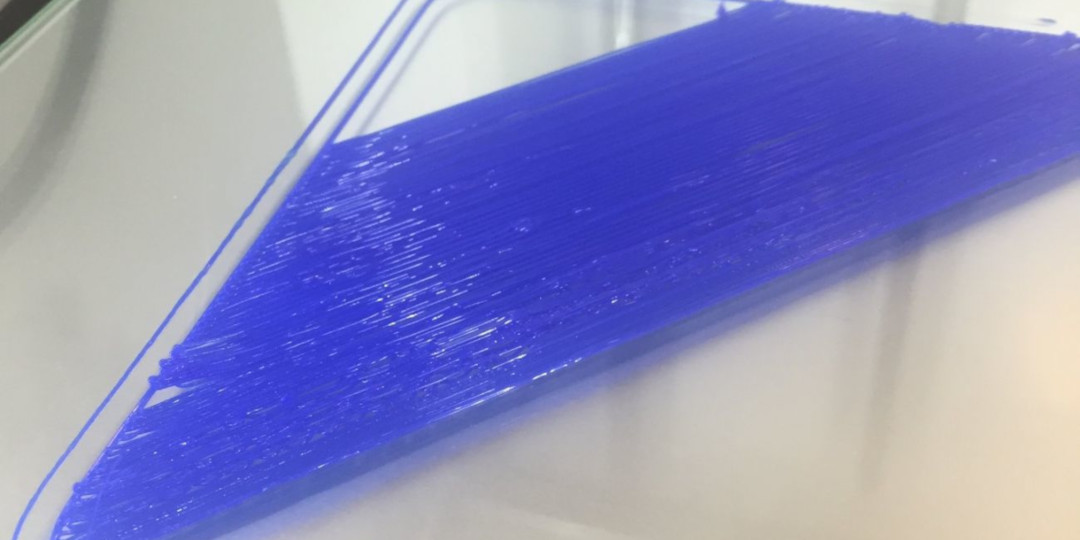
Bad bed levelling, bad adhesion
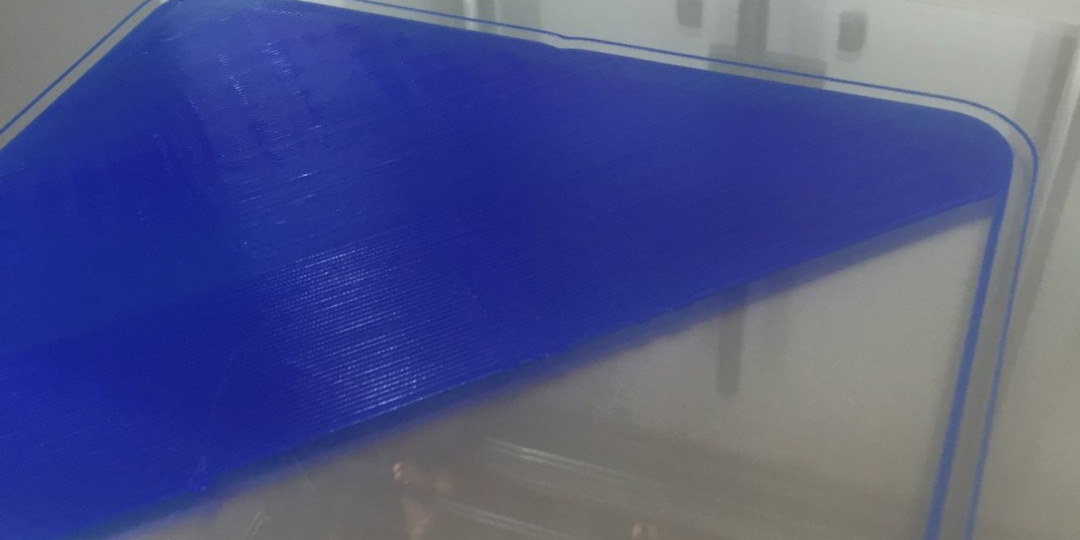
Good bed levelling, good adhesion
Next step: Bed leveling. The best option is to use a feeler gauge but we don’t expect everyone to own a feeler gauge, so in that case use a regular sheet of 90gr paper. When leveling your bed there’s a wizard that will help you get it right, so I won’t focus on how to do this. But to help give you an idea, I’ve added a picture above of a bed that’s correctly leveled and one that isn’t. If there isn’t any extrusion halfway during the first layer, push the bed down for a second with your thumb. If you suddenly do see extrusion, your bed is probably too high and blocking off your nozzle. This can cause problems in your nozzle and in your attempt to remove your print when it is done.
Thirdly, when you have a clean bed and you’ve leveled it correctly, you’re all set to go with a ‘cold bed’ (Ultimaker Original and Ultimaker 2 Go). However, when you use a heated bed there is one more step to be taken. Find the right temperature! This mainly depends on what material you use.
PLA: 60ºC. You can choose to use a regular glue stick as an additional adhesive if your print has a very big footprint, but this isn’t mandatory.
ABS & CPE: 90ºC. We recommend that you use a glue stick to increase adhesion. Try to prevent draft from accessing your Ultimaker.
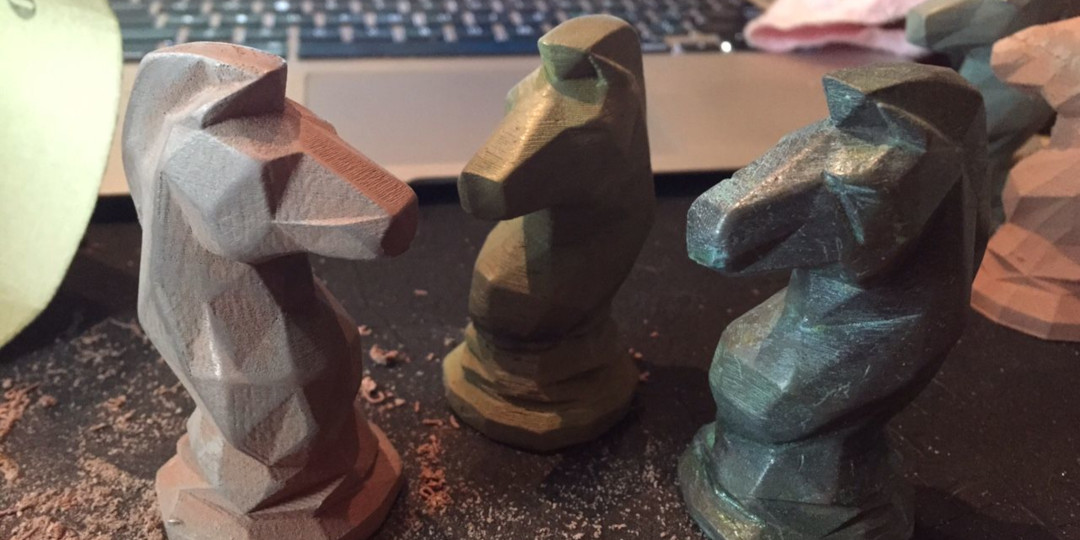
Since Ultimaker uses an open filament system, there are many other filaments to use like Woodfll, Bronzefill, Ninjaflex and Nylon. We recommend you get in touch with your supplier to find out what the best print settings are for these materials. Enjoy!
Finding the balance
When you’re getting ready to start a 3D print, a crucial step in the process is selecting or creating an optimised printing profile in Cura. One important concept in all of this is to find the balance.
This goes for a lot of things, but what I’d like to focus on in this part is finding the balance in comparison to your speed. Your stock Ultimaker is capable of extruding approximately 8mm3/s. It’s the outcome of the following calculation:
speed × nozzle diameter × resolution
e.g. 100mm/s × 0.4 × 0.1 = 4mm3/s
In this example the outcome is 4mm3/s. If time is not on your side, lowering the resolution to 0.2 will probably give you a better result rather than doubling the speed. The calculation would be 100mm/s × 0.4 × 0.2 = 8mm3/s.
When deciding on a speed for your print a rule of thumb is to consider what shape your model is. For example, not every model can be printed at 100mm/s. For starters you need big surfaces for your printhead to even reach the desired 100mm/s with acceleration in mind. A dice is a relatively simple shape, but given its size, a printhead will most likely not make it to 100mm/s. For that reason there is no point increasing the speed when you want to save time. The other value you can change is your resolution. In this case you would save time printing at 60mm/s × 0.4 × 0.3, which results in a print time of 7 minutes.
The third thing you should consider is what resolution you find acceptable. Usually a model with walls going straight up are more forgiving towards a lower resolution. But with this small dice its engravings, 0.3mm (300 microns) may be too much.
In this example, you can choose 0.15 (150 microns) to reduce the optical lines on your print.
Making the equation: 60mm/s × 0.4 × 0.15.
The optimal compromise between speed and quality would then be a print of 13 minutes.
Besides size, the complexity of a model also comes into play when deciding on the speed. A small, simple model can be printed faster (in mm per second) than a normal sized, very complex model.
Dice at 150 and at 300 micron
Turns out, the Ultimaker is so awesome it even printed the dice perfect at 0.3mm.
Regardless, hopefully you’ll get the idea.
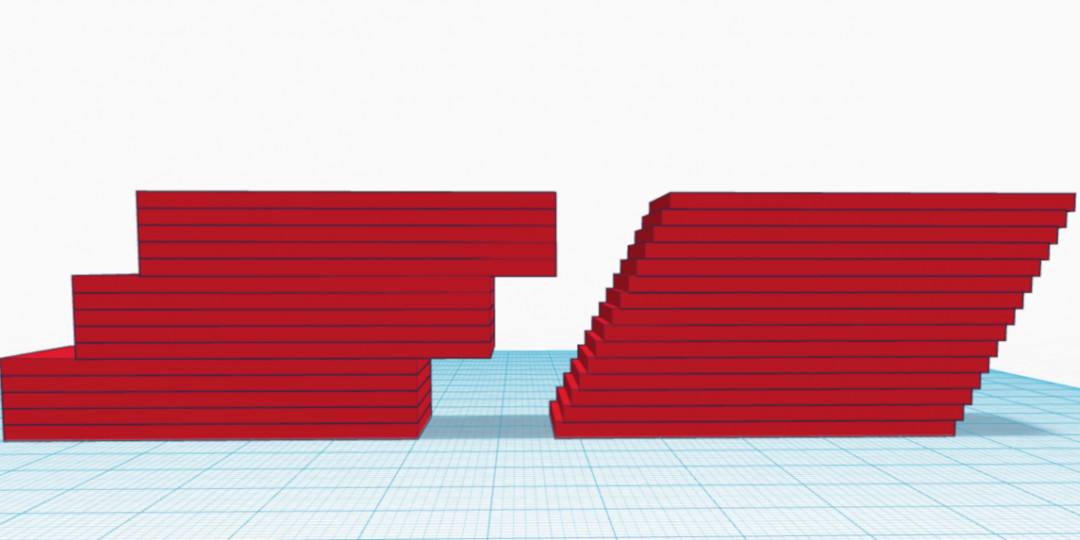
Overhangs
Difference in overhang between resolutions
One of the trickier challenges you can run into are models with overhangs. An overhang typically is a curve leaning outwards. The best way to deal with this is rotating the overhang towards the left. The fan on the left is aimed most efficiently at the nozzle and will cool your print better. Efficient cooling is super effective for overhangs. Your second weapon in combatting overhangs are high resolutions.
Thin layers weigh less and cool down faster. In the case of overhangs each layer is expected to slightly lean over the previous layer. Thicker layers are expected to lean further, are heavier and cool down slower. For example for each thick layer, you have five thin layers to cross the same distance. So to summarise, proper cooling and thin layers work best against overhangs.
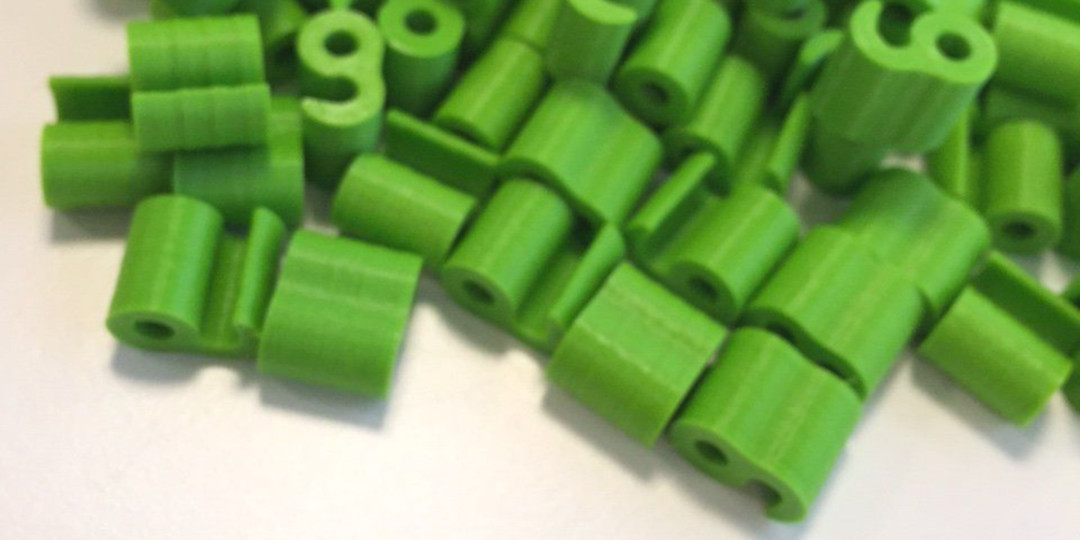
2.85mm filament
At Ultimaker we work with a diameter of 2.85mm. The alternative on the market is a 1.75mm diameter, and we’re often asked why we chose to work with 2.85mm and if there are any advantages. The reason is pretty simple - allow me to explain. In the early days when 3D printing was starting to surface there was somewhat of a shortage of 3D printing material. Plastic welding filament was commonly available matching most of the requirements of 3D printing. Therefore it was frequently used because, well, it was available. These plastic welding filaments were, as you may have guessed, 3mm in diameter. Through time, 3mm filament evolved into 2.85mm.
Ultimaker is now almost 5 years old, and looking back we were one of the first companies starting this 3D printing revolution. If you combine the above with our decision to work with a Bowden tube set-up (the feeder motor is at the back; pushing the filament forward) it makes sense that we use 2.85mm filament.
A thicker 2.85mm filament provides more control during its travel than a thin diameter. This is emphasized when printing flexible materials. Saying that, the advantage of 1.75mm mainly comes into play when the feeder motor is mounted on the printhead. The length it has to travel is significantly smaller and therefore easier to control. And another advantage of 1.75mm is when you print very small, like under 10mm, the extrusion flow will be easier to control.
All tied up
The last tip for today is a quick tip, but can save you a lot of frustration. When unpacking a new reel of filament, or unloading it from your Ultimaker, make sure you hold on to the tip of your filament. If it gets loose and unwinds uncontrollably, it’s likely you’ll end up with tangled filament later down the road. There are several quick fixes available, but personally I like this one.
That was all for this schooling blog. Hopefully you have learned something new again. Next blog I’ll focus on materials!
And make sure to register on, or at the very least regularly visit the forum to become an expert yourself and get all the tips and tricks you can handle!