Kristen Schreck, Ultimaker Pioneer and Associate Professor of Mathematics, follows a practice of "passing it on" — collaborating with colleagues to spread 3D printing across disciplines at Saint Xavier University.
How it all began in mathematics
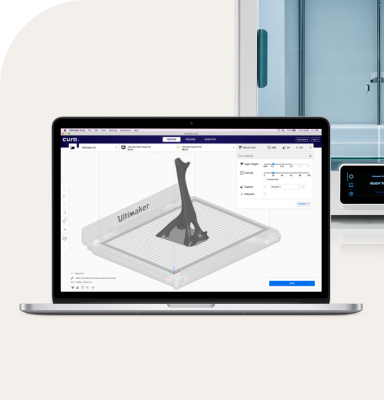
My journey to integrate 3D printing into the curriculum of the mathematics courses I teach at Saint Xavier University (SXU) began in the fall of 2016 in Multivariable Calculus with the Pioneer Program and an Ultimaker 2+ 3D printer. My students and I were accustomed to working with the mathematical computing programs, Mathematica and Maple, to render plots and animations of curves and surfaces in 3D. We used them to explore and illustrate the properties of a myriad of parameterized surfaces, observe their characteristics, and test our theories and conjectures.
Generating the 3D plot of a particular surface brought to life from its equation, being able to rotate it in any direction, or look down one of the coordinate axes to get a bird’s-eye view using these math software programs, certainly has its own wow factor and makes the mathematics more meaningful to students who are just learning it. However, it’s hard to top watching a mathematical surface, that you have created, emerge layer-by-layer for the first time upon the bed of a 3D printer. It is a most remarkable sight! The iterative process of writing code in the math software, creating a successful 3D plot, and tweaking the design (in other programs, where necessary) to finally obtain a successful 3D print gave my students overwhelming satisfaction and ownership of the complex mathematics they were studying.
I have since integrated 3D printing into the curriculum of many of the other math courses I teach: Calculus I, Modern Geometry, History of Mathematics, senior seminar student capstone projects, and general education mathematic courses. From the moment those memorable first 3D prints of mathematical surfaces appeared, it’s been my aim to enthusiastically further and infuse the 3D modeling and printing process in my own field and to share what I have learned with educators in a wide variety of disciplines.
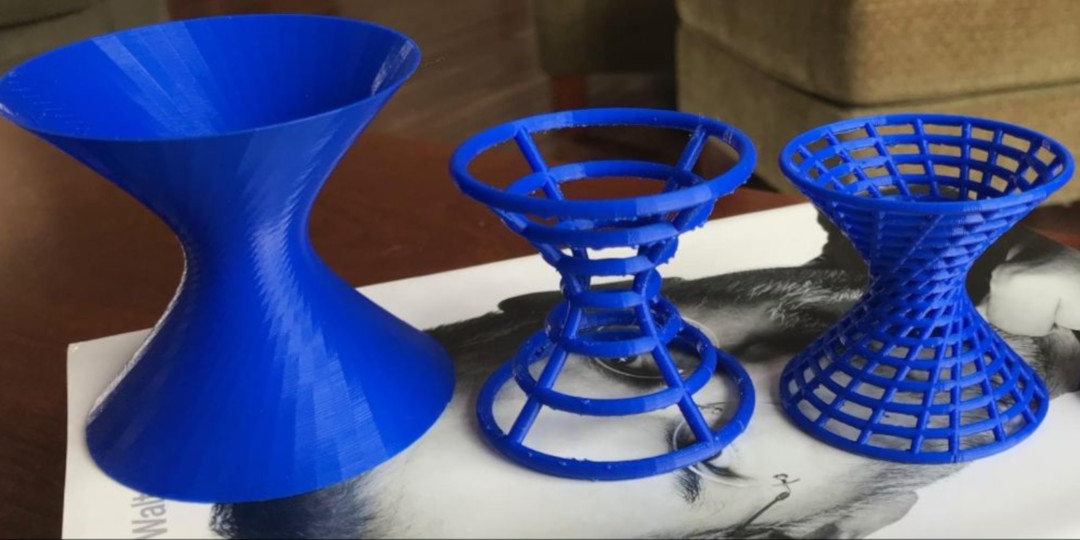
Forms of a hyperboloid of revolution generated using Mathematica in multivariable calculus
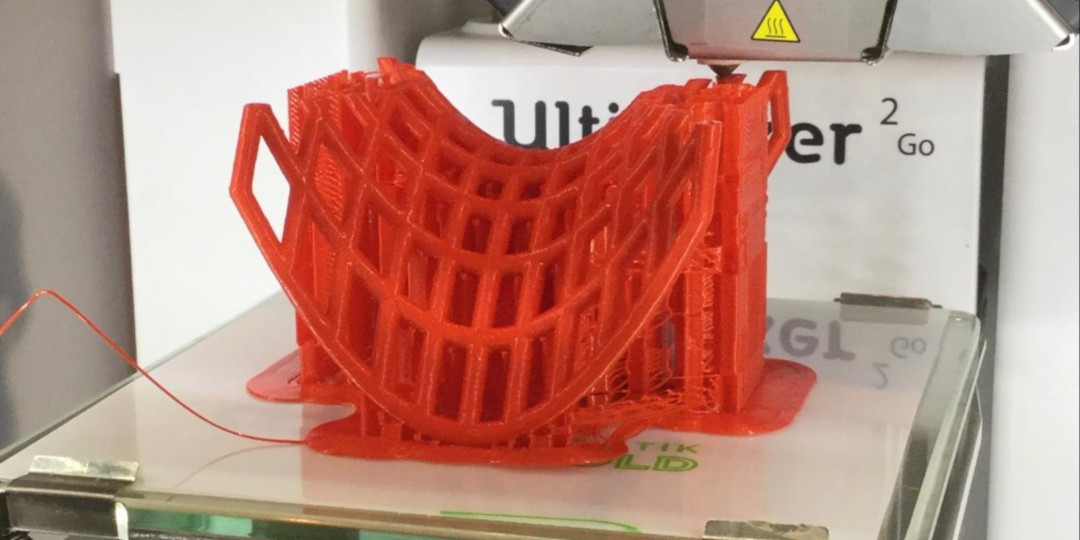
Hyperbolic paraboloid surface, shown printing with supports
Hyperbolic paraboloids (saddle surfaces) generated using Mathematica in multivariable calculus
Surfaces with negative curvature created in Mathematica for a senior seminar project
Passing it on: 3D printing across disciplines
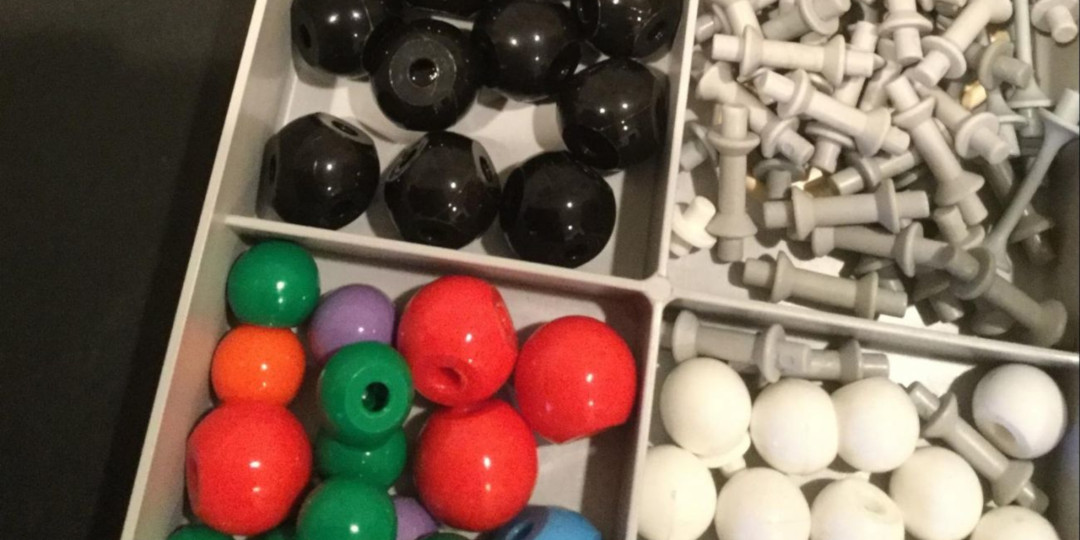
In the spring 2018 semester, I teamed with a fellow colleague at SXU, Dr. Sharada Buddha, Associate Professor of Chemistry, and Curtis Feipel, Lab Assistant and a 2018 SXU Biological Sciences graduate, to bring 3D printing into the curriculum of the Survey of Organic Chemistry course. The course is chock full of biological applications and is designed for Biology, Natural Science, and secondary education students. Typically, students spend some time during the laboratory component of the course physically building ball and stick models of the biochemical molecules they are studying using a purchased molecular model set for Organic Chemistry.
Molecular model set for Organic Chemistry
This semester, using my technical 3D printing assistance, the Ultimaker 2+, and the Ultimaker 2 Go, Dr. Buddha developed a new laboratory lesson in which students designed, modeled, and 3D printed the molecules. In her research and teaching, Dr. Buddha’s previous experience using open-source molecular modeling and visualization tools includes Avogadro (free to download), PyMol(this is a commercial product, a free academic version may be requested), and ArgusLab (freely licensed), to name a few. The key to 3D printing the chemical models designed in these programs is converting the files to STL format.
I read the interesting and highly informative article, 3D Printable molecular models with accompanying detailed 3D printable molecular model lesson by Dr. W. Tandy Grubbs, Professor and Chair of the Department of Chemistry and Biochemistry at Stetson University and shared it with Dr. Buddha. Dr. Buddha informed me of another article in the Journal of Biocommunication, 3D printing of molecular models by Dr. Arthur Olson and Adam Gardner. These articles and lesson provided the exact inspiration, along with excellent resources, for the missing pieces we needed! To convert a chemical model created in Avogadro (or other molecular modeling tool) to an STL file for 3D printing, an additional free software tool Python Molecular Viewer was required. With this information, we were off and running.
Creating test prints of molecules
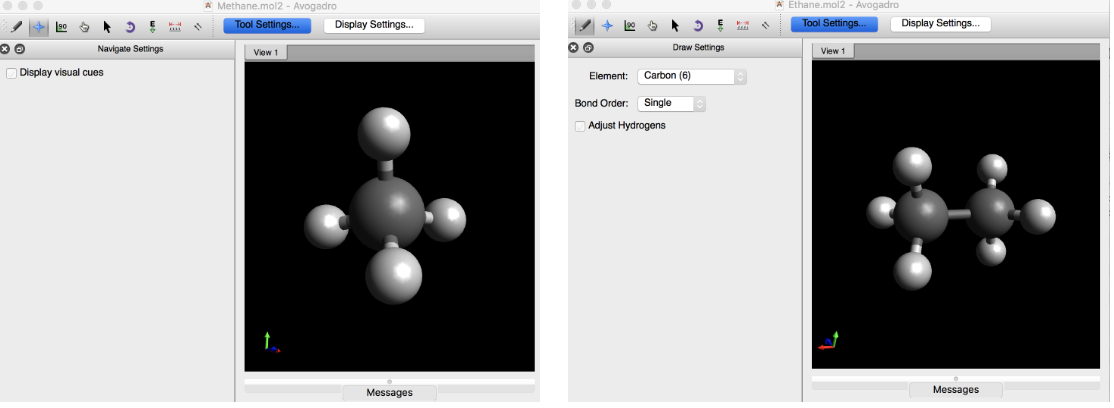
In preparation for my lab visit to meet with the organic chemistry students and walk them through the 3D printing steps, Dr. Buddha and I performed a few trials of the design and printing process for two simple molecules: Methane (CH4) and Ethane (C2H6).
We devised the following system that worked most efficiently:
Methane and ethane as constructed in Avogadro
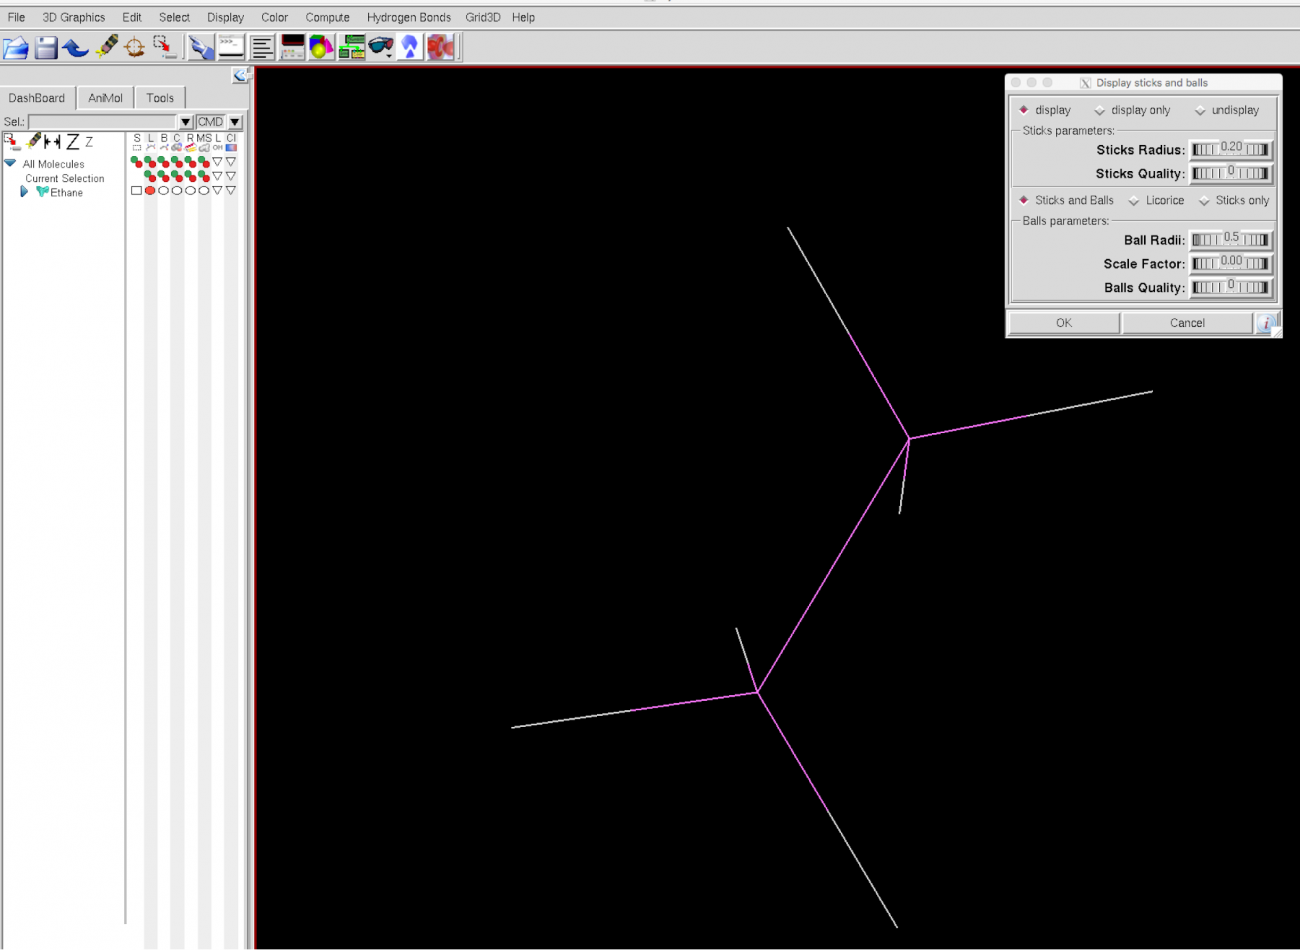
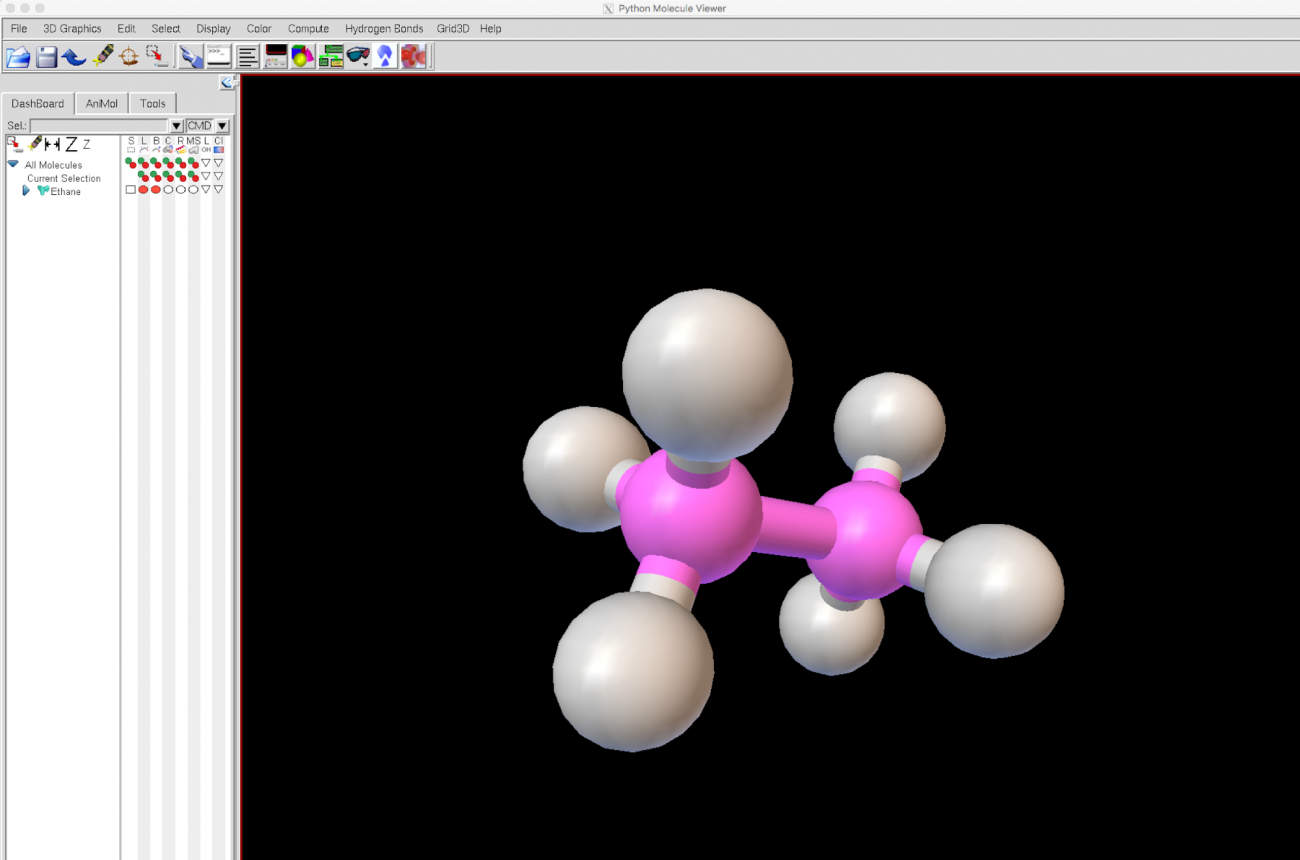
The Mol2 (or PDB) files were sent to me to be read in the Python Molecular Viewer (PMV). Each molecule was displayed as ball and stick model, adjustments to the radii were made in order to represent each molecule with visually accurate proportions, as possible. Each molecule was then saved as an STL file. The specific steps in the PMV are as follows:
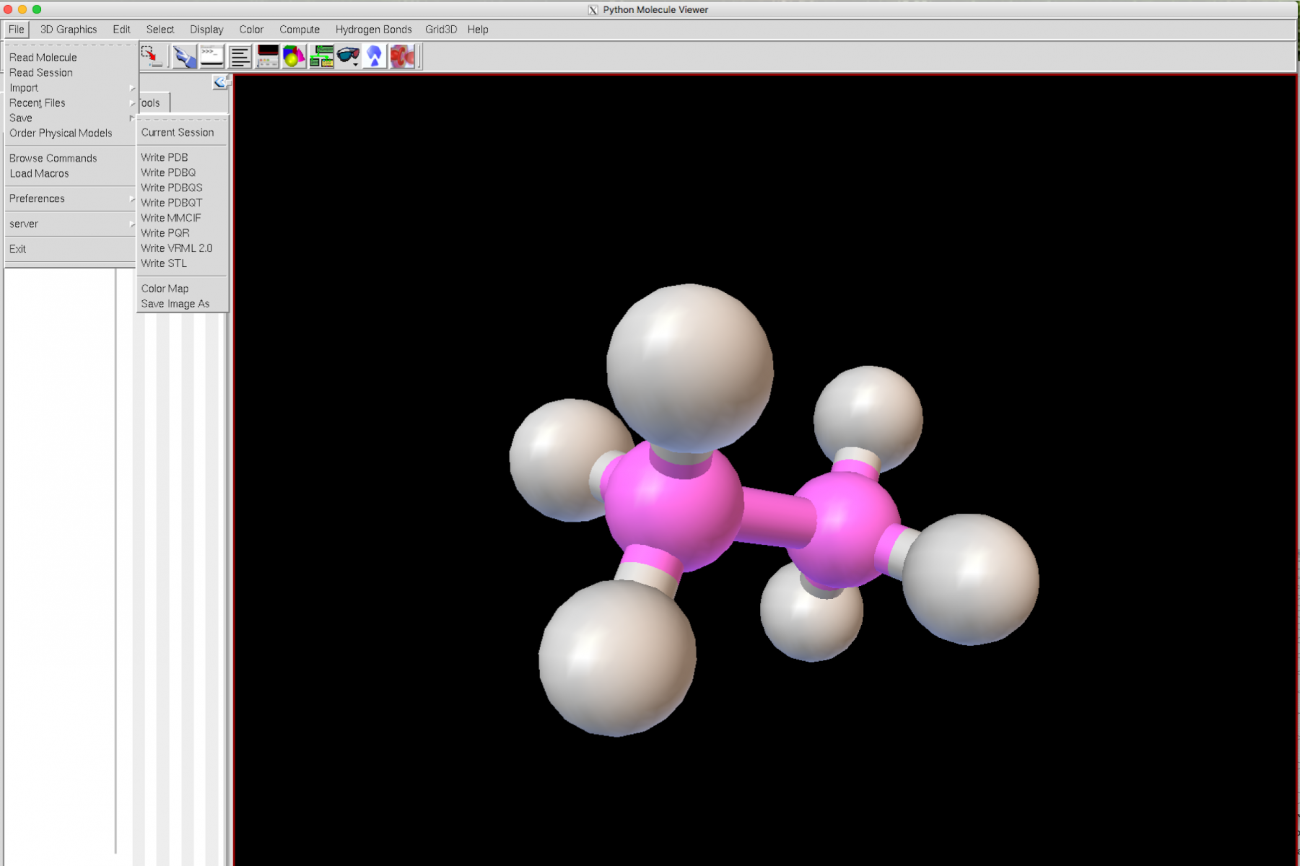
1. File, Read Molecule (Mol2 or PDB file)
2. Display, sticks and balls, use Stick radius = 0.2 and Ball radius = 0.5. We experimented quite a bit with various radii, the values given here provided the sturdiness we needed without portions of the models breaking when removing the supports when 3D printing.
3. The last step in the PMV is to save the ball and stick model as an STL file
Python Molecular Viewer (PMV) adjustment of ball and stick radii for Ethane
PMV illustrating ball and stick display for ethane
PMV saving ball and stick model of ethane as an STL file
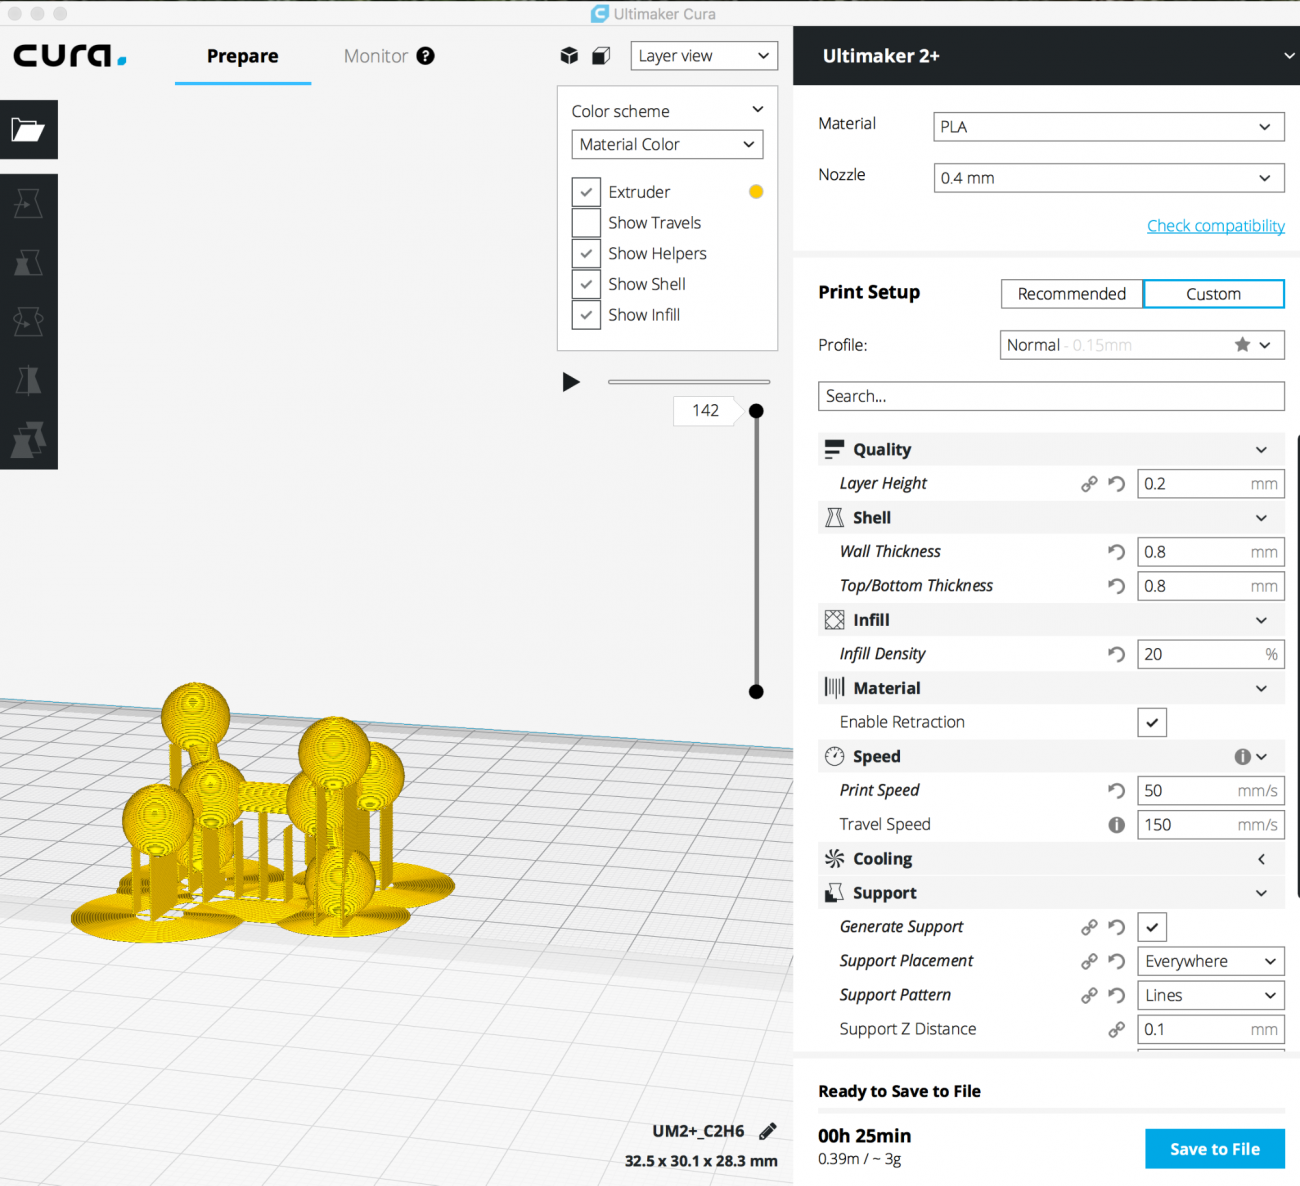
Note: The molecules appear very tiny when the STL is first opened in Ultimaker Cura. I used a uniform scale factor = 1000% for the two test prints which kept the print time under 30 minutes per molecule. The molecules at this scale factor were quite small and removing the supports was a bit tricky. Eventually, for the student’s molecules, the scale factor was increased to print larger, and stronger molecule models that were easier to clean up (i.e. remove supports and smooth surfaces) for a print time within 2 hours per molecule.
Ultimaker Cura settings for 3D printing of ethane
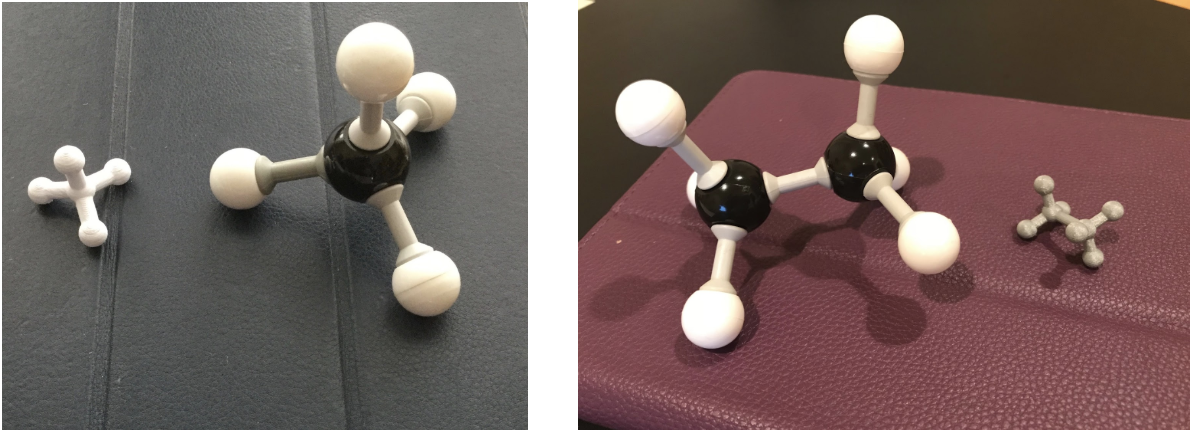
3D printed test molecules methane and ethane next to the ball and stick model set versions (Note: In the photos, the PMV ball radius = 0.3 and stick radius = 0.2 is shown, the ball radius was later increased to r = 0.5 )
3D printing in the organic chemistry lab
Now that we had successfully 3D printed our test cases, we were ready to embark on designing and printing the molecules with the students in lab. Dr. Buddha’s lesson instructed the students to study the four molecules:
n-Butane (C4H10)
Hexane (C6H14)
2,2-Dimethylbutane
1,3 Dimethylcyclopentane
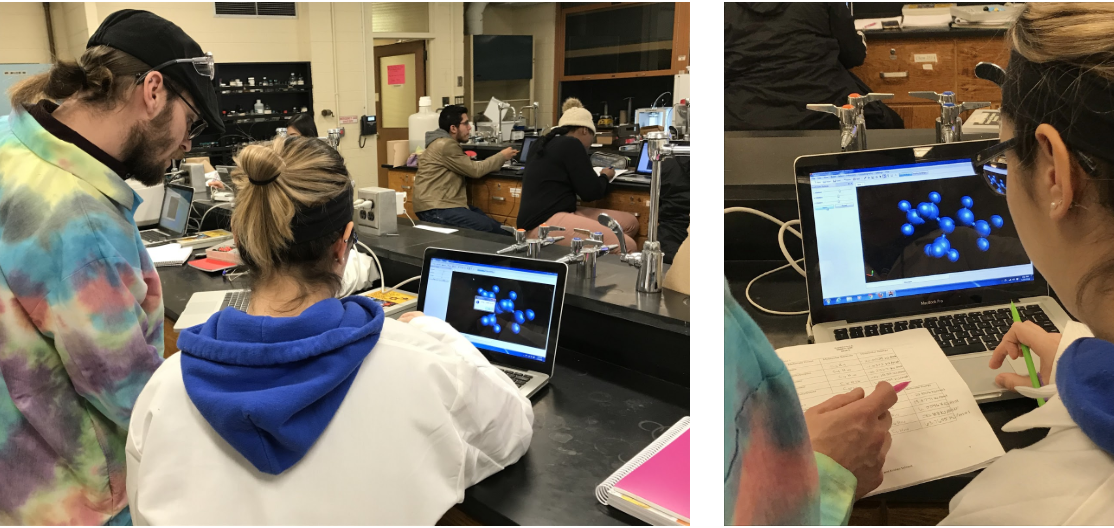
The students were individually assigned a molecule to build in Avogadro and save as a Mol2 file. During different lab sessions, I wheeled in the Ultimaker 2+ and Ultimaker 2 Go 3D printers on a cart and a laptop loaded with Avogadro, PMV, and Ultimaker Cura software. As students completed their molecule in Avogadro, the Mol2 files were sent to me for manipulating the models in the PMV. Changes to the ball and stick radii were made before saving it as an STL file. Finally, each STL file was uploaded to Ultimaker Cura to modify the scaling, orientation, and support settings before sending to the 3D printer.
Dr. Buddha providing instruction on the lab assignment and the molecules assigned to each student
Lab Assistant, Curtis Feipel, working with a student on the lab lesson in Avogadro
After printing the first two student designed molecules, we found it necessary to increase the ball radius in the PMV (to r = 0.5 from r = 0.3, with a stick r = 0.2 staying the same) and the uniform scaling in Ultimaker Cura (from 500% to 1100%). The initial settings kept the print time per molecule to under 30 minutes, this allowed the students to see a few 3D printed molecules completed during the lab session. Since the molecules the students built in lab were more complex than our test cases and required more supports, we ended up reprinting them outside of class with the new settings, as indicated, to make them larger and sturdier.
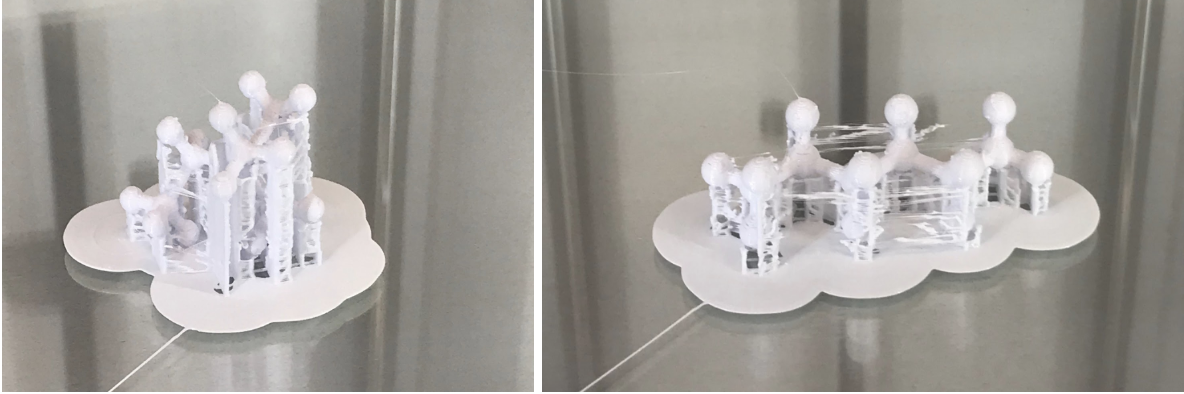
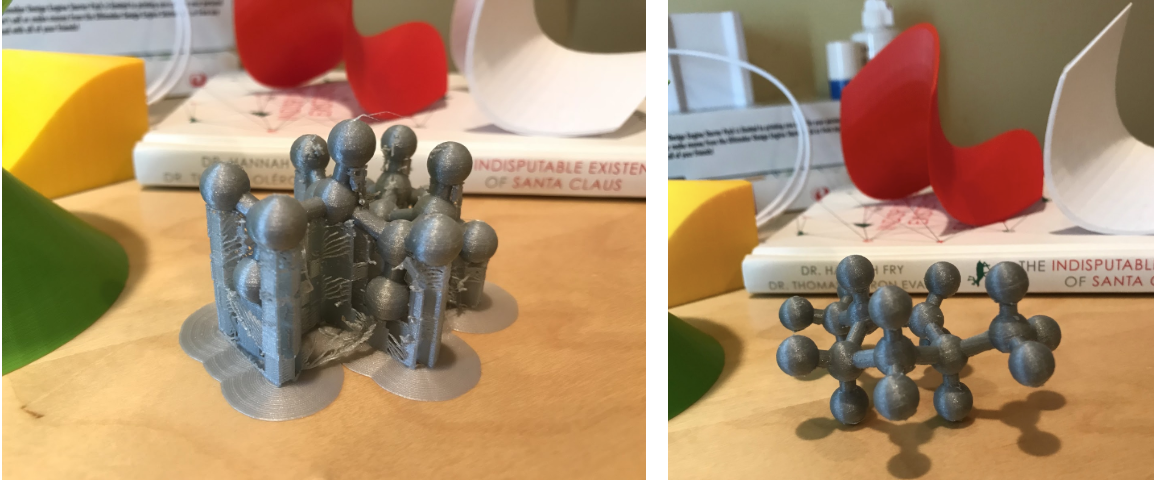
First prints of two student designed molecules - we later changed the ball and stick size as well as the overall scaling since these versions were very small and a bit fragile
Second print of a student designed molecule with ball, stick, and scaling settings revised
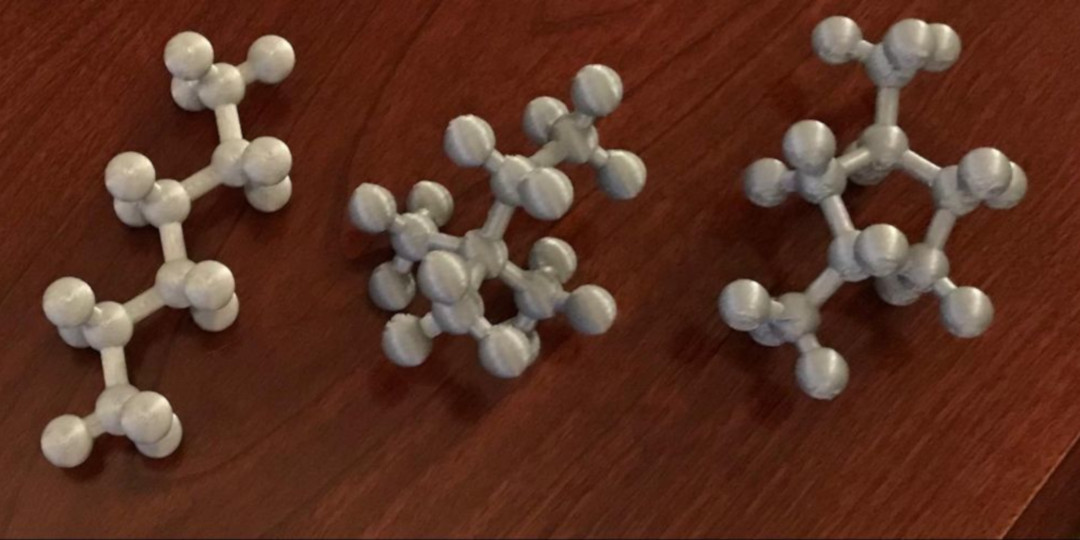
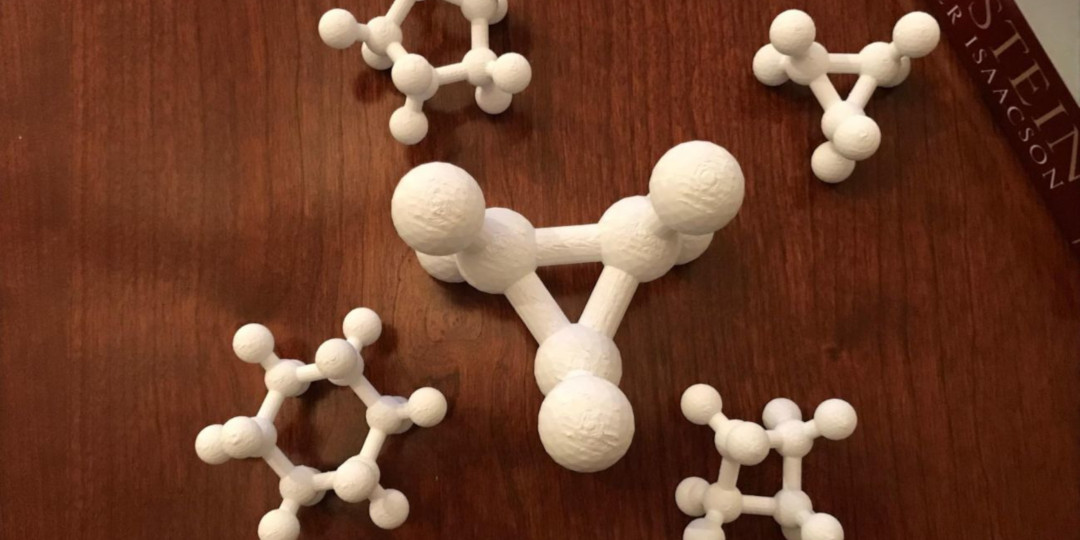
Final 3D printed versions of the four molecules: n-butane, hexane, dimethylbutane, and dimethylcyclopentane
Two more molecule sets
In addition to the set of molecules printed during the lab session, we worked on 3D printing two other sets outside of class:
The “cyclo” set:
Cyclopropane (C3H6)
Cyclobutane (C4H8 )
Cyclopentane (C5H10)
cyclohexane (C6H12)
The set of two larger and more complex molecules:
Note: We used the same ball r = 0.5 and stick r = 0.2 in the PMV as previous models. The scale factor in Ultimaker Cura for glucose was 2000% (size: 104mm x 171mm x 80mm) with a print time of 7h 52min and for ATP, a scale factor of 1100% (size: 160mm x 133mm x 65mm) with a print time of 5h 23min using the Ultimaker 2+ for both.
The “cyclo” set of molecules (with an extra and more grand model of cyclopropane)
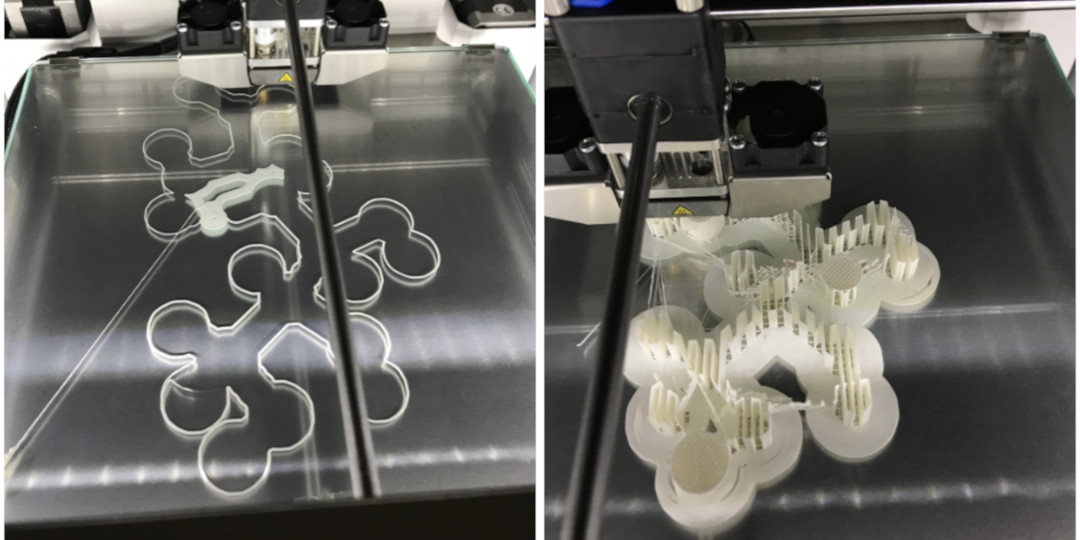
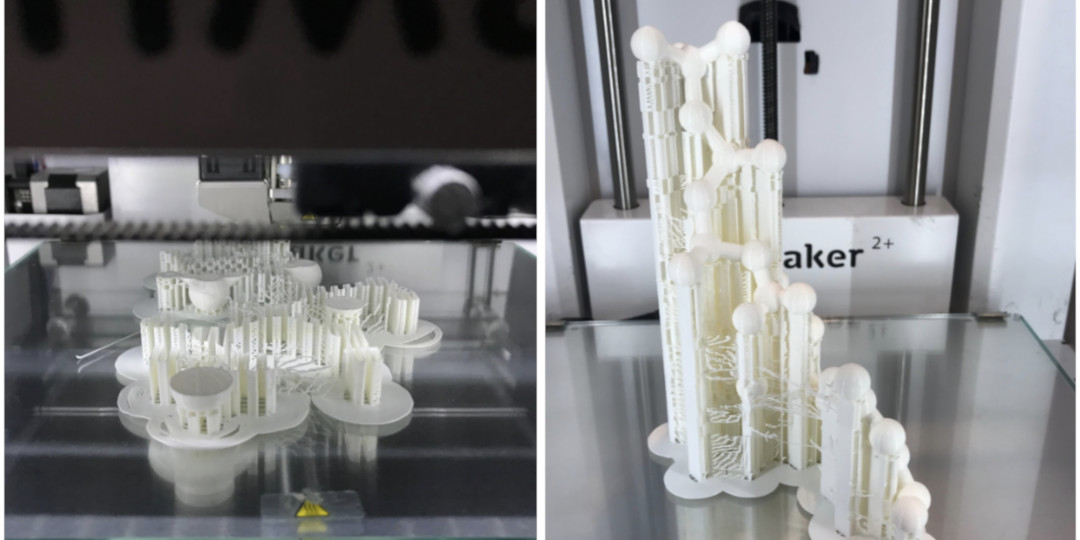
ATP molecule: showing four stages of 3D printing
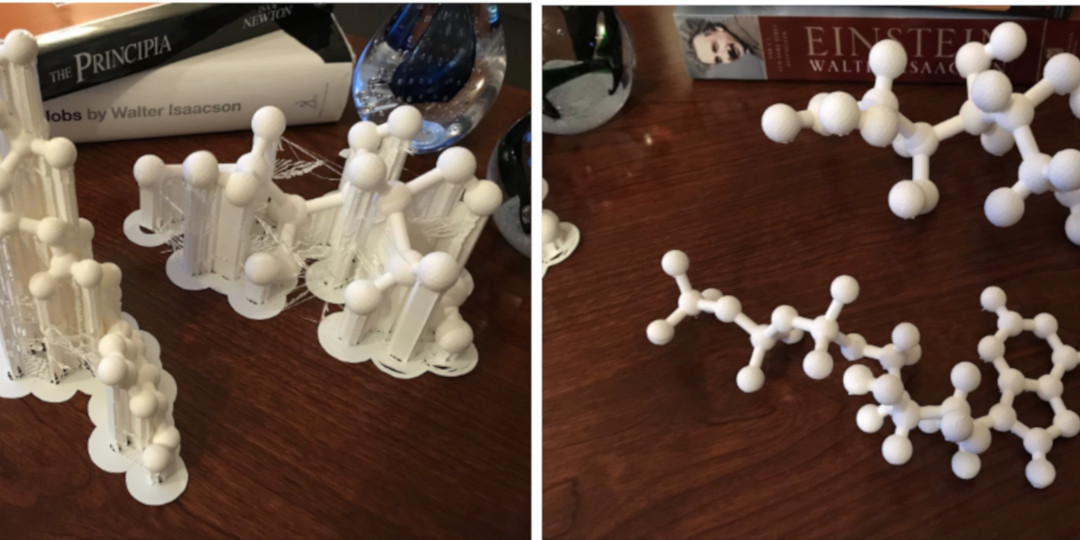
ATP and glucose with supports and the finished molecules
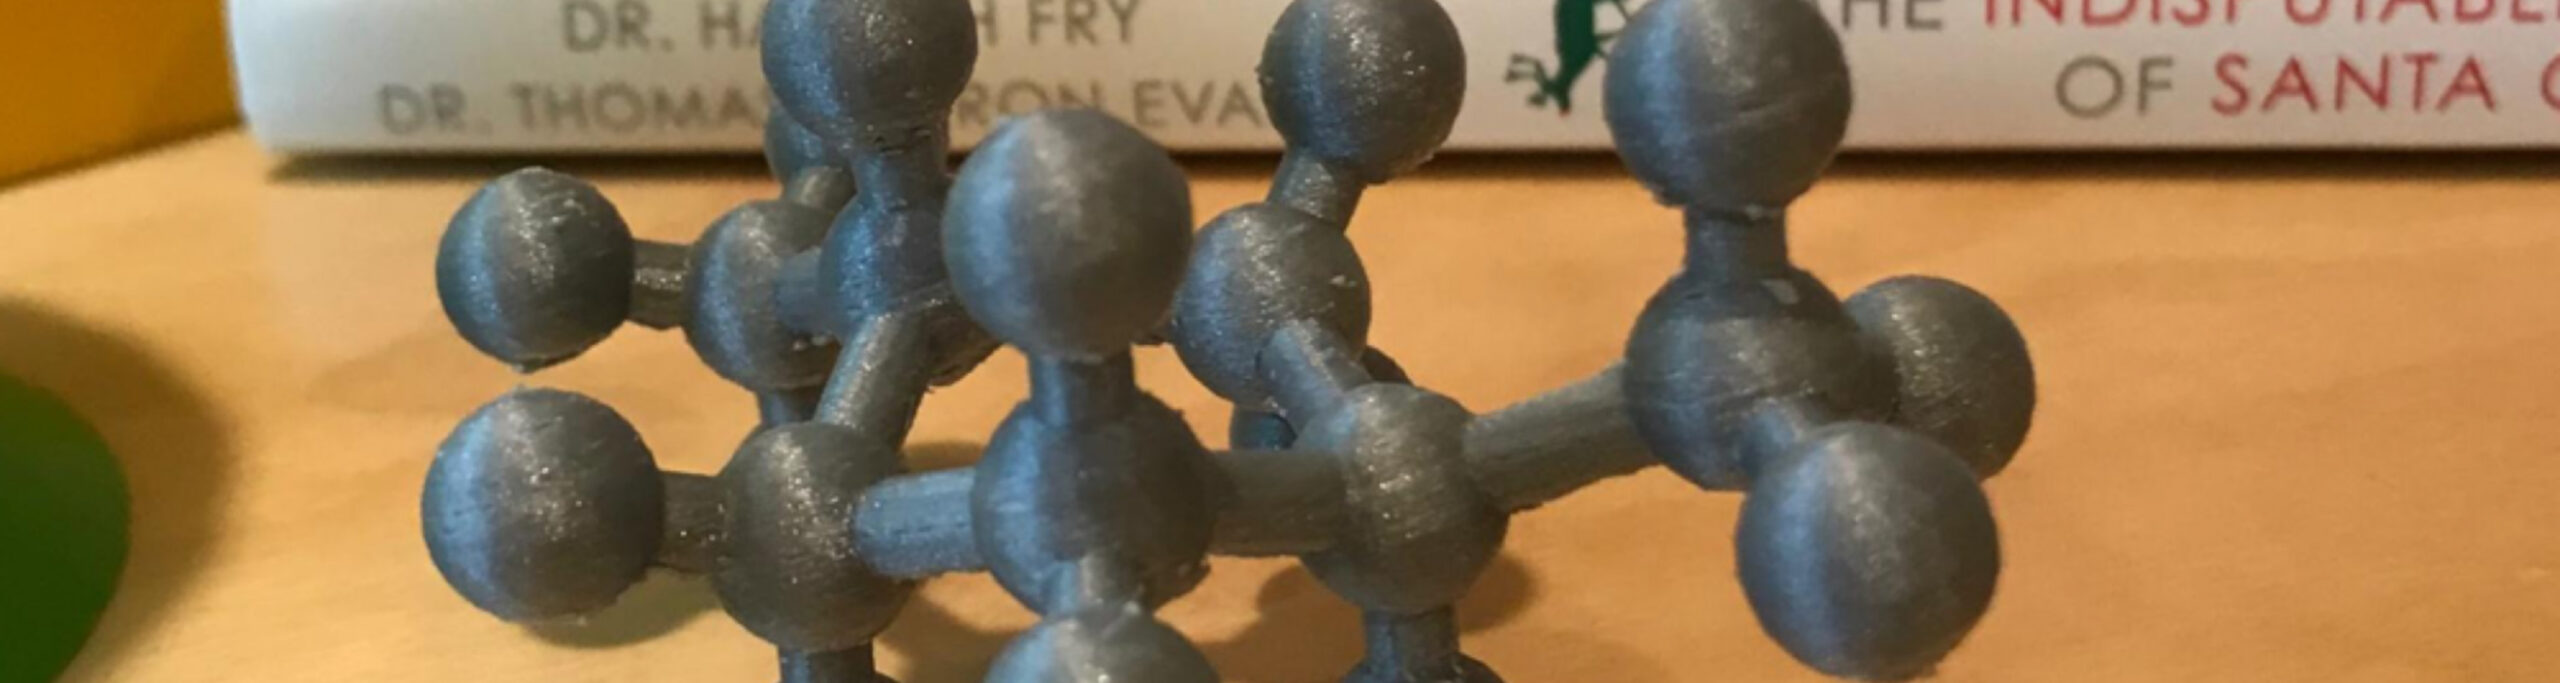
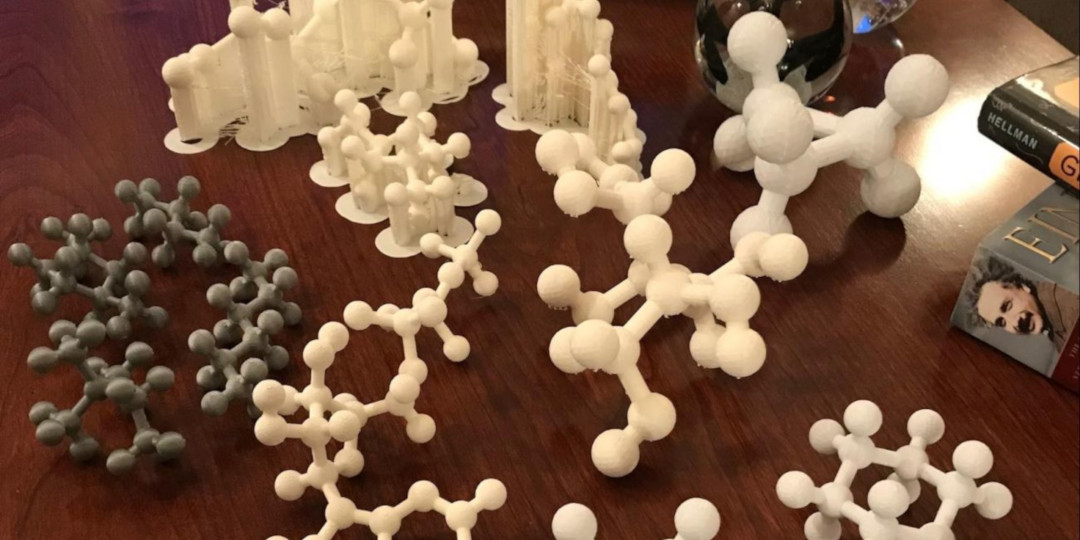
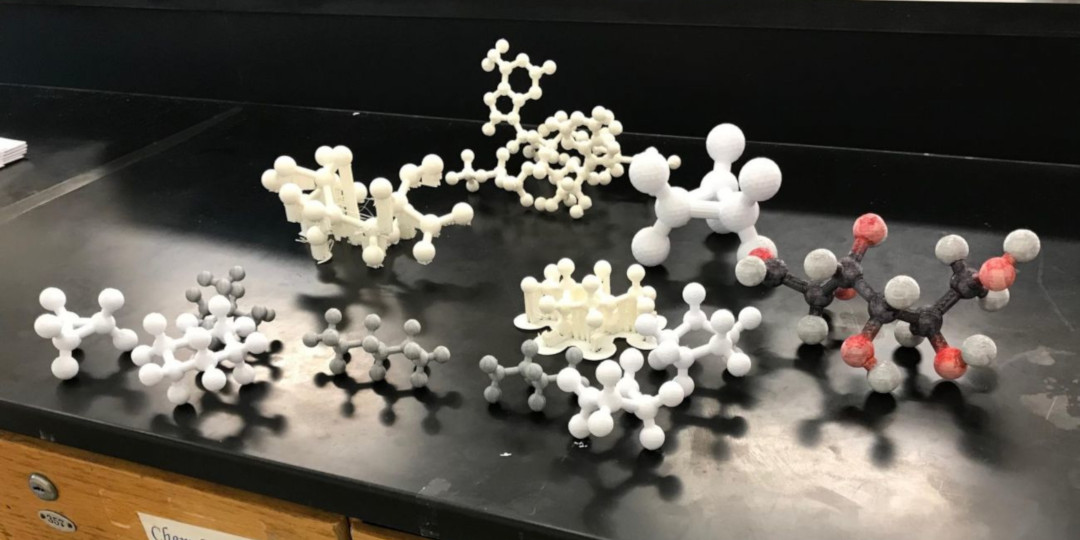
All three combined sets of our 3D printed molecules
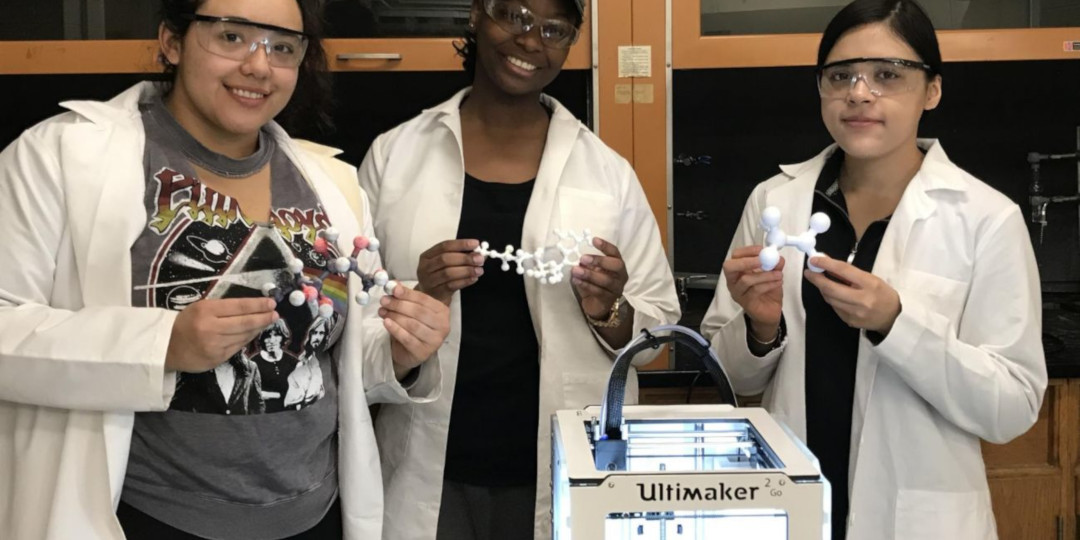
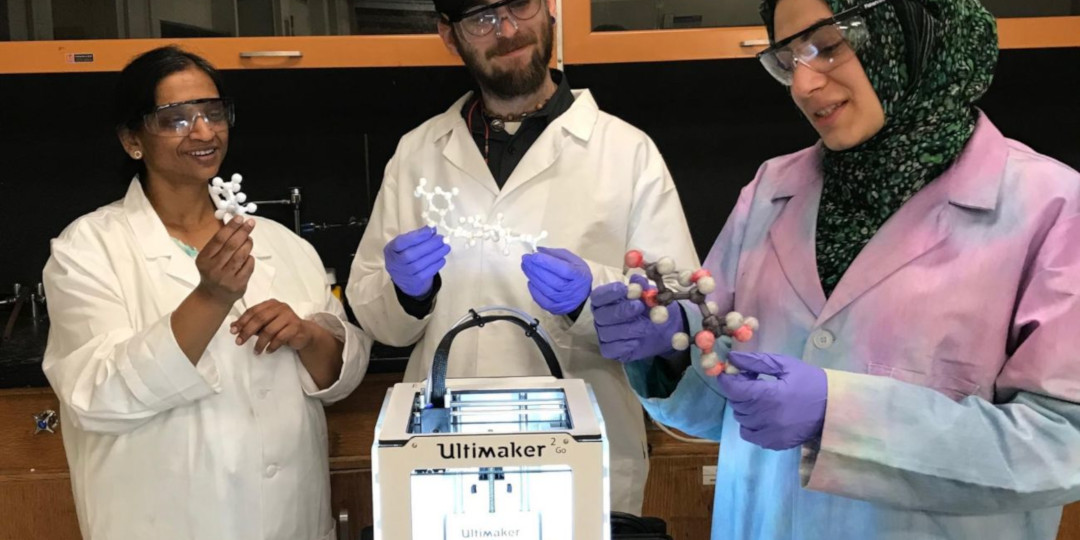
Students in the organic chemistry course with the 3D printed molecules: glucose, ATP, and cyclopropane
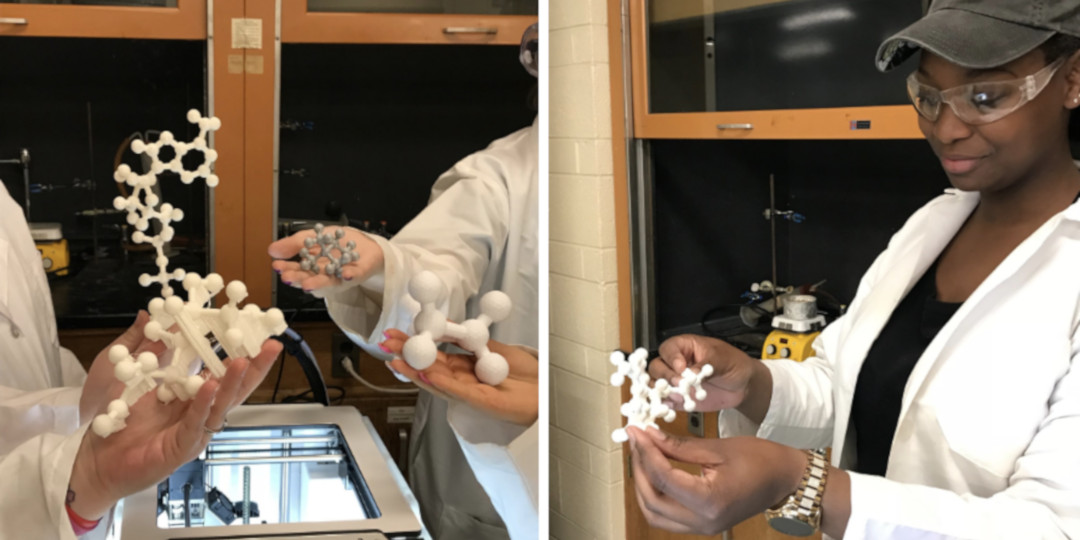
Close-up views of some of the molecules
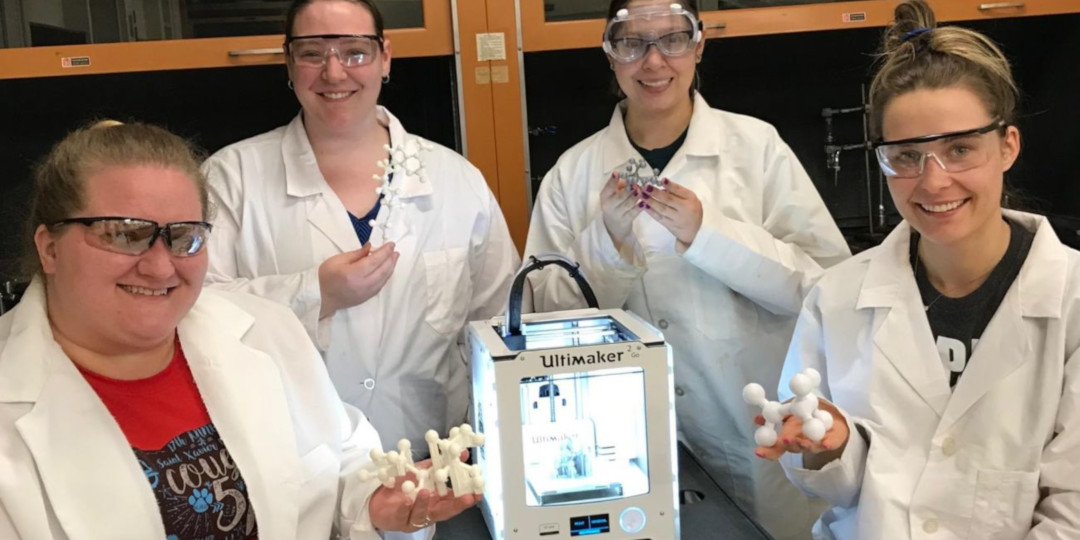
Students in the organic chemistry course showing off their hard work and delight with the 3D printed molecules
Lessons learned and future projects 3D printing molecular models
Throughout the semester, Dr. Buddha, Mr. Feipel, and I met to refine the process we used and to discuss ways to improve our 3D printed molecules. This will be an ongoing project during the new academic year in which we plan to fine-tune the process we used and expand the scope of work to integrate 3D printing into other science courses.
The sets of biochemical models created can be used in future organic chemistry classes for hands-on student explorations
Some of the lessons learned from this endeavor:
It took significant trial and error adjusting the appropriate ball and stick radii in the PMV to represent each molecule most accurately and proportionately. When printing smaller molecules, the ball radius needed to be larger than the stick radius. For the larger molecules, the ball and stick size needed decrease, or the molecule would look too chunky and disproportionate. The “best” proportions also made the models sturdier and easier for the printing supports to be removed without breaking the model.
In the 3D printer slicing software, it was always necessary to uniformly scale the models in the imported STL file much larger than they first appear.
Some improvements and future plans for 3D printing molecules:
Investigate other computational chemistry software to build molecules that more accurately represent the arrangements of atoms and bonds (i.e., closer to the precise radii of the atoms and proportionate bond lengths)
Experiment with different types of filament (we used PLA for all the models) to produce stronger or more flexible molecules
Use different colored filament for the atoms and bonds during the printing process (a dual-extrusion 3D printer would help), or experiment with the right type of filament that could be permanently colored by hand using markers
Explore the “MoleculePlot” command in Mathematica for generating 3D plots of molecular structures and exporting the plot to an STL file
Upload the STL files and images of the biochemical molecules created by our faculty-student led team effort to the National Institutes of Health (NIH) 3D Print Exchange.
Dr. Sharada Buddha with lab assistants studying the finished 3D printed molecules
Sharing our scholarly work and creative productions
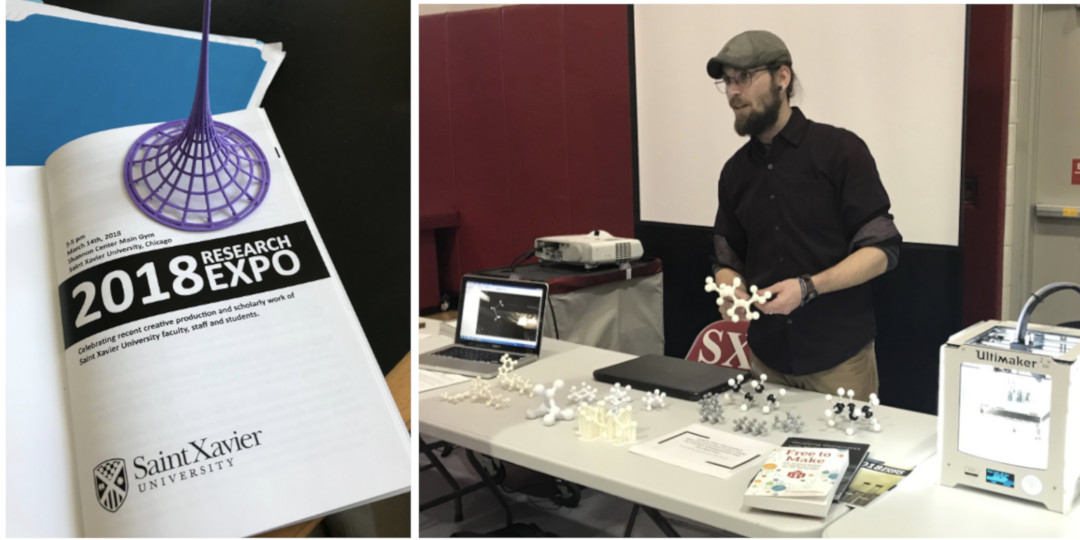
The results of our collaborative efforts were presented at the SXU 2018 Research Expo. This inaugural conference celebrated the scholarly contributions of SXU faculty, students, and staff. Dr. Buddha provided an abstract explaining our work on computing preferred molecular structures from an energy minimization and 3D printing:
“3D structures of molecules are complex and a challenging concept not only for student comprehension, but equally for instructor communication. The most common approach is a hands-on ball stick modeling kit, although this approach is limited to the qualitative analysis of structure. Our approach used computational chemistry software to present a more quantitative analysis, through molecular geometry optimization and energy minimization, along with a reward of 3D prints of students’ own computational molecular models.”
SXU 2018 Research Expo: Curtis Feipel, SXU lab assistant and Biological Sciences graduate (2018 ), presenting 3D printed biochemical molecules for the project with Dr. Sharada Buddha and Dr. Kristen R. Schreck