For many educators, the expectation of what it’s like to get a new 3D printer for the classroom can be very different from the reality.
When you first think about it, big and ambitious questions pop to mind like:
“How will this change my curriculum?” and “What crazy things will my students create with this?”
In reality, once you start using the printer, the questions you find yourself asking most often are things like:
“What does this button do? Which material should I be using?” and of course, “Why is this print taking so long?”
3D printers might seem like a magic box that can do anything, but the truth is that they’re a tool just like any other. To get the most out of them, you need to know how to use them properly. Today we’ll talk about 5 ways that you can get more out of a 3D printer for classroom use.
1 - Speed isn’t everything, but it helps
Being able to fabricate an object out of thin air (and plastic) is amazing, but it takes time. Sometimes, too much time. It’s possible for anything but the smallest prints to take hours to complete and large prints can take days.
That might not matter if you’re printing at home for personal use, or in a print farm with dozens of printers working around the clock. But when you have a classroom full of students who want to print something and only a handful of printers to go around, that’s a recipe for disappointment. Luckily, there are ways to speed up your printer without sacrificing reliability.
First is to use a larger nozzle and larger layer height. The tradeoff here is that your prints will look a little less smooth. But for most cases, they should still look fine. Most printers, including the Ultimaker, come with a 0.4mm nozzle. Using a 0.8mm nozzle instead, can literally half your print times. The same is true for increasing your layer height.
When using Ultimaker Cura with an Ultimaker printer, it’s also possible to use the ‘Draft’ intent profiles. These profiles are optimized for speed and make many other small adjustments that result in faster prints.
The next thing you can do is to change your infill settings. For most parts that do not need to be structurally tough, you can decrease infill percentage to as low as 20% before you need to worry about prints failing. That means less material used and with it, a reduction in printing time.
Better yet, if using Ultimaker Cura, you can try lightning infill. Lightning is a new infill pattern recently added to Ultimaker Cura that generates a tree-like support structure inside of a hollow printed object. The result is dramatically less material use. As much as 90% saved when compared to printing a solid object. Again, assuming a part does not need to be structurally strong.
2 - Even teachers need to learn sometimes
Teaching students how to use a printer is a lot easier once you know how they work. Luckily, there are more resources available for learning how to 3D print than ever before. However, all those options can make it hard to find the quickest and most effective way to educate yourself.
Enter the Ultimaker Academy.
Ultimaker has created some of the highest-quality digital courses around and specifically tailored them to help onboard and upskill people at any stage of their 3D printing journey. Using the Ultimaker Academy, you can take your 3D printing knowledge to the next level and even use the included lessons to help teach your students.
Furthermore, once you start to get more experience with your printer and start needing the answers to hyper-specific questions, you can use the extensive resources available on our support site to learn even more. And of course, long-form articles like this one on a broad array of 3D printing-related topics can be found on Ultimaker.com.
3 - Help your students avoid failure
One major cause of wasted time and resources when it comes to 3D printing are failed prints. Nothing is more painful than having an hours-long print fail right near the very end and having to start again from the beginning.
Luckily, there is a lot you can do to help avoid failed prints. The first is to make sure you’re using the right settings. For many parts, supports are necessary. Knowing when and knowing how to use them properly can expand what you are able to print reliably. Support settings can take some getting used to as there are multiple support types available, as well as specialized material for use with dual-extrusion machines like the Ultimaker S5. Soluble supports material and breakaway support material being the two main ones. Luckily, we have lots of info available on how to use these settings.
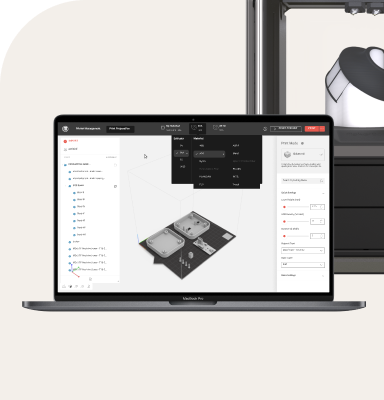
If you are using an Ultimaker printer, you also have the option of using an Ultimaker material or Ultimaker certified material along with the custom intent profiles for those materials. This will increase the reliability of your prints immensely as they are specifically tuned and tested to make sure everything works perfectly without needing any tinkering or tuning.
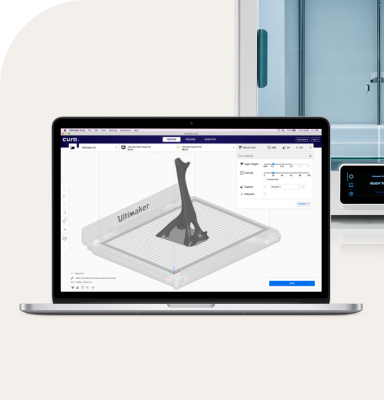
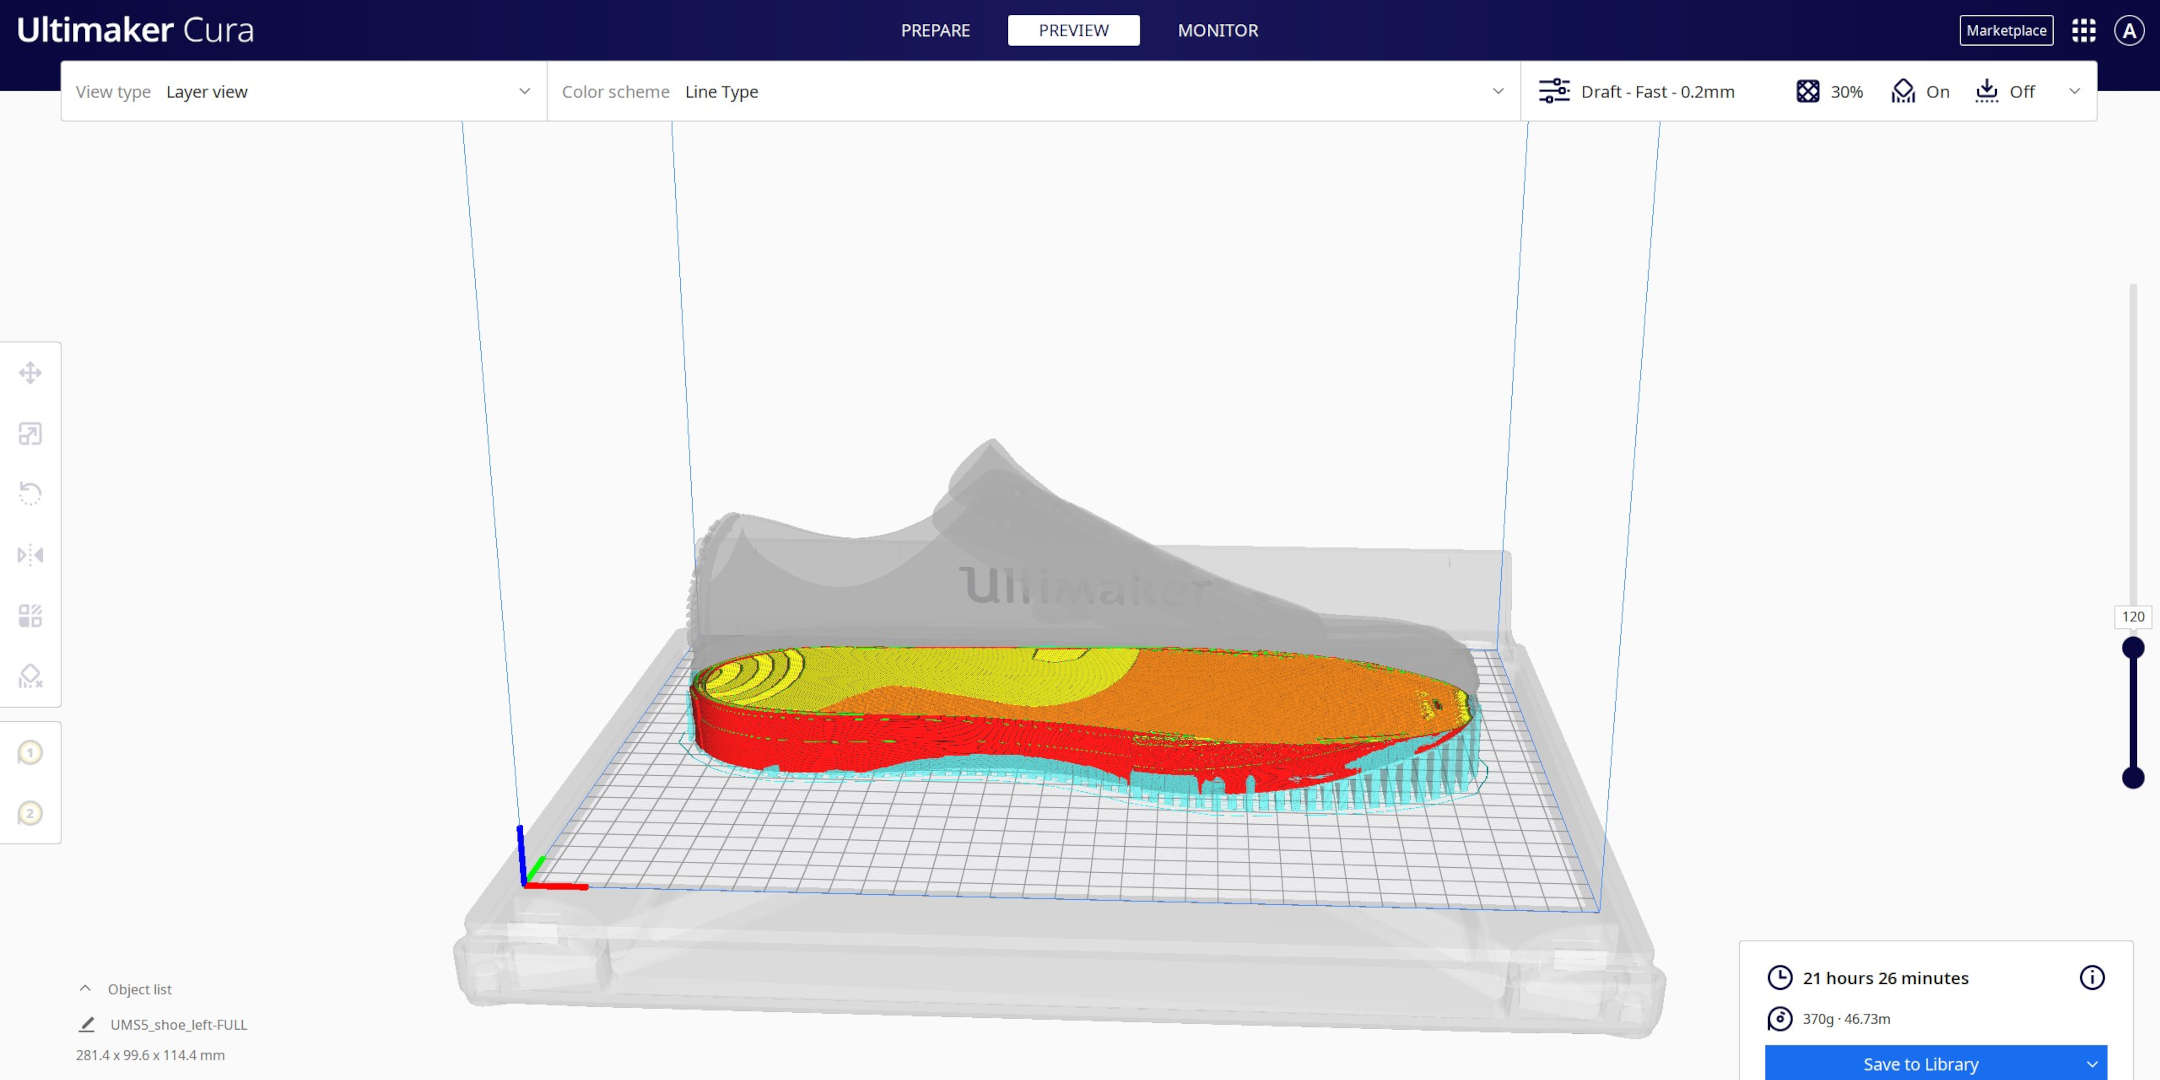
Finally, you can check your students’ files after they have been sliced. Most slicers offer this functionality. If you are using Ultimaker Cura, this can be done by clicking on ‘PREVIEW’ just above the settings bar or next to the print/save button in the bottom right of the screen. This will bring up a version of your 3D model that shows where any support material will be placed and can be examined layer-by-layer using the slider on the right-side of the screen.
When properly used, preview mode can help you tell if the print is properly set onto the build plate as well as if the model needs supports. If supports settings have been enabled, you can check if they look sufficient or if your support settings need to be changed. The layer slider can be used to look inside the model and check if the model has sufficient infill. All these checks and more can help you find prints that are likely to fail before you even start printing.
4 - Let your students fail
With all the tools available to help you get successful prints. It can be tempting to micromanage your student's prints to make sure every single one is successful. However, there is an argument to be made that your students can learn as much from a failed print as they do from a successful one. Possibly even more.
Sometimes taking your hand off the wheel and letting your students make mistakes can help teach them why all the fancy features of modern slicers like supports and infill exist.
Once you tread off the beaten path, 3D printing can be a complicated process with a lot of variables that need to be considered. As long as a student is making different mistakes each time and learning from them, they are exercising their critical thinking skills. It's only when they start making the same mistakes repeatedly that you may need to help guide them towards the correct solution.
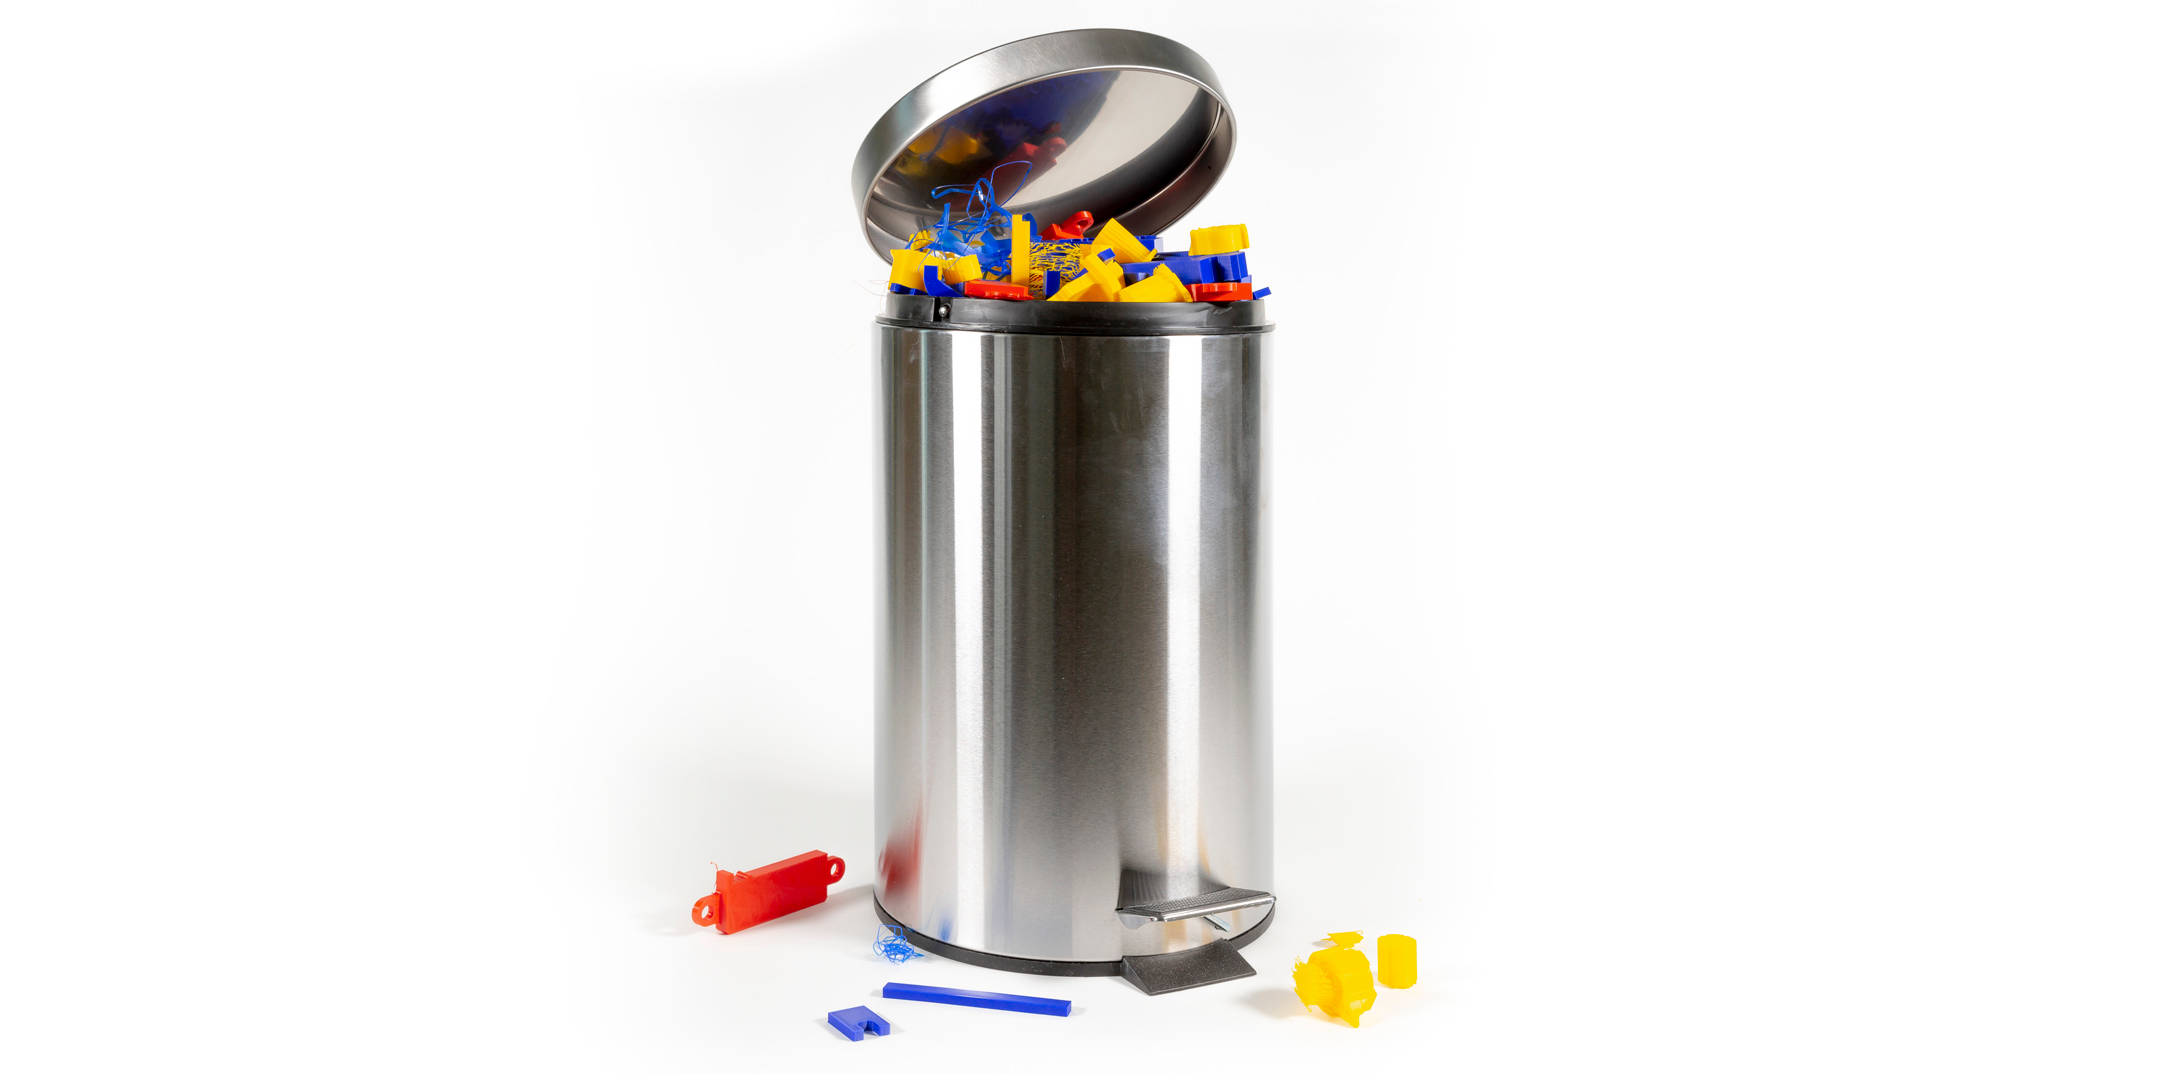
We advise at least keeping some failed prints around to show your students. Both partially and completely failed prints can be a good demonstration of what can go wrong when printing.
5 - Keep your printer in tip-top shape
Performing regular maintenance on your printer is the key to keeping them printing for years to come. Generally, there are 5 things that need to be done as part of regular FFF printer maintenance:
A general inspection for damaged or worn components needs to be performed
You need to keep the moving part of the printer lubricated
Belts need to be kept tensioned
Excess dirt, grime, or filament debris needs to be cleaned away, fans in particular need to be kept clean
Printer nozzles need to be cleaned, monitored for clogs, and replaced if damaged
The above steps can vary a little depending on the printer and some printers make maintenance easier to perform than others. The printer manufacturer should provide detailed maintenance instructions. Luckily, if you own an Ultimaker printer, they are some of the most reliable around and we make printer maintenance as easy as possible.
Using the touch screen on the front of your printer, you can navigate to the maintenance option in the menu. You can then navigate to each individual component of the printer where you are given instructions on what maintenance is needed and how to perform it. In the same section, it's possible to tell the printer to run a self-diagnostic to discover if there are any issues that need your attention.
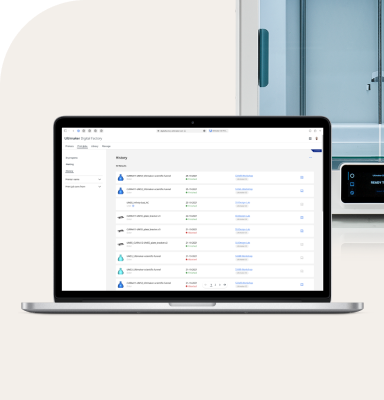
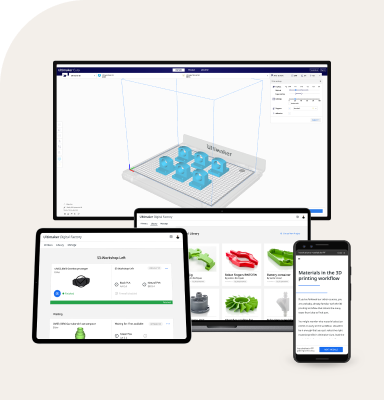
Maintenance instructions can also be found through the Ultimaker Digital Factory and on our support site. The Digital Factory also gives you instructions on how often maintenance should be performed and will even notify you when a regular maintenance task is due.
We hope these tips helped inspire you to get the most out of your printers and find new and illuminating ways to use them in the classroom. Be sure to check out the Ultimaker Academy to get even more familiar with your printers and what they can do.