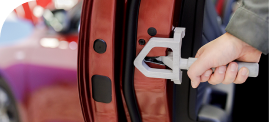
Fused deposition modeling (FDM) has earned its place as one of the most widespread 3D printing technologies. It eliminates common design limitations and introduces design flexibility and ease of use. To help ensure 3D printing output and success, however, it's important to understand and lean on FDM design best practices.
Following the best practices for FDM 3D printing can help ensure a print's quality and success rate
When should you use FDM 3D printing?
First, let's break down some of FDM 3D printing's pros and cons. We will also compare it to other forms of manufacturing.
FDM 3D printing vs. CNC machines
Computer numerical control (CNC) machines automatically create tools or parts via coded and programmed instructions. FDM 3D printing outshines CNC in three key areas: fast turnaround time for low quantities, shorter manufacturing workflows, and easier production of complex parts. For batch production, FDM can take longer, as CNC machines are expected to produce parts at a faster rate once the product is finalized and the G-code is produced. However, this often leads organizations to lean on a supporting fleet of 3D printers to back up the long CNC queue and simultaneously create parts. Additionally, CNC machines may be preferable for certain advanced application requirements that can't be met with material filaments, such as PLA or ABS.
FDM 3D printing vs. injection molding
When evaluating injection molding, FDM 3D printing stands apart due its low barrier of entry – in terms of both cost and knowledge. Injection molding requires a level of expertise typically only with hands-on experience, due to the hundreds of process parameters and design constraints. Unlike injection molding, FDM 3D printing does not require the creation and maintenance of a mold, and allows for fast and easy design modifications. The biggest benefit of injection molding is the fast production of large quantities of parts and providing an end product with a smoother surface finish.
Key considerations for FDM design
When designing for 3D printing, there are best practices to help you get the most value from your 3D printer the parts it creates, improve print success rates, reduce production costs, and boost the speed of your product development cycle.
Consider build volume
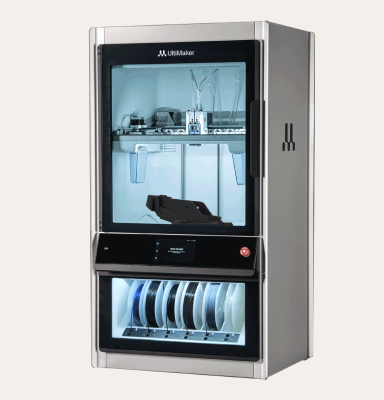
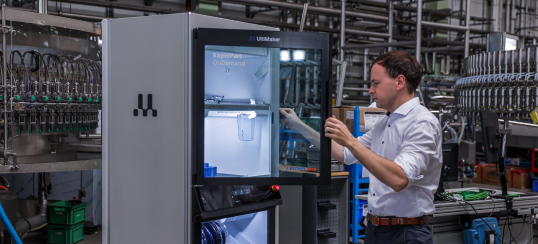
Your 3D prints can only be as large as the build volume. The UltiMaker S7 is 330 x 240 x 300 mm (13 x 9.4 x 11.8 inches), which is large enough for approximately 80% of our customers' applications while maintaining a high level of accuracy. If a part is too big, we recommend you use modularity (printing then combining separate parts). By using a modularized design, you can simultaneously print two parts on different machines. You can create locating features to combine them later.
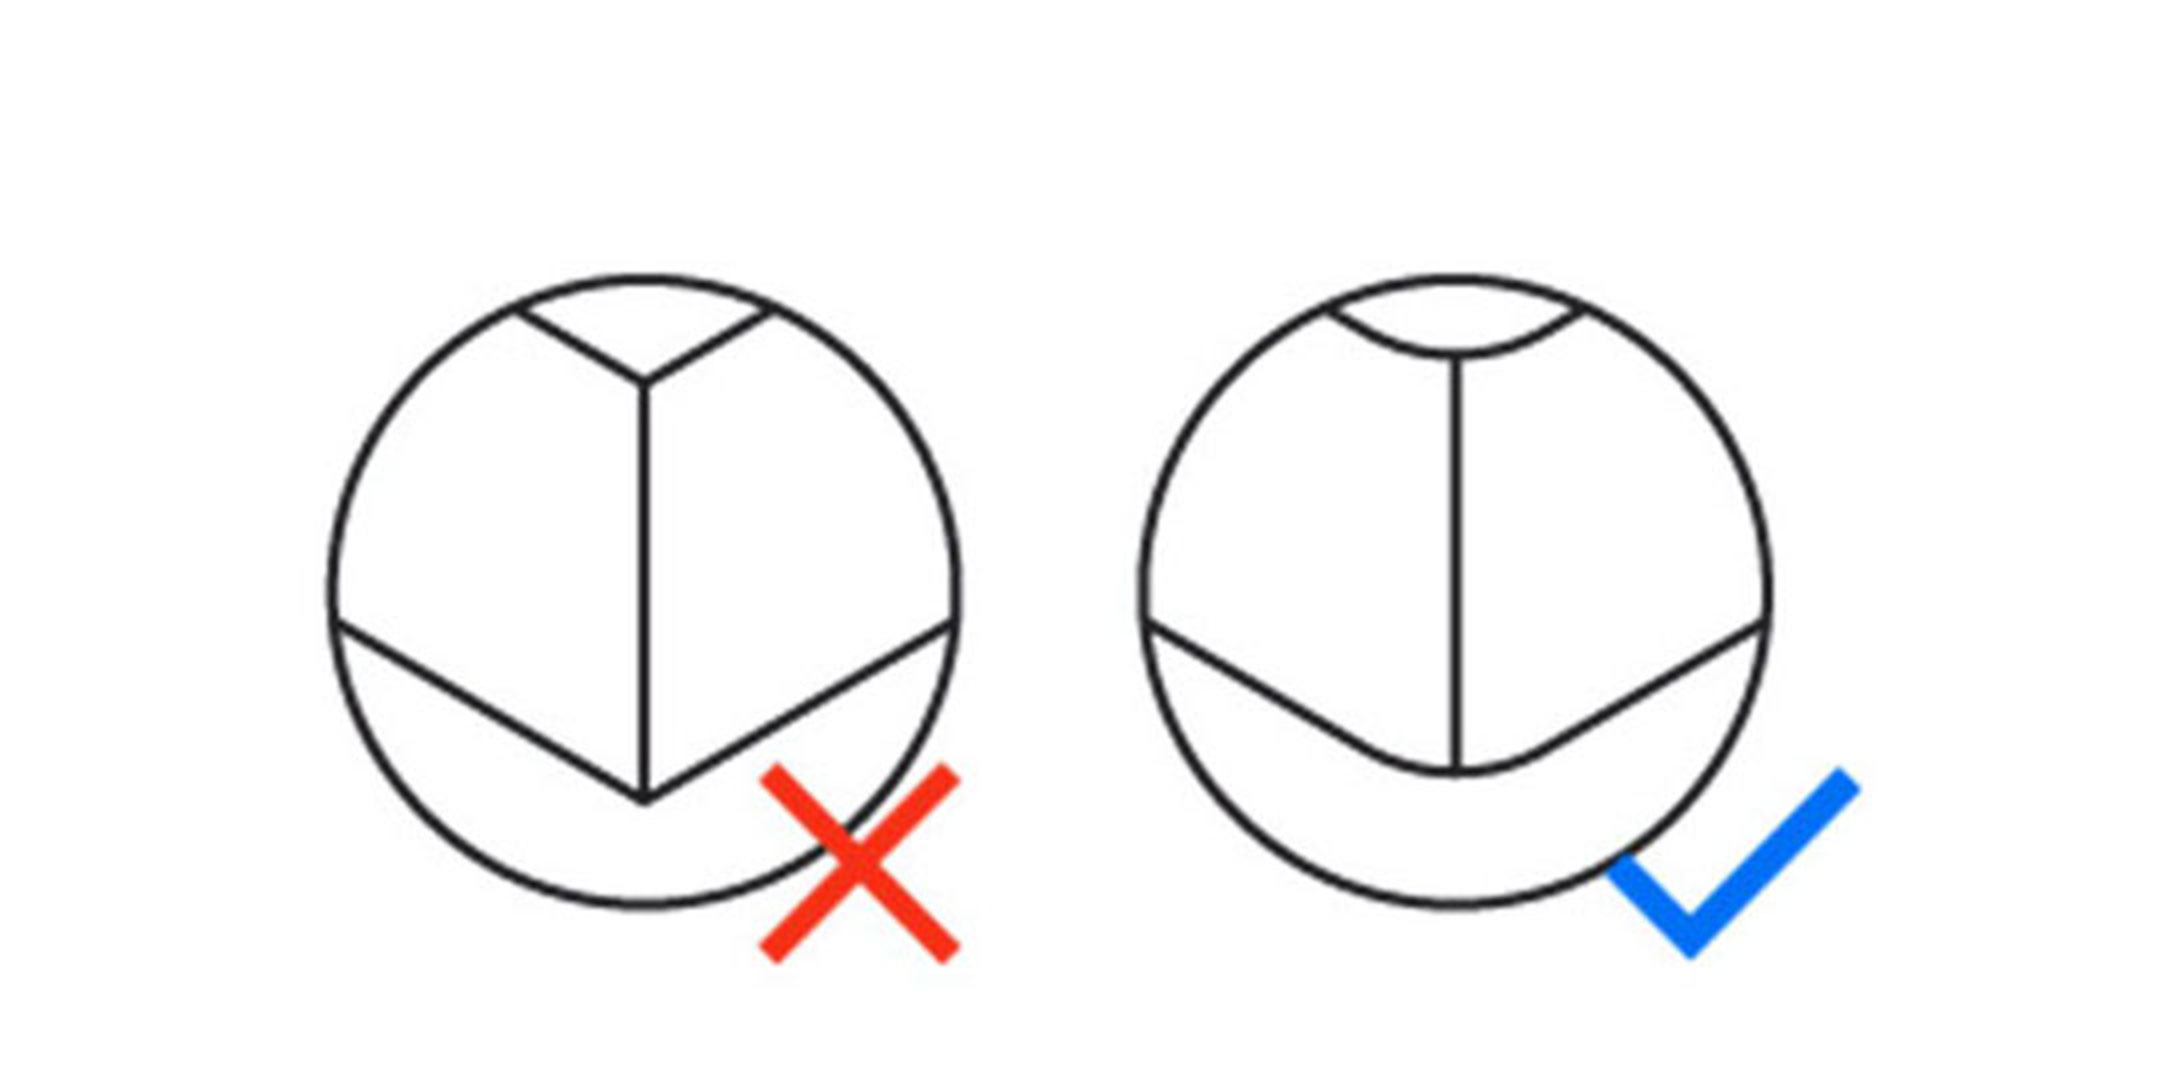
Decide orientation early
Because FDM prints layer by layer, determining the print orientation early in the process helps drive design choices, text alignment, and snap features. Mechanical properties are anisotropic, which means they differ depending on their direction. As seen here, if the tensile test sample is printed flat, it will be stronger in the tensile direction, because the layers would be aligned in that direction.
A print's orientation directly affects the location of overhangs and whether the model will need support. This can impact the overall print time, the post-processing time required to remove support material, and the surface finish of certain faces.
Evaluate overhang support requirements
FDM 3D printed parts are self-supporting up to 45 degrees. That’s an advantage over other 3D printing technologies that require support material for all angles. Overhangs below 45 degrees should be supported from below with support material. Otherwise gravity will cause unsupported layers to suffer reduced interlayer adhesion or even to sag.
Follow bridging support guidelines
As a general rule for most basic filaments, FDM printing does not need support when bridging materials within a 10mm gap. It's important to note, however, that with active cooling and other optimization settings, we have printed bridges up to 25mm wide with Tough PLA on an UltiMaker 3D printer.
Pay attention to nozzle size
When designing small features, you should consider height, wall thickness, and nozzle size. The minimum height should be above .06 mm and minimum wall thickness should be 0.5 mm. The smallest nozzle that UltiMaker machines use is 0.25 mm diameter. If you are using a larger nozzle, such as a 0.4 mm or 0.8 mm, your prints will be much faster, but the minimum height and thickness will also increase.
Design with hole diameters in mind
The minimum hole size is dependent on material and settings, and refers to the smallest hole that can be printed without being filled with material. As a rule of thumb, 3D printed hole features should not be smaller than 2 mm. If accurate holes are required, it is recommended to design the holes smaller than intended and post-process with a drilling operation. When two or more components are printed together, maintain a gap of 0.6 mm to ensure the parts will move after printing.
Avoid sharp corners
Sharp corners can be modeled in CAD, but the print may warp. Increasing the area of the surface in contact with the bed will decrease the likelihood of the warpage.
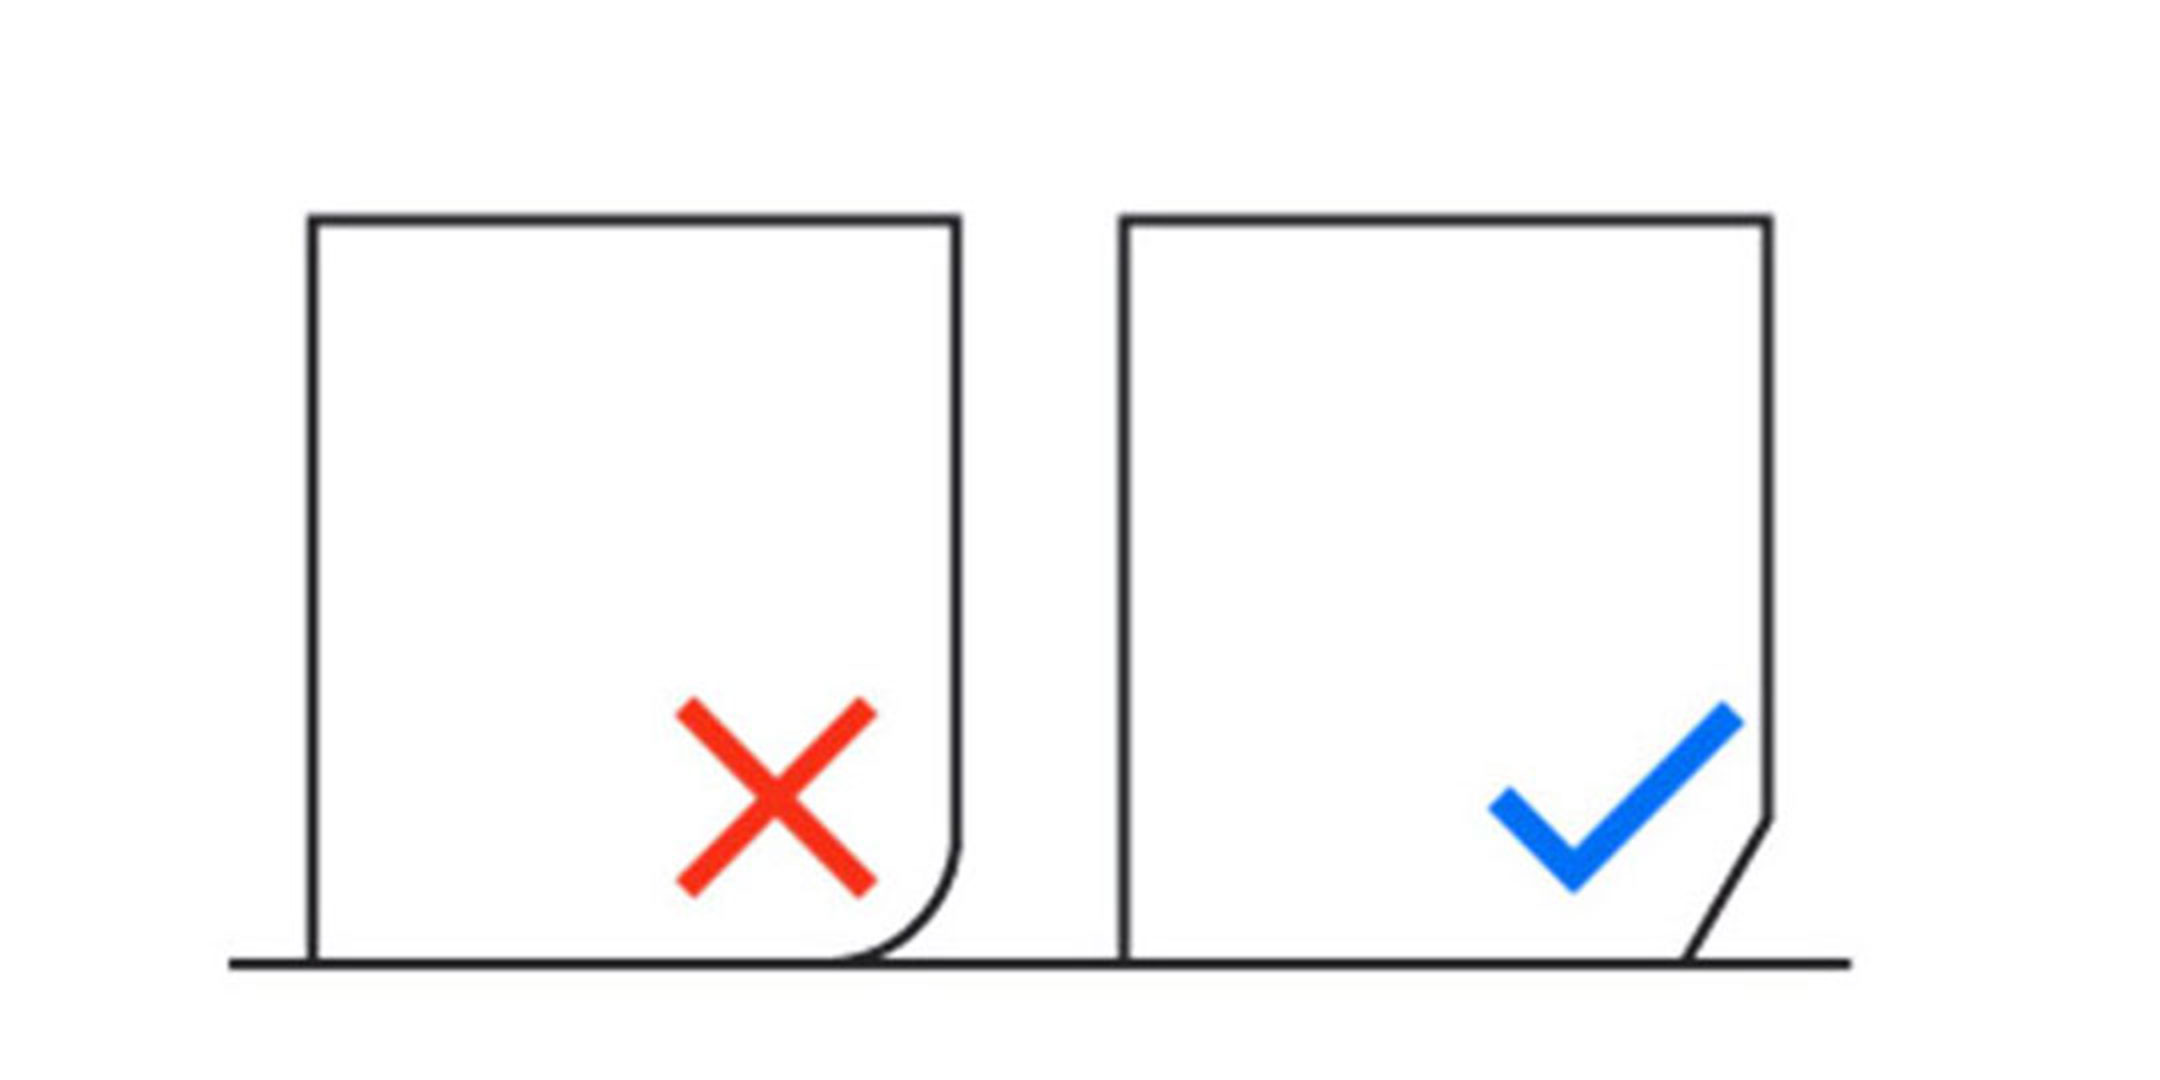
Minimize the elephant foot
When 3D printing without a raft (the horizontal surface beneath a printed part that helps with first-layer adhesion), the first layer may be slightly larger than the rest. This is due to a phenomenon called "elephant's foot." While rarely noticeable, it decreases the tolerance of functional prototypes. By adding a small 45-degree chamfer (transitional edge) on the bottom edge of the print, the effects of the elephant's foot can be mitigated.
For additional modeling tips and tricks, including how part requirements, how to choose materials and CAD modeling for FFF, watch our free webinar for a deeper-dive.
This website uses cookies and similar technologies for website operation, analytics, improving your experience, and, where applicable, advertising or marketing purposes. By clicking “Accept all,” you consent to our use of non-essential cookies as described in our Privacy Policy. If you do not consent to non-essential cookies, please click “Reject.” You can manage your cookie preferences at any time by clicking “Manage.” You may withdraw your consent at any time.
Learn more.
Consent to cookies
Category
Strictly Necessary
Functional
To monitor the performance of our site and to enhance your browsing experience.
Analytics
To understand user behavior in order to provide you with a more relevant browsing experience or
personalize the content on our site.
Advertising
To personalized and measure the effectiveness of advertising on our site and other websites.