3D printing offers unparalleled freedom when it comes to the appearance of the objects you print. It’s possible to change the color, texture, size, and shape of your print, just by changing what material you use. There is one material property that is often overlooked, however, and that’s transparency.
Whether you need a part to be clear for functional reasons, or you just want something that looks nice, it’s good to have the option of printing clear parts. Read on to find out how you can do so.
Is it possible to 3D print clear parts?
The answer to that is yes, and… maybe. Depending on your definition of clear and whether you’re willing to do some post-processing.
While it is possible to print an object using the right material and settings and then pull a translucent print off the build plate. You’ll have to do some extra work if you’re hoping to print anything that is perfectly transparent.
In order to understand why that is, we should talk about what we mean when we use the words transparent and translucent.
What is the difference between a transparent print and a translucent one?
There is a whole bunch of science around what makes something transparent or translucent but for the purposes of this article, transparent is what you’re probably thinking of when you imagine a clear material like a glass window or a flawless crystal. It lets almost all visible light pass through it. A translucent material is instead one that lets only some light through and is therefore not perfectly clear, like a stained-glass window or the lenses of your sunglasses. Any material that lets no light through whatsoever is opaque.
When it comes to 3D printing, these terms are often conflated, and it is standard in the industry to label 3D printing filament and resin with translucent properties as ‘transparent’ despite it being very difficult to get perfectly transparent prints with them. In order to follow those naming conventions, when talking about materials with translucent properties we will refer to them as transparent.
Most of the time, when you try to 3D print using a transparent filament, particularly with an FFF printer, your prints will end up looking cloudy. Depending on your settings, you will probably still be able to see some light pass through them, but they will be translucent at best.
This is because a 3D print is made up of lots of layers of material stacked on top of each other. The small gaps and irregularities between these layers refract and scatter light, preventing it from passing through. Luckily, there are ways of reducing and possibly even eliminating this issue.
How do you print clear parts?
To get the best clear parts, there are three areas that are important. The material used, your slicer settings, and post-processing.
Materials for printing clear parts
When it comes to printing both translucent and transparent parts, there are two very different material categories you can use. The first is thermoplastics using an FFF printer. And the second is resins using an SLA or PolyJet/MultiJet printer.
As a rule of thumb, resin and resin-based printing technologies give you the most transparent parts. However, getting good prints with resin can be a more difficult and much messier affair. Polyjet/MultiJet printers are also astronomically more expensive than FFF printers.
Thermoplastics have the advantage of being accessible, requiring less cleanup, and coming in a wide range of options. Some of the FFF materials that can be printed transparent are:
PLA
PLA is one of the cheapest and most used FFF materials. It is possible to find transparent PLA and in fact, when it first came onto the market, most PLA was transparent. However, it is difficult to get clear prints with PLA, and the other materials mentioned are normally a better option if you’re looking to get the clearest prints possible.
PETG
If you are looking for an easy and affordable way to get translucent prints without post-processing, PETG is your best bet. Transparent PETG is easy to find and it prints better than transparent versions of PLA and ABS will. Post-processing is still required if you want an actually transparent final print, however.
CPE/CPE+
Both CPE and CPE+ can be found in transparent varieties and CPE+, in particular, is suited to being printed transparent as it can be more easily post-processed with heat treatment due to its higher heat resistance. It also had good mechanical properties which makes it a good option for functional parts.
PP
Polyproylene is another material with transparent filament options. PP is a little more expensive than other options but it is possible to get decently translucent prints using it and it also has some specific mechanical properties that the other materials mentioned don’t have, making it appropriate for certain functional parts.
ABS
ABS is common, affordable, and comes in transparent varieties. The downside of ABS is that it’s harder to print than PLA and PETG as it requires an enclosed printer and, similar to PLA, the prints you get off the build plate are unlikely to be especially transparent. The one major upside that ABS has is that it can be vapor smoothed using acetone. We will talk more about vapor smoothing in the post-processing section.
PVB
PolySmooth is a PVB-based material made by PolyMaker that is easy to print and has mechanical properties similar to PETG with the added advantage that it can be vapor smoothed with isopropyl alcohol in a manner similar to how ABS is smoothed with acetone. PolySmooth is more expensive than ABS but it’s easier to print and isopropyl alcohol is much less dangerous to work with than acetone making the smoothing process easier and safer.
Which settings to use for printing clear parts?
The settings you need to tune and tweak for printing clear parts are mostly the same you need for getting a good print in general.
Different materials and printers will also have different requirements but there are some of the settings that you should pay special attention to. Most are relevant for FFF printing. They are:
Infill percentage
There are two options for infill percentages. 100% or 0% (for any infill pattern except lightning). 100% percent will create clear solid objects and is the best option for functional parts. However, for large parts, the amount of filament used will be high. The alternative is to use no infill and a wall that is a single line thick That will create a hollow object with very little material to displace light passing through it. The downside is that many objects will not be able to be printed without infill. Any other infill percentage will create complex internal structures that will reflect light and make the print less transparent.
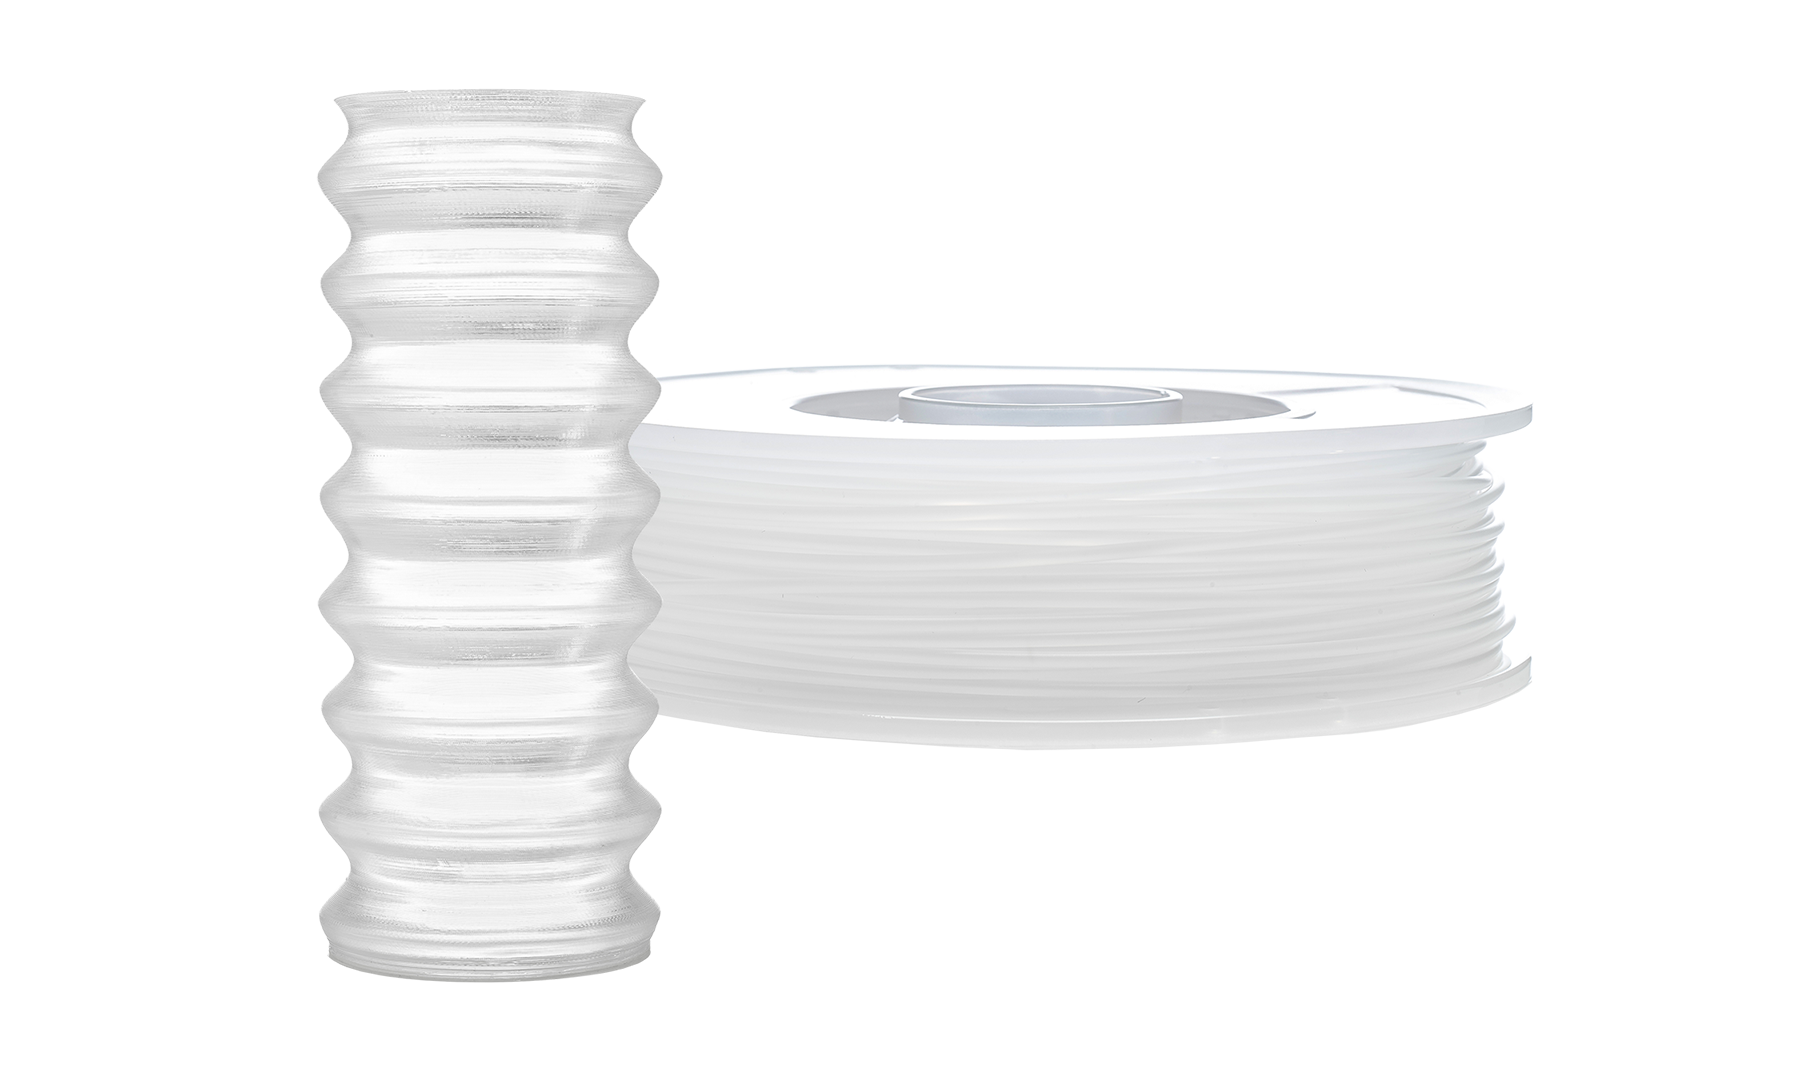
Spiralize outer contour (vase mode)
Spiralize outer contour is a setting that enables smooth printing of objects with a single wall thickness. It turns the print into one continuous print path which means there are no retractions between layers and therefore no Z seam. This can be perfect for making thin translucent parts like a lampshade.
Layer height
Changing your layer height will change how translucent your parts are. As a rule, low layer heights create smaller gaps between layers which creates clearer parts. This is also the only setting in this list that is also relevant to resin printing. As with FFF, a lower layer height is usually best. For FFF printing, there is one exception when larger layers are better. That is when using vase mode with a single line thick wall. In that case, larger layers and even a larger nozzle size will often result in a clearer part.
Temperature
Temperature can have an effect on clarity. A higher temp will help your layers fuse more completely resulting in more clarity but once the temp gets too high your material will bubble or even burn as it leaves the nozzle resulting in a less transparent part.
Extrusion rate
Increasing the extrusion rate slightly above 100% can prevent under extrusion and help fill in the gaps between layers better leading to clearer prints. If you increase the extrusion rate too much you will get over extrusion which will have the opposite effect.
How to post-process a 3D print to make it transparent
Post-processing is the magic step that, in the right circumstances, can turn a cloudy underwhelming print into one that’s crystal clear. In most cases, a bit of post-processing will at least help. Some of the techniques you can use include:
Sanding and polishing
Sanding a print is one of the most straightforward way to smooth out the layer lines that stop a print from being transparent. However, you will need to use an extremely fine grit of sandpaper and ideally even polish to get a perfectly smooth surface. This is also very difficult to do on parts with complex geometries. It’s also worth mentioning that you should wet sand PLA or any material with a low thermal resistance to stop the heat created when sanding from damaging the part.
Clear coating
When done properly, clear coating a 3D print can be transformational. A clear coat is a transparent layer of paint that, when applied, sinks into the layer lines, filling them up and giving the part a smooth finish. If all of your settings have been dialed in and the right material was used, a clear coat can be the difference between a translucent part, and a transparent one.
Vapor smoothing
Vapor smoothing is the process of using either acetone (for ABS) or isopropyl alcohol (for PVB) to ‘melt’ the outer layer of a print thereby smoothing out the layer lines that prevent a print from being transparent. Vapor smoothing can be a difficult process to get right as overexposing a part can actually cause the part to melt completely.
With practice, this can be a great technique for improving the transparency of your parts. Be aware though that vapor smoothing can be dangerous (especially when using acetone) so you should only do this in a controlled environment and when using the appropriate safety precautions.
Temperature treatment
It is possible to fuse the layer lines of a print by exposing the outer surface of
the print to heat. The principle is similar to vapor smoothing except using
heat instead of a chemical reaction to melt the surface of the model. This can
be done with a heat gun and works particularly well with temperature-resistant
materials such as PETG and CPE+. This is extremely difficult to do reliably with
materials that melt quickly like PLA as you can easily deform your print by
accident.
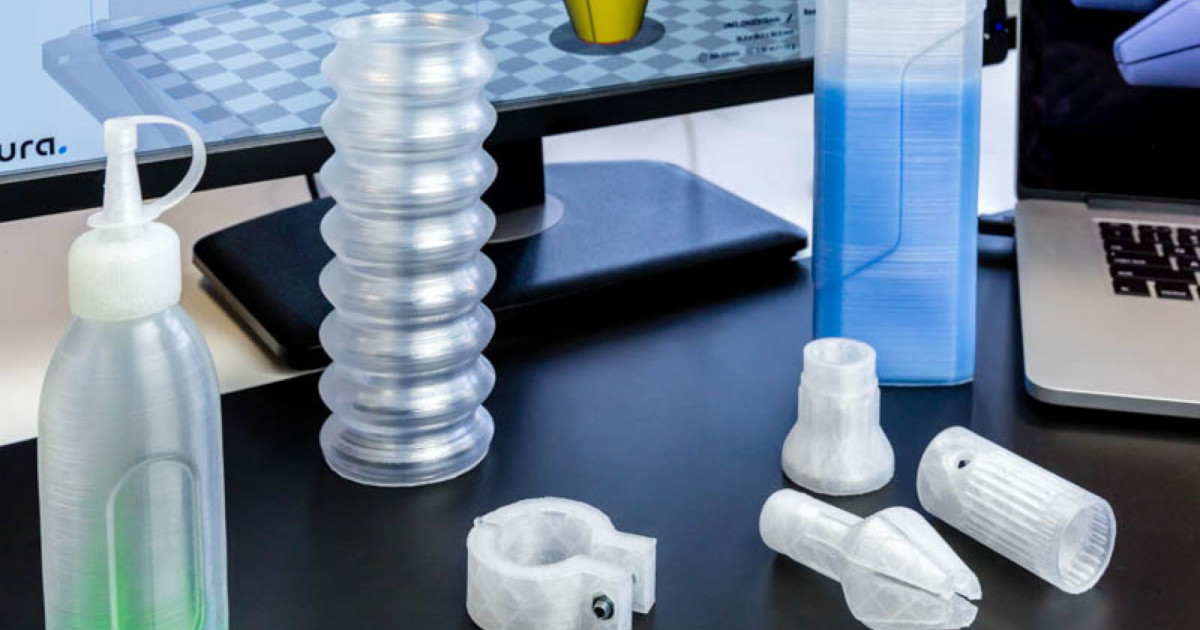
What are the applications for 3D printed clear parts?
The uses you can find for clear 3D printed parts are limited only by your imagination. Here are some possibilities to get you started:
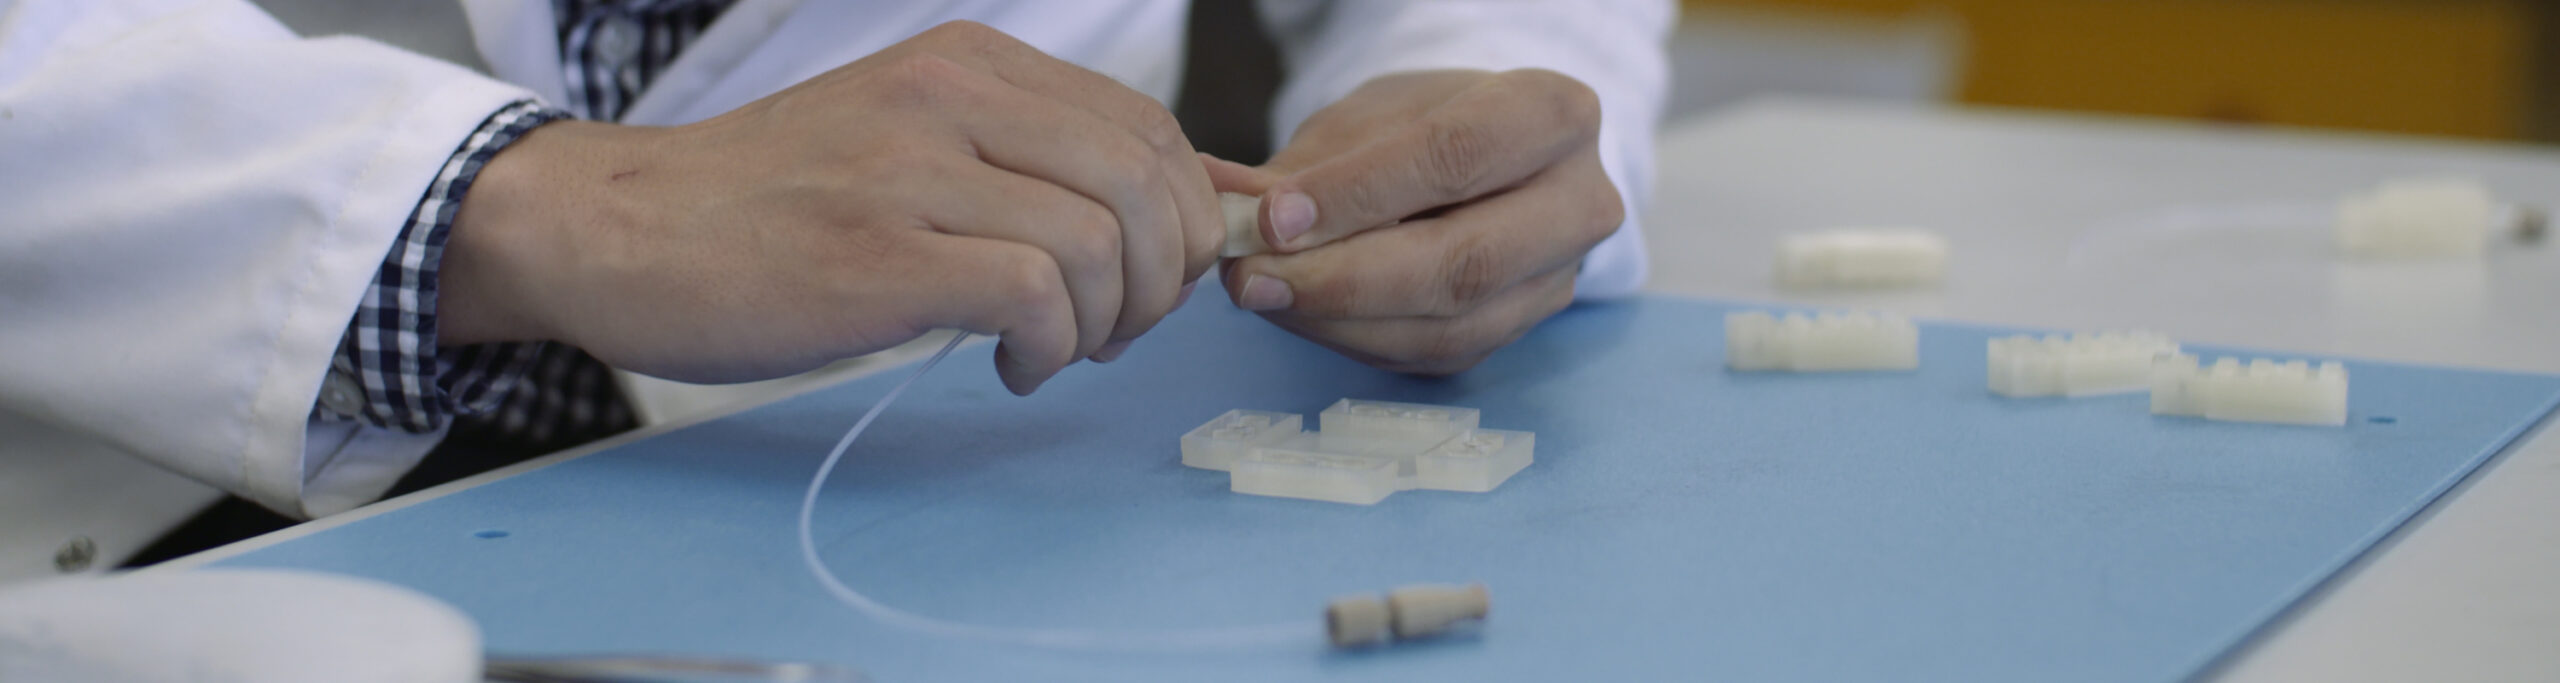
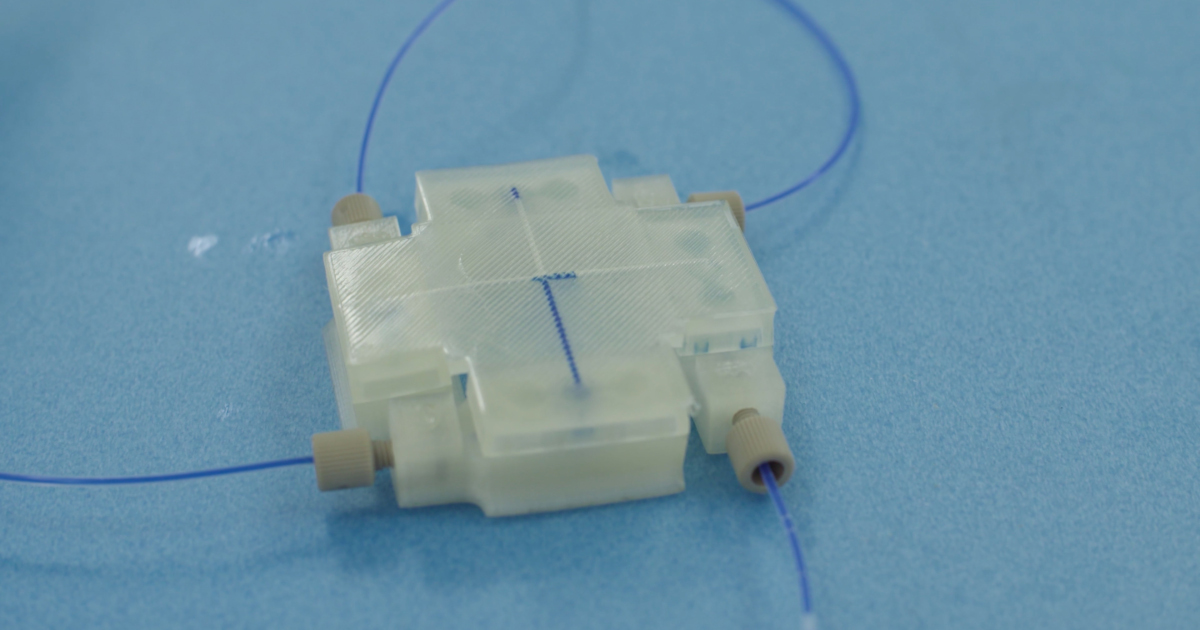
Scientific Research
Custom transparent parts have various uses for scientific research. For example, researchers at Cardiff University have used 3D printed parts to study microfluidics in a way that is cheaper and more flexible than traditional alternatives would provide.
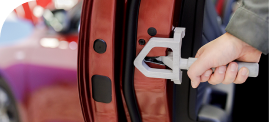
Visual prototypes
Visual prototypes are an important part of the rapid prototyping process and the more accurate they are, the more useful. If you are working on a product with transparent parts, being able to print those parts and have them look exactly how you want them to can be extremely valuable.
Household decorations
Why not spruce up your home with some fancy new lampshades or vases? With 3D printed transparent parts, you can decorate your home exactly how you want it with parts that not only look good, but are functional too.
Art projects
3D printed transparent and translucent parts open up a whole new world of artistic opportunities. One example is lithophanes. Lithophanes are made by varying the thickness of an object so that when a light shines on it, an image is revealed. It’s possible to create lithophanes with
We hope this article unclouded the murky subject of transparent 3D prints for you. If you want to make some crystal-clear prints of your own, check out the many transparent materials available on the Ultimaker marketplace!