


What is lightning infill?
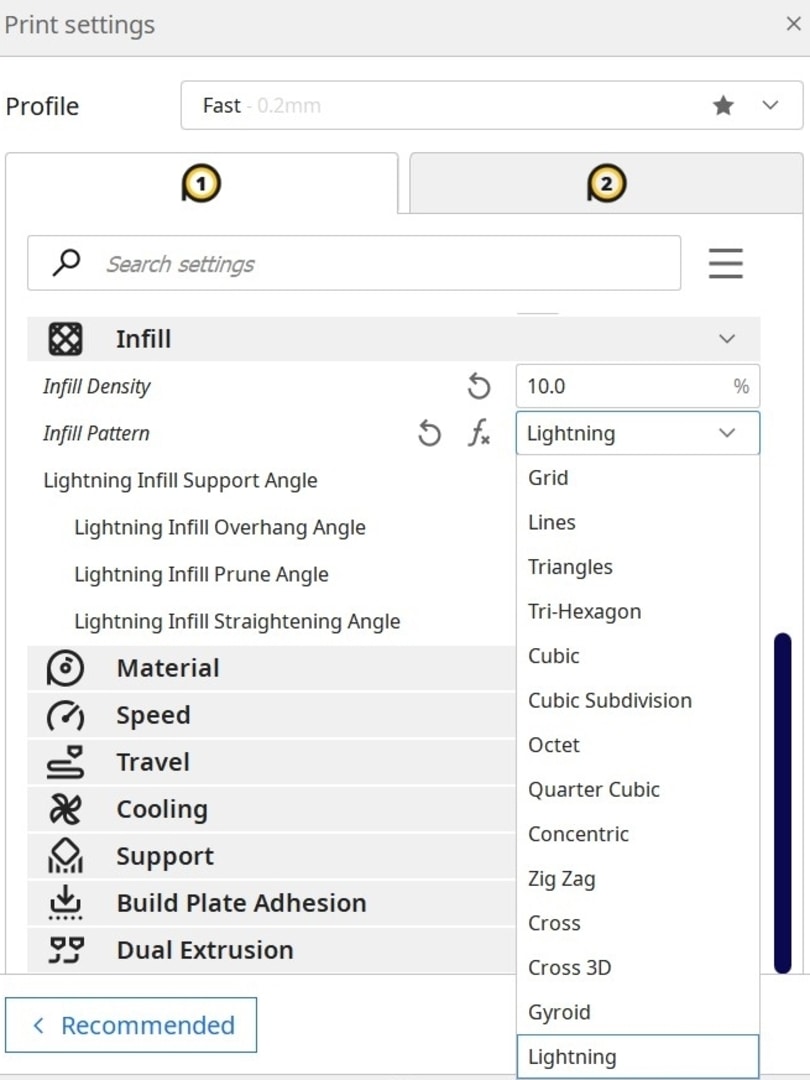
Lightning is a new infill setting available in Ultimaker Cura version 4.12 and beyond. You can find it in the infill dropdown menu when selecting an infill pattern.
Unlimited application potential.
Specialized for engineering applications.
High-performance and certified materials
Over 300 materials to choose from.
From polymers to composites to metals.
Lightning infill is one of the most exciting recent additions to Ultimaker Cura and for the right applications, it can help you print faster while using drastically less material. In this article, we will talk through exactly what lightning infill is and how to get the most out of it.
Table of contents
1. What is lightning infill?
2. How does lightning infill work?
3 Lightning infill applications
Lightning is a new infill setting available in Ultimaker Cura version 4.12 and beyond. You can find it in the infill dropdown menu when selecting an infill pattern.
However, lightning is unlike any other infill that Ultimaker Cura has previously offered. To understand why, we need to talk about what infill is and why it exists.
When designing and printing an object for an FFF printer, it’s important to be aware that each layer must print on top of the layer below it. That means that if a part of your object is at the wrong angle, the printer will try to print in midair causing a failed print. This is called an overhang. It’s also possible that when a perfectly horizontal gap between two structurally sound areas of your print is too large, then your print may sag down causing an uneven surface on your final print. This is called bridging.
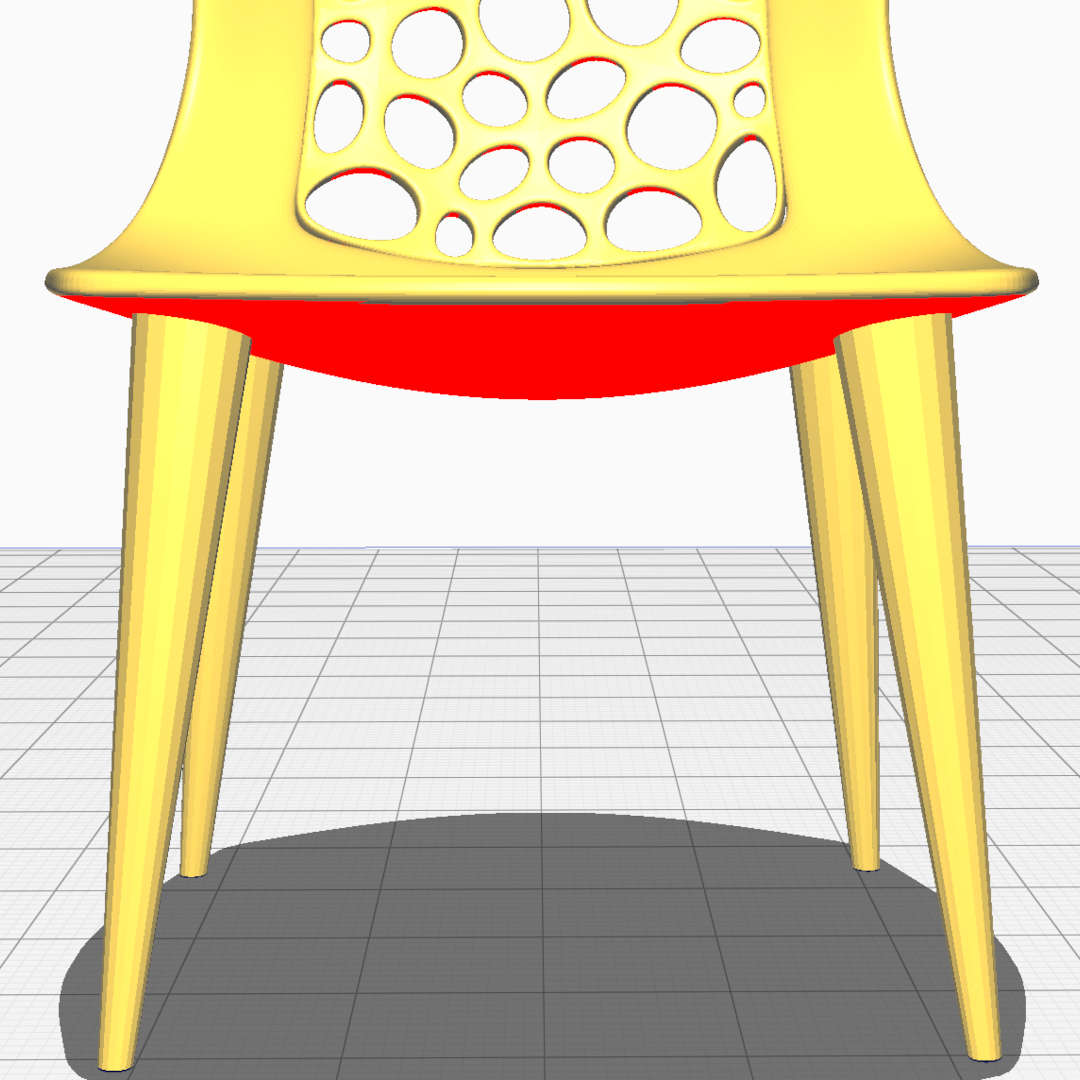
When enabling supports in your slicer, structures are generated under your object to support the areas that would normally be impossible to print. These supports can then be removed after a print is finished.
When printing a solid object, you only need to pay attention to the external geometry of that object. However, solid prints use a lot of material and take a long time to print. To save time and material it’s possible to change your print settings so your object is printed hollow. But, then you have to worry about bridging and overhangs on the inside of your print.
The solution up until now has been to use infill. Infill generates a uniform internal structure inside your print based on the infill settings chosen. It’s possible to choose different patterns of infill. For example, choosing grid creates a grid-like pattern inside of your print.

It’s also possible to modify the density of the infill by changing the infill percentage. The higher the percentage, the denser the pattern and the more material used. A higher infill percentage generally results in a stronger part, and a lower percentage a weaker one. However, reducing the infill at the cost of strength has a limit, because at very low infill percentages it’s possible for parts of the object not to be supported properly which can cause sagging or even holes in those areas.
For parts that do not need to be structurally robust, it’s possible to successfully complete a print using just 20% infill. However, even at such low percentages, infill still uses a lot of material because the infill pattern is generated uniformly irrespective of the internal geometry of the part. Not all of that material is necessary.
Enter, lighting. Lightning infill, instead, acts more like external supports in that it generates an internal structure that is specifically formed to support the parts of the object that are harder to print, and little or no support is given in areas where a successful print can be completed without it. The result is faster prints that use less material.
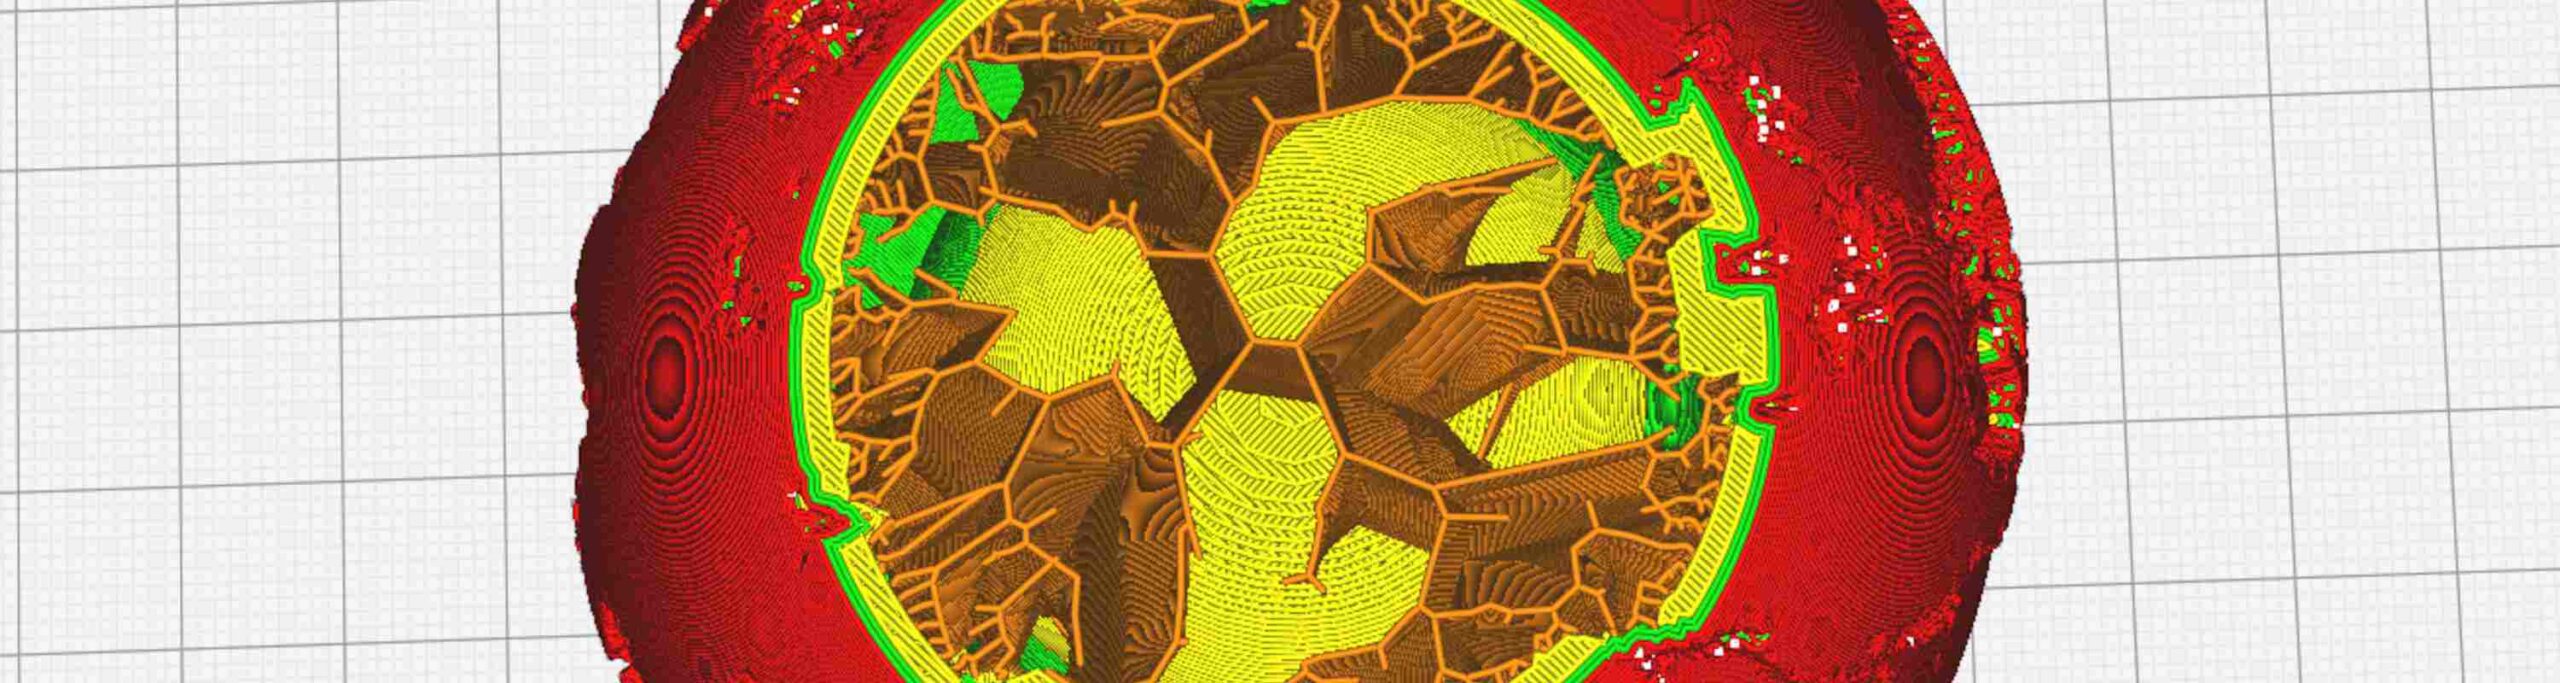
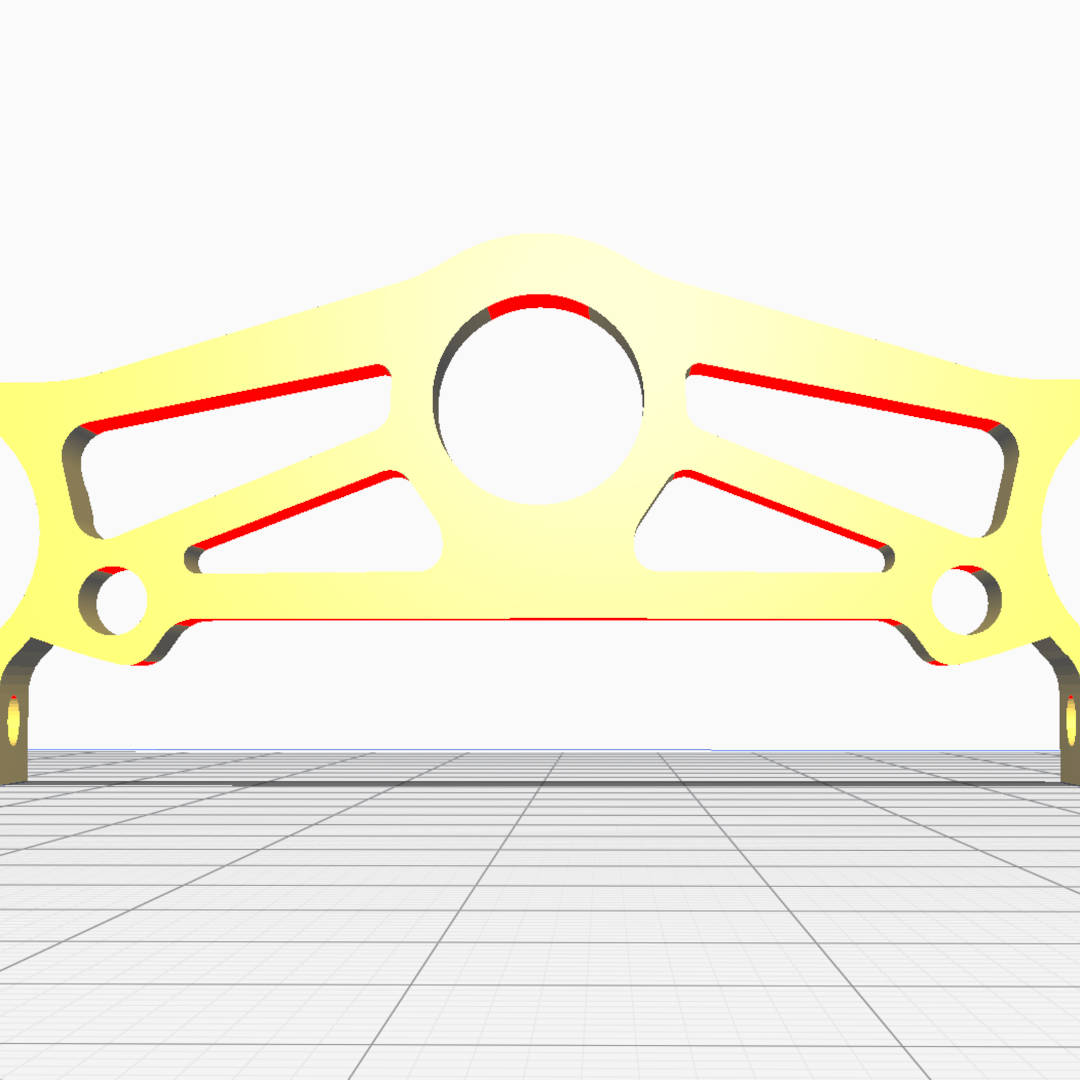
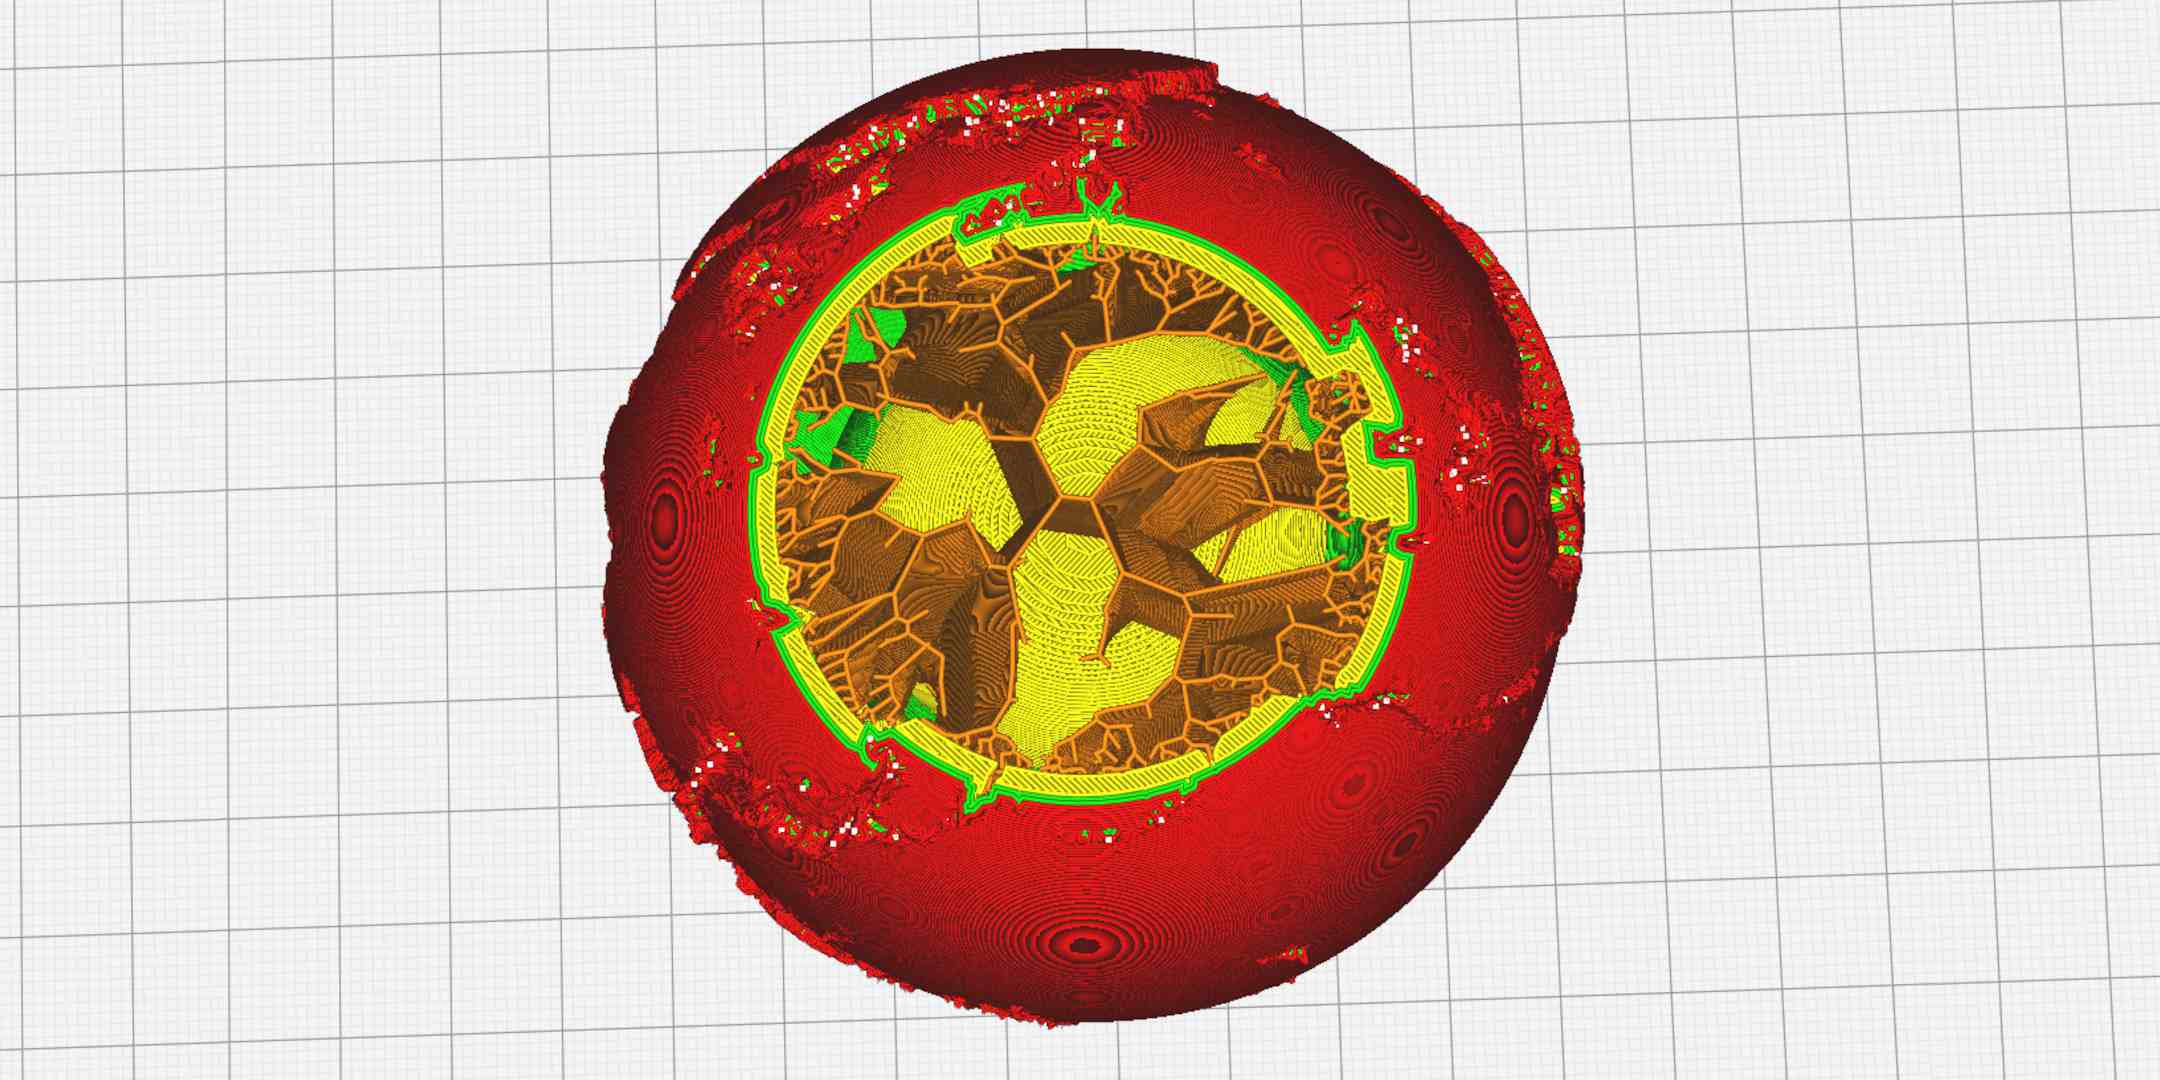
Lightning infill is not an evolution of previous infill techniques but instead a completely new approach to creating internal support structures. Lightning infill works by identifying and supporting the internal areas of a model that need assistance to print successfully.
The resulting infill ends up having a branching tree-like structure that resembles a lightning bolt. That and the fact that they can help you get lightning-fast prints is the reason it’s called lighting infill.
One of the reasons lightning infill is so effective is that, unlike external supports that need to start on the build plate, lightning support structures can start and end anywhere on the internal walls of the model. This means less material is used and a large section of the printed object can remain completely hollow.
The result is that a model printed using lightning infill can use up to 90% less material than a solid model and often results in a reduction of 50% or more when compared to using another infill option at the same infill percentage.
The added complexity that comes with generating lightning infill does lead to a slight increase in slicing time but it’s pretty negligible and usually only results in a few seconds being added.
To enable lightning infill, you need to select it using the infill dropdown menu in Ultimaker Cura. If you don’t see the infill option, make sure you are using custom settings as opposed to the recommended intent profiles. If you still can’t find it, make sure that the infill pattern setting is enabled in your preference settings by going to Preferences > Configure Cura > Settings > Infill pattern. And then making sure that there is a tick in the box next to infill pattern.
The main setting that you would usually modify when using infill is infill percentage. However, unlike other infill types, the relationship between infill percentage and material used is not linear with lightning infill. Instead, the amount of infill generated depends on the geometry of the object. You should not have any issues completing your print as long as you are using 30% infill or more.
If you are increasing the infill to a high percentage in an effort to make your print stronger, it may make more sense to use a different infill setting instead.
It is possible to also access some extra settings that are not available when using other infill methods. They are: lightning infill support angle, overhang angle, prune angle, and straightening angle. If you want to access them, they can be revealed or hidden in the configure Cura settings menu.
These settings allow you finer control over how lightning infill is generated. For most uses, you are fine leaving these on default. But, in case you want to experiment, you can find more detailed descriptions of the above settings in the Ultimaker Cura Settings Guide plugin.
Lightning infill allows for faster prints that use less material. The only tradeoff is the resulting prints are not as strong. These factors allow for a wide range of applications, some of which include:
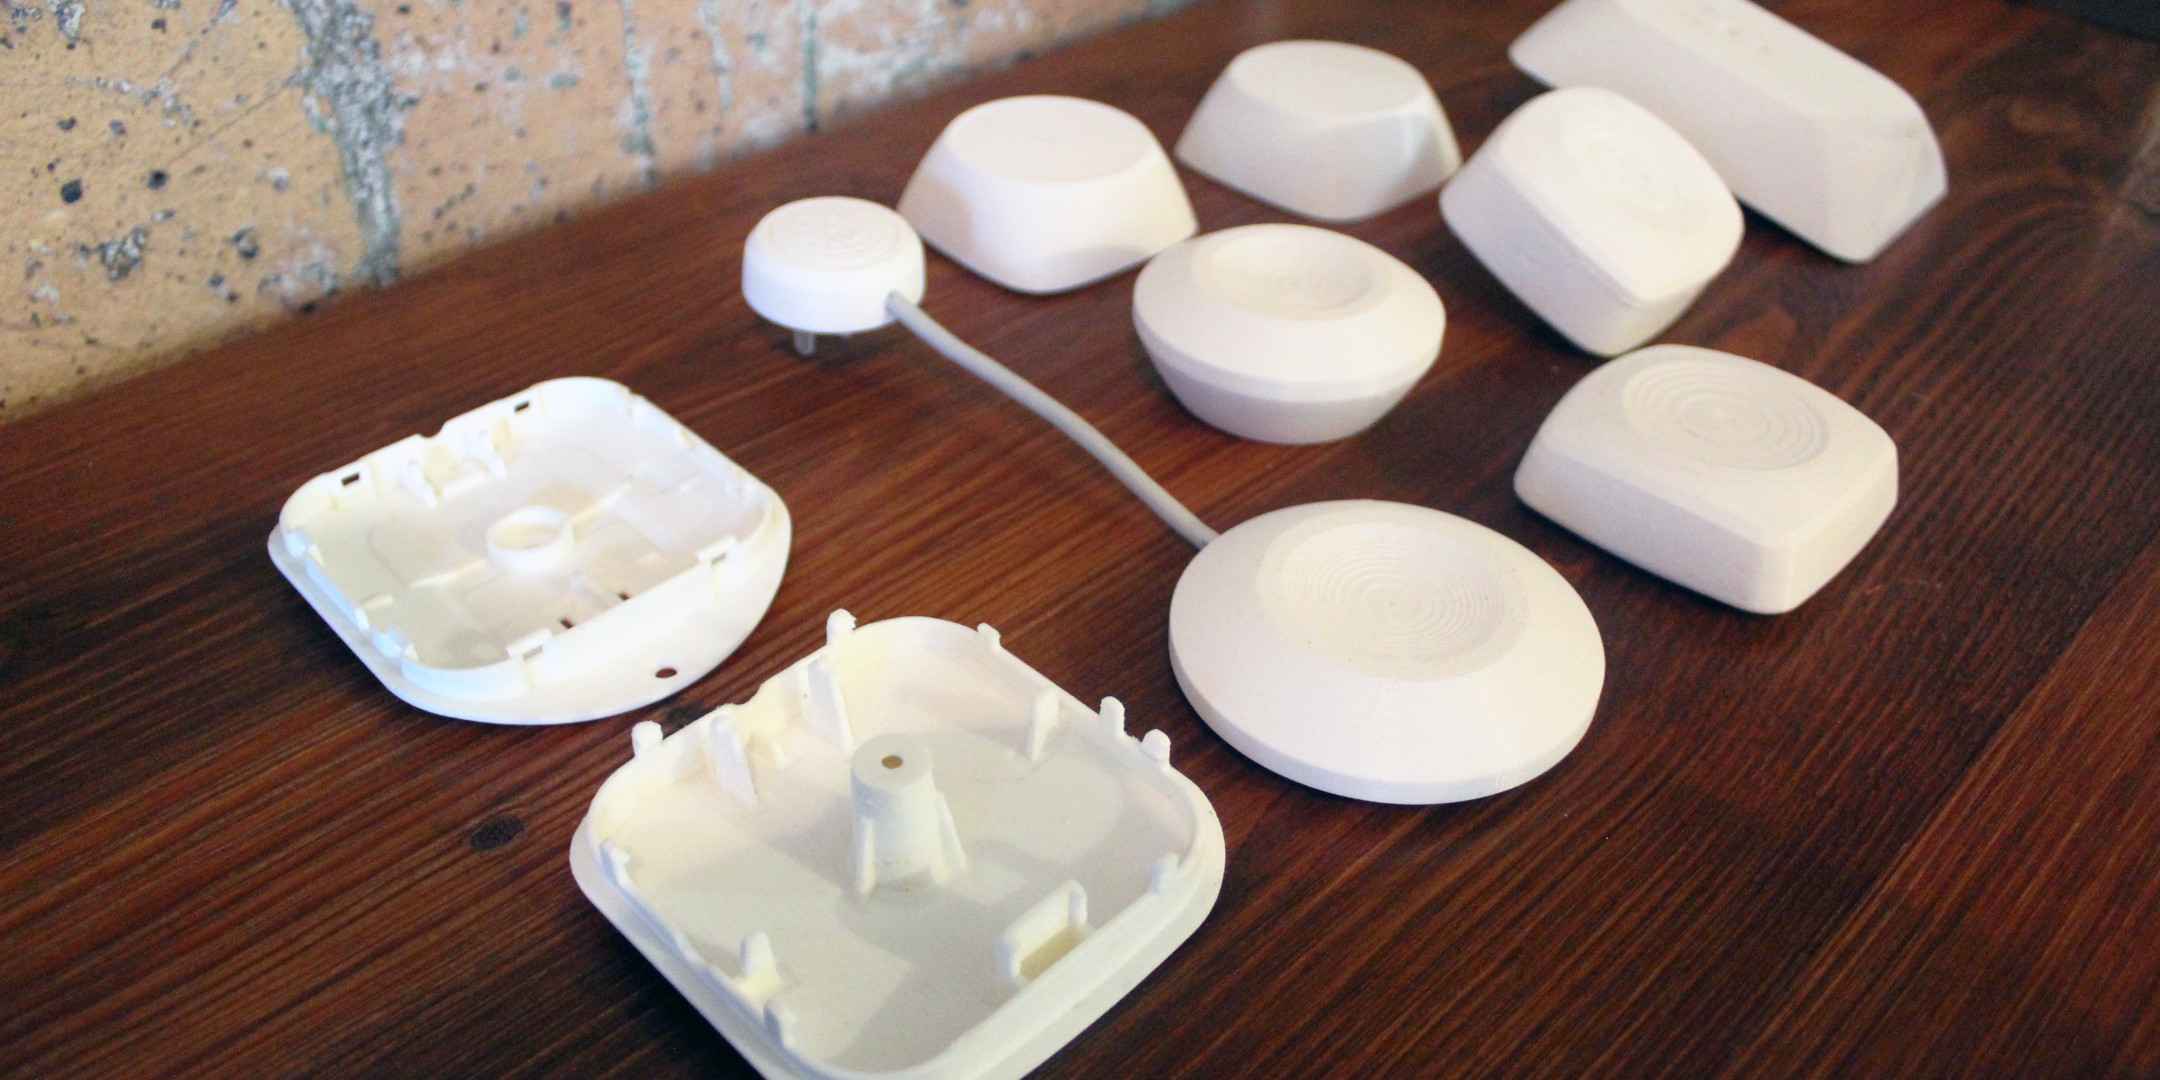
The reduced print time that lightning infill affords gives you an opportunity to create iterations more quickly and at a reduced cost. Parts printed with lightning infill are most suited to be used as proof-of-concept prototypes and visual prototypes. Depending on the part being prototyped, you could save hours on each print which could mean multiple extra iterations per day, guaranteeing your product will be thoroughly tested before it gets to market.
Display models and non-functional prints are ideal for lightning infill. In particular, big prints with a large internal area such as a bust or a statue can save many hours of print time, making lightning infill perfect for people who want to decorate their home with 3D printed art. Objects printed with lightning infill can still be handled as long as you print with at least 2-3 wall layers. That means that tabletop and wargaming terrain, as well as boardgame components, are also ideal use cases for lightning infill.
Anyone who is worried about the environmental impact of 3D printing will be happy to know that lightning infill reduces material waste. When using traditional infill settings, a large amount of unneeded internal infill material is printed. Meaning more plastic is used and the resulting parts are harder to recycle or compost. Lightning infill only uses the infill material that’s needed for a print to complete and no more. Plus, faster prints also mean less electricity used on each print.
Anyone who wants to 3D print on a tight budget can see significant savings when using lightning infill. The reduced material usage that is enabled by lightning means that each spool of material will last longer and each print will cost less. Plus, as an added bonus, a faster print means your printer will be in operation less, saving you a little extra in electricity and printer maintenance.
We hope we’ve encouraged you to try out lightning infill so that you can experience quicker prints that use less material! Download Ultimaker Cura to start printing lightning fast today!