


How to use heat set inserts to securely fasten 3D printed parts
FFF printed parts can be used for more than just ornamental prints. 3D printed parts are used in vehicles, factory machinery, and more. Many 3D printers, themselves, use printed parts. However, plastic does not always stand up well to the stresses that these applications put them under. One way to enhance the capabilities of your plastic printed parts are heat set inserts. Read on to find out what they are and how they work.

Heat set inserts (also known as threaded inserts) are small metal tubes that are threaded on the inside and knurled on the outside. When installed into a printed part, they act as the thread for bolts and screws. They can be placed into a printed part by heating them to a temperature that softens the plastic part to the point where you can push the insert into an appropriately sized hole. Once in place, the insert cools and so does the surrounding plastic, causing it to harden. Leaving the insert secured in place.
Heat set inserts are an easy and effective way to improve your ability to fasten printed parts. They come in a variety of sizes (M3, M5, etc.), and they are much less prone to stripping and deforming than threads that are printed or tapped into plastic parts.
3D printing is a perfect application for heat set inserts. Although, they can also be used with injection-molded parts.
How effective are heat set inserts?
Heat set inserts can greatly improve both the pull-out and torque resistance of fasteners screwed into your printed parts. The exact effectiveness of the insert is dependent on a number of factors, including the quality of the insert itself, the material used, and the settings used when printing your part. The price of inserts can range from 3-cents per piece to 25-cents or more a piece with the higher-priced ones generally giving better performance.
Higher-strength materials like ABS or PETG are generally a better choice when using threaded inserts as weaker materials like PLA can end up becoming the point of failure, rather than the insert. Flexible materials like TPU are less suitable as the plastics' inherent ability to deform means the insert will not stay in place securely.
When choosing your print settings, the best option is to use a high infill percentage with 100$ infill being preferred. If the part you plan to use an insert with is large and a high infill percentage is impractical, make sure you’re at least using a high wall count (3+) and consider increasing the thickness of your outer walls.
How do you use heat set inserts?
When using heat set inserts, you need the following items:
Heat set inserts
Soldering iron with the appropriate size and shape tip
Plastic part with holes appropriately sized for your inserts
Heat set inserts are most commonly made out of brass. As the name implies, in order to set an insert into place, it needs to be heated. The most common way to do this is with a soldering iron as you can precisely apply heat to the insert without heating the surrounding plastic more than necessary. Make sure the tip on your soldering iron is appropriate. Many soldering irons have swappable tips and tips are sold which have been specifically sized and shaped for use with heat set inserts.
It is possible to use a special press when using heat set inserts but most of the time this is overkill as soldering irons are effective while also being much cheaper and easier to find. The main situation where a press may be better is if you’re planning on using a large volume of inserts or you need to reach an extremely high level of precision and reliability.
You also need a plastic part with an appropriately sized hole for the insert to be placed into. The hole can either be designed into 3D model that is printed or it can be drilled in after printing. When printing a part with the holes included, the dimensional accuracy of your printer comes into play. If the hole is too big, the insert will not stay in securely and if the hole is too small, the insert will be harder to melt into place and you will have to deal with more excess plastic afterwards.
Heat set inserts can be placed into any thermoplastic but plastics with higher melting points are a little easier to work with as there is less risk of overheating and deforming the part. Stronger materials like ABS and PETG are commonly used with inserts as they have stronger strength characteristics which make them more applicable for engineering applications. Avoid flexible materials like TPU.
How to install a heat set insert
Once you are ready, place the insert at the entrance to the hole. Some inserts are tapered on one end to make inserting them easier. Once in place, turn on the soldering iron and let it heat up to the melting point of the material you are using (or just below). Then place the tip of the soldering iron onto the insert itself, making sure not to touch the plastic with the soldering iron directly. After a moment, the plastic around the insert should get soft, allowing to you slowly push the insert into place. Once it’s flush with the part, remove the soldering iron and leave the insert to cool for a few minutes before touching or screwing anything into it.
When pushing in the insert, make sure the exert even pressure from directly above. Any twisting or sideways pressure may cause the inserts' final position to be askew, making it difficult or impossible to screw anything into it. Also, if the hole the insert is placed into is too small, it may be that excess material can bunch up and blocked the bottom of the insert. This can normally be cut or melted away.
Once an insert is in place, it is possible to remove it again by essentially reversing the process of installing it. Heat the insert and then pull it out. Beware when doing this that you will take some material with the insert meaning the hole it was originally placed into will be enlarged and may be less reliable when being used to house an insert in the future. It’s also possible to damage the insert by doing this but considering the relatively low price of a single insert, the cost of doing so is negligible.
Heat set insert applications
Heat set inserts can be useful in any application where you need to attach something to a printed part or attach two printed parts together. Some examples include:
Functional prototypes
Rapid prototyping is an amazing use for printed parts. You can find plenty of examples of where they’ve been used to great effect. Printed parts can also be used for prototypes where all or part of the final product will eventually be made of a different material, such as metal. In these cases, you may want to your printed parts to simulate the fastening characteristics of those materials. Heat set inserts are a good way to do this.
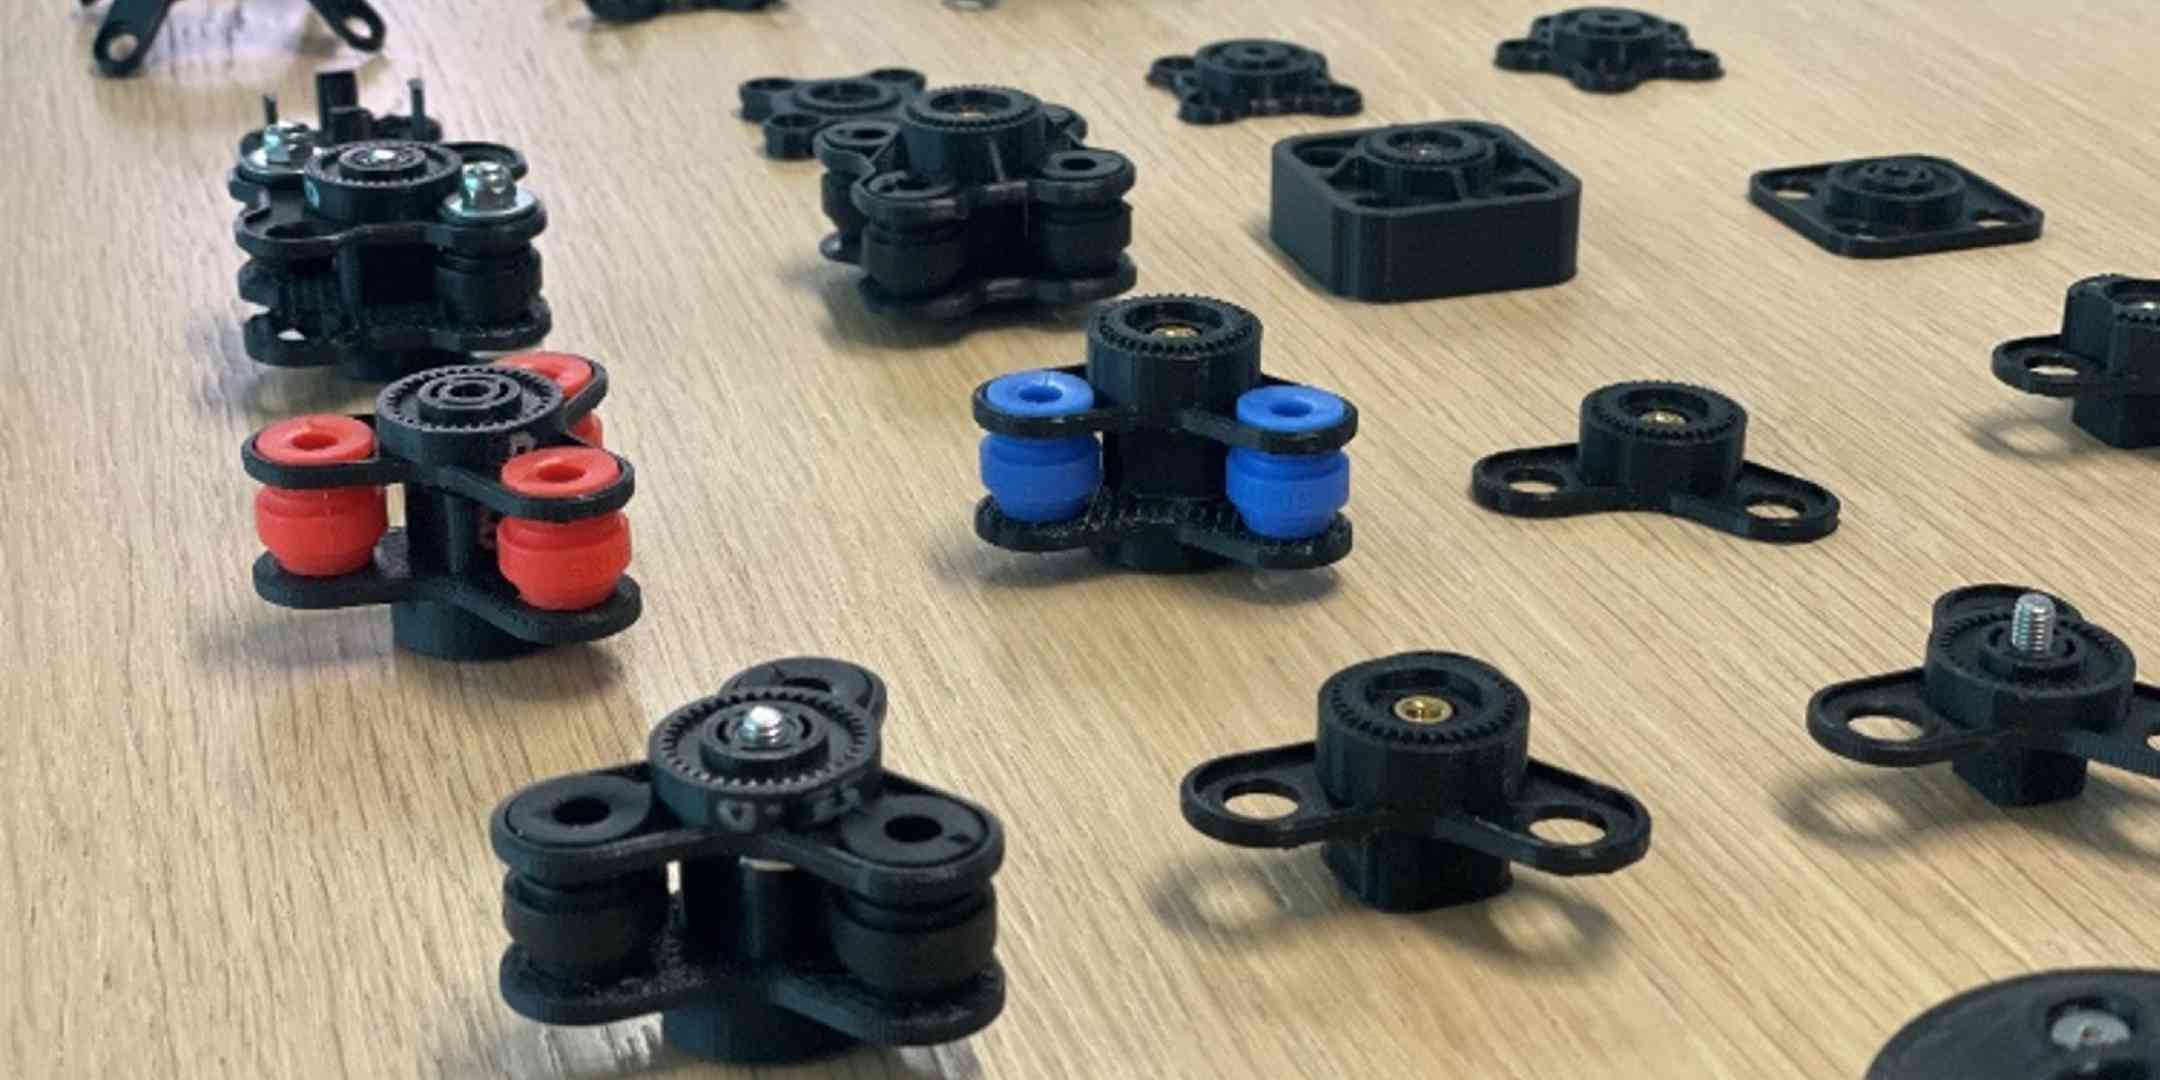
Spares and replacement parts
Sometimes a single part of a larger assembly can be prohibitively expensive to buy in small quantities. In cases like this, a 3D printed replacement is ideal. Heat set inserts allow you to use printed parts even when those parts need to be connected securely or are likely to undergo mechanical stresses.
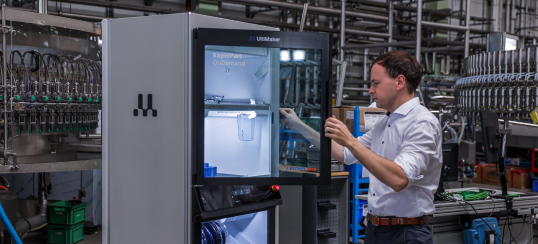
Azoth is a company that has seen great success in helping companies design parts that not only replace, but in many cases improve, those that were previously in use. Often for a greatly decreased price.
Open source DIY 3D printers
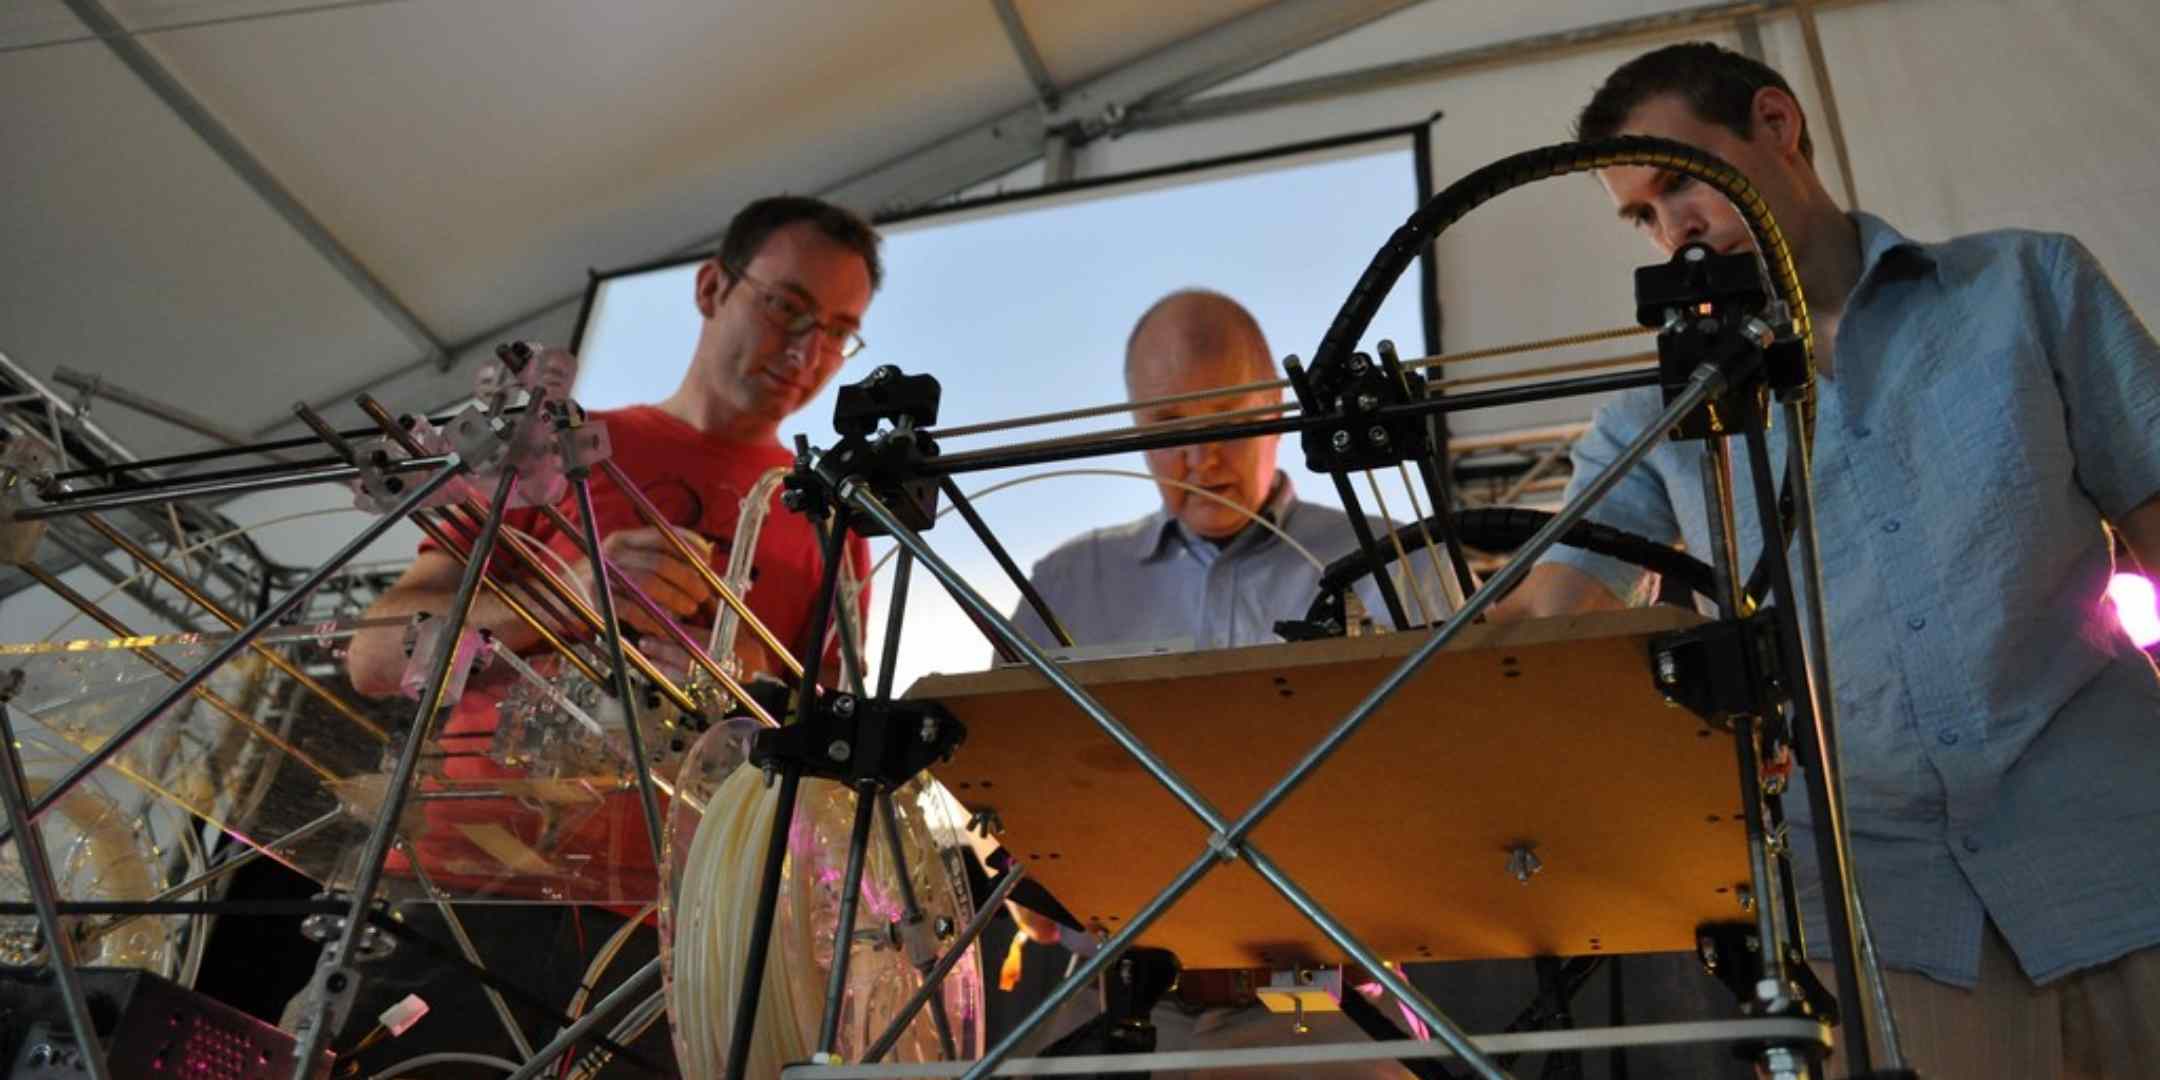
Many modern 3D printers exist because of the advancements made by open-source DIY printers. The founders of Ultimaker originally started building printers as part of the RepRap project. An open-source project founded on the idea of allowing people to use 3D printers to print and build other 3D printers. Ultimaker eventually moved on to designing and building their own high-quality printers but that culture of open source 3D printer building still exists. Many newer DIY printers use printed parts combined with heat set inserts to fulfill that promise of self-replicating printers while also benefitting from the improved mechanical properties that threaded inserts provide.
We hope this article gave you some ideas for new and interesting ways to use your printed parts. If you need more inspiration, you can take a look at some of the exciting ways our customers have used our printers.