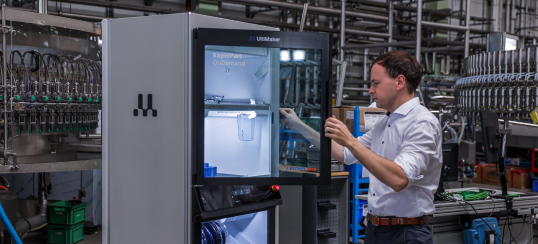
When 3D printing, there may be times that you want to speed up your printing experience. Maybe you need to save time, increase productivity – or just don’t want to wait any longer than necessary for a print to finish.
Luckily, there are a number of hardware and software adjustments you can make that will reduce your print time without risking print success. In this blog, we’ll take a look at some of them.
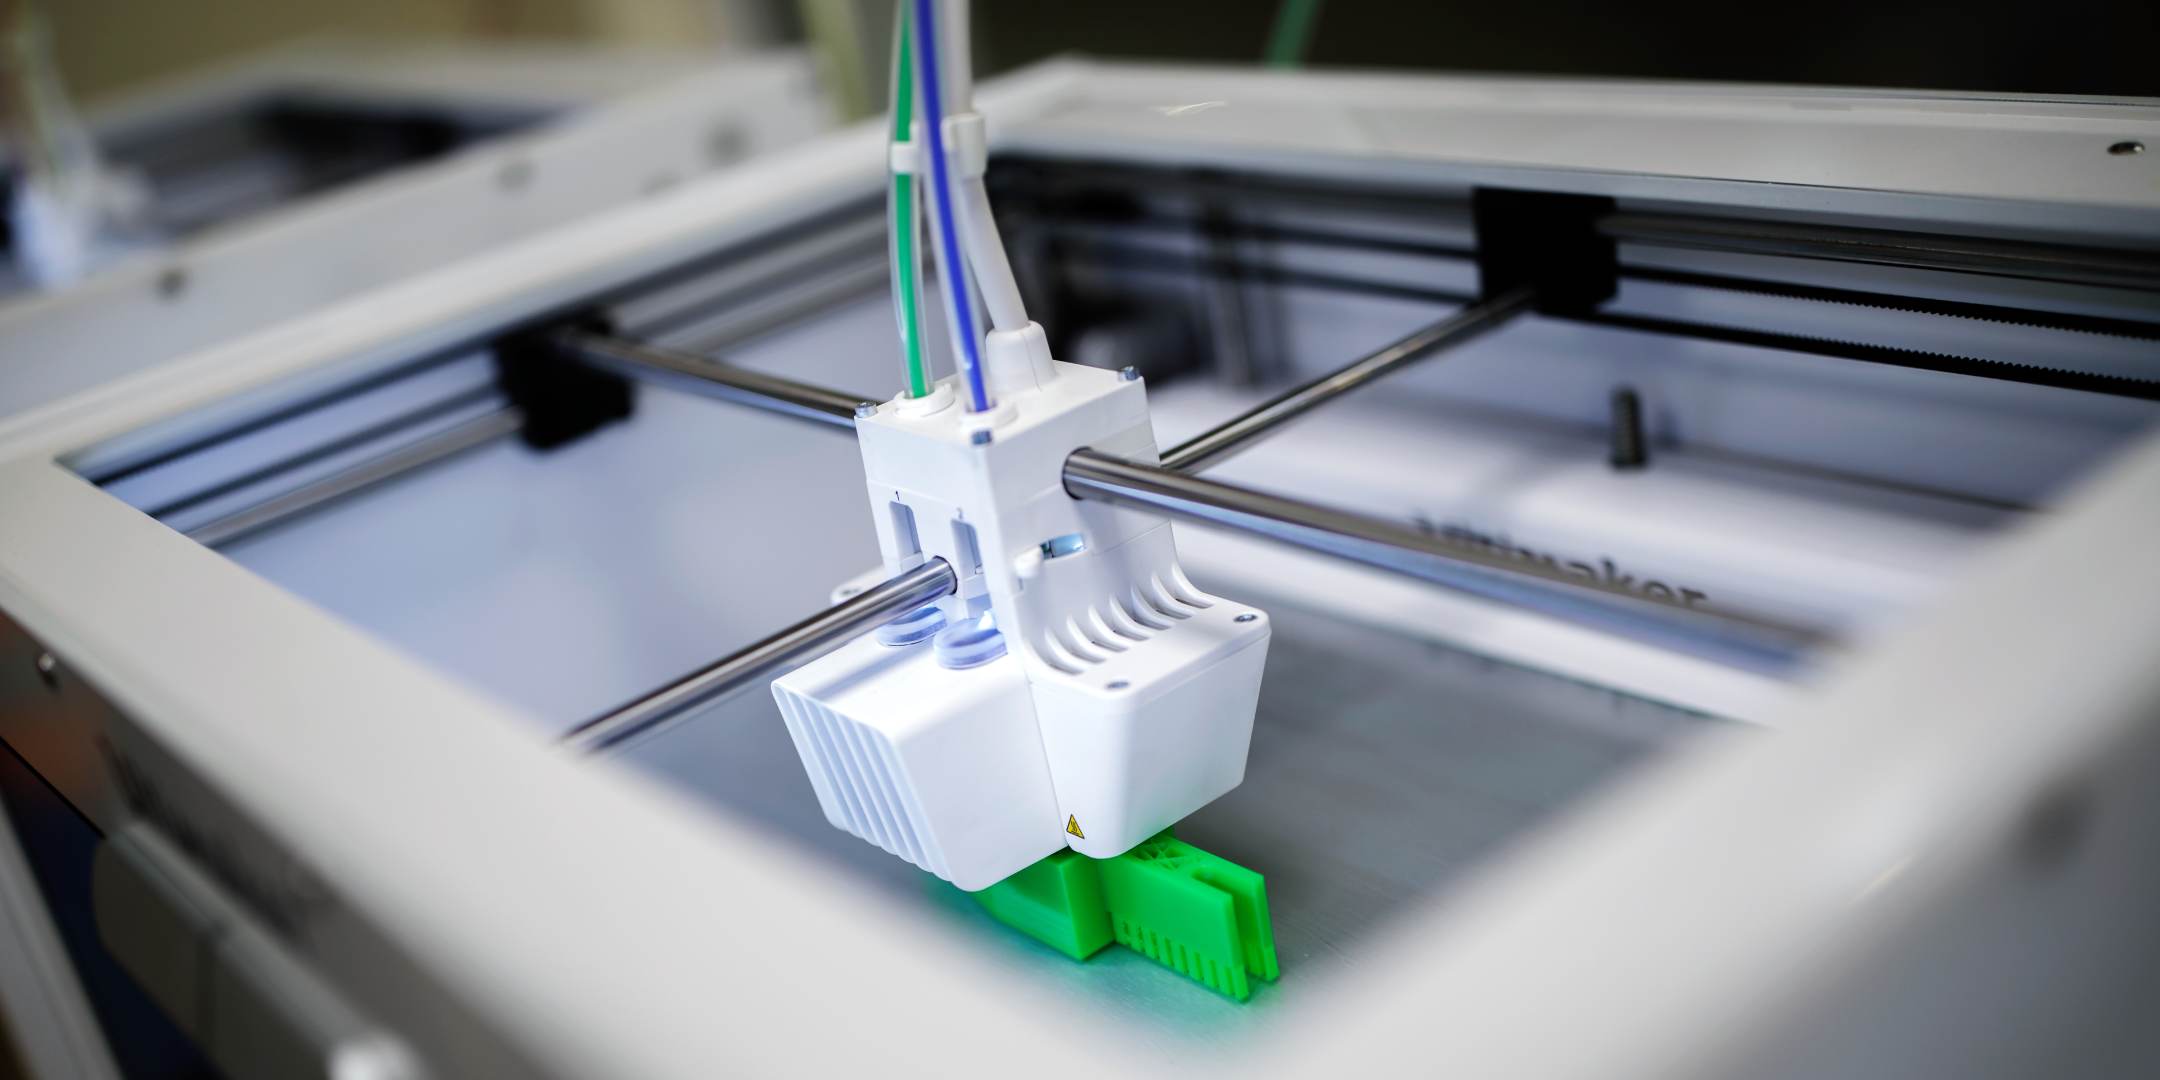
Choosing the fastest nozzle for 3D printing
To start 3D printing faster, it helps to have a look at the nozzle on your 3D printer. The larger the nozzle, the lower the print time, as more material can be extruded through it at once. Smaller nozzles, meanwhile, can print with higher degrees of precision. This means that a 0.8mm nozzle, for example, will be capable of higher print speeds than 0.25mm nozzles.
Striking a balance between precision and speed is the 0.4mm nozzle, which is often seen as the 3D printing “standard.” Different prints, however, have different needs, so you’ll need to ensure that you pick the nozzle that best meets your requirements before starting your project.
Slicer settings that speed up your 3D printing
There are several software settings within your slicer that you can fine-tune to increase your printing speed. The following settings can be adjusted in most types of slicing software, including Ultimaker Cura:
Print speed
Print speed defines the speed (in mm/s) at which the print head moves while printing. Adjusting the print speed in your slicer software’s settings will enable you to print faster, although increasing your print speed without making other adjustments will likely result in a worse quality print, depending on the part you are creating. How high you can push this setting will depend on your printer, and how much time you are able to spend tweaking other settings for optimal results.
Acceleration and jerk
Acceleration and jerk settings refer to the speed at which your print head moves from a still position – as well as how much it will slow down before changing direction. A higher jerk value will result in faster print speeds but are also harder on your hardware, which can result in lower print quality. Increasing your acceleration setting too high will often result in ringing in your final print.
Layer height
Layer height is one of the easiest and most impactful settings to change. Thinner layer heights result in prints with higher levels of detail and overall quality, as well as smoother surfaces. If you’re looking for faster print speeds, however, you should print with higher layer heights, which means thicker layers and substantially reduced overall print time. At the cost of reduced detail.
How to print less to print faster
Adjusting your 3D printer so that it uses less material during a print has two major benefits. For one, you’ll save 3D printing filament. Second, you’ll print faster. Here are a few ways to do so:
Choose the right infill pattern
In Ultimaker Cura, you can adjust the infill pattern of your print. The infill pattern refers to the pattern of the interior of a 3D print. Different patterns will provide prints with different qualities, such as prints that are stronger. They also affect print speed. The Lines infill pattern in Ultimaker Cura, for example, prints with less overall material and is designed to print faster. Additionally, the Lightning infill pattern, introduced in Ultimaker Cura 4.2, generates an internal structure that is specifically formed to support the parts of the object that are harder to print. Little or no support is given in areas where a successful print can be completed without it. The result is faster prints that use much less material.
Adjust infill density
As well as infill type, you can also adjust the fill density. This defines the density of the infill pattern, which, as a result, increases or decreases the amount of plastic inside your print. An infill density of around 20% is often sufficient for visual models that don’t need much functional strength. It is possible to go lower but the chance of a failed print is much higher below 10-15%. Higher densities are typically only needed for end-use parts. Whatever your needs, remember that the lower the infill density, the less material is used – and the faster the print.
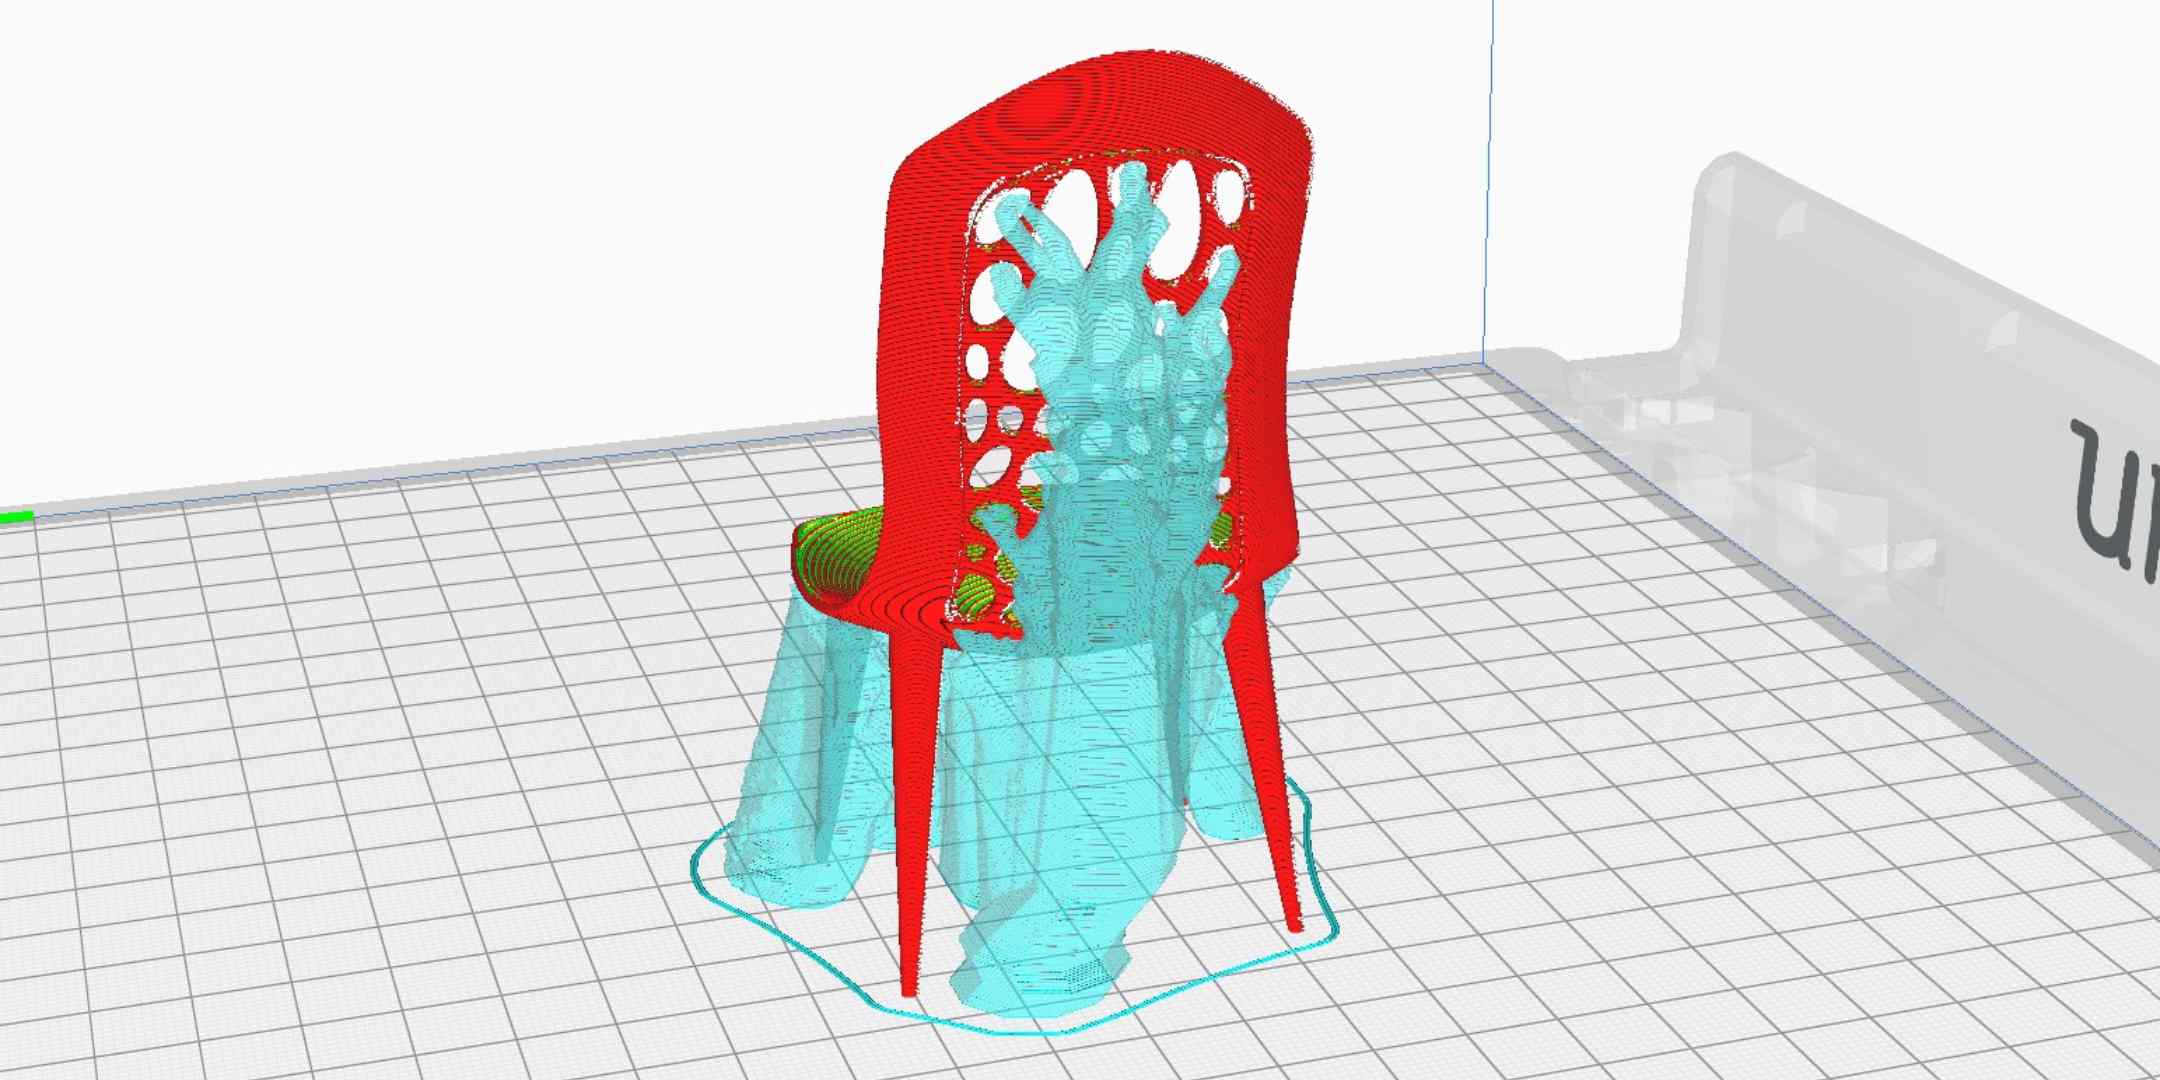
Print less support
For certain prints, such as those with complex geometries, you will need to print with support material. However, this will increase print times, as more material will need to be extruded. Using, or creating, designs that use less support material will result in faster print times. Tree supports are one way you can accomplish this.
Tree supports, which are an option available in Ultimaker Cura, are generated around a print to help support areas that would be unsuccessful without them. Tree supports wrap around a print, rather than directly below areas that need to be supported, and are thicker near the bottom and thinner as they rise. They also branch off at an angle with only a thin tip of each branch touching the areas that need support. The result resembles the branches of a tree – hence, “tree support – and, in addition to being easier to remove and leaving less scarring, they use less material, meaning your print will be finished more quickly.
It’s also worth mentioning that you can reduce how many supports are needed by orienting your model optimally inside the slicer. In Ultimaker Cura, you can use the preview mode after slicing to see how much support material will be printed. Try changing the orientation of your print to see how it affects the amount of supports used.
How to design for faster printing
When creating your own 3D prints, you can take certain steps to make designs that enable your 3D printer to print faster.
Orientation
In 3D printing, orientation refers to how your model is positioned in relation to the build plate. 3D printers print faster on the X and Y axes. This means that keeping the Z-axis height to a minimum will enable your 3D printer to print much faster.
Sub-assemblies
Parts with complex geometries often require supports in order to be printed successfully. Printing supports can add a lot to your overall print time. One way to avoid this is to cut the 3D model for your print into multiple parts which can be printed flat on the build plate in such a way that supports are no longer necessary. Doing this can reduce your print times significantly but it will add extra time post-print as you will have to assemble the resulting pieces together again after printing.
Teardrop holes
Creating parts with “teardrop holes” can help you print horizontal holes without the need for support material. Teardrop holes refer to holes that are teardrop-shaped, rather than round, avoiding large overhangs and considerably decreasing your print speed.
We hope you found the above tips helpful. Are you ready to start printing parts at super speed? Download the latest version of Ultimaker Cura for free. With it, you can enjoy all the features described in this blog, and more!