But I won’t lie, this is a big project. I printed the base models at ⅕ scale and gave it to my students to explore. They were really interested in the challenge of designing their own Ultibot – of making it their own.

Modifying an STL with Tinkercad
When Ultimaker Pioneer Alex Larson contacted me about the Ultibot-D project, I was super excited. As a teacher and parent, I am a huge cheerleader for risk. We’ve got this! Have a go! Yes, and...? I am all about encouraging students – and adults – to create with the tools they already have. If you have any concerns about starting off with a tool like Tinkercad, or any other “introductory CAD tools”, take a look at @KrasherOx on Twitter. His work is unbelievable.
Then I gave them the digital models to explore in Tinkercad. “Something is wrong with the file, Mr. Kent, or my workplane.”
“Mine too,” another student agreed.
“Surprise! Nothing is wrong!” I said. “This is part of the challenge.”
It took the students a while to get used to navigating such a large piece. To get them comfortable, we did a few mini lessons in Tinkercad. Students who had never used Tinkercad before went through the tutorials provided by Autodesk in the “Learn” section under “Basics”. When they had completed the tutorials, they worked with a partner, using the collaboration tool to work on two extension activities. The activities were the “Assemble a hamburger” project in Tinkercad and the lidded box on the Tinkercad blog.
A great way to get students familiar with the navigation tools, Assemble a hamburger helps them move around, and move objects around, as efficiently as possible. Although the lidded box is not in the projects section, with support it is a great way for students to figure out how to make walled shapes with removable lids.
Students work together on the same file in Tinkercad using the collaborate tool in the upper right corner near the user’s icon. The power of this tool is that students can discuss the object in front of them, or rapidly prototype right next to each other.
My students brainstormed and came up with the idea of an Ninja robot based off of the Lego Ninjago. Students drew sketches of their ideas and wrote out important details. They talked about what they liked from each idea and brought those ideas together. One student stopped and asked: “How are we going to print this?”
“I have no idea,” I said. “Let’s focus on developing our idea.” We then split students up by their interest in prototyping the robot parts. Students met face to face once a week and were constantly working on their projects, or coming in before and after school.
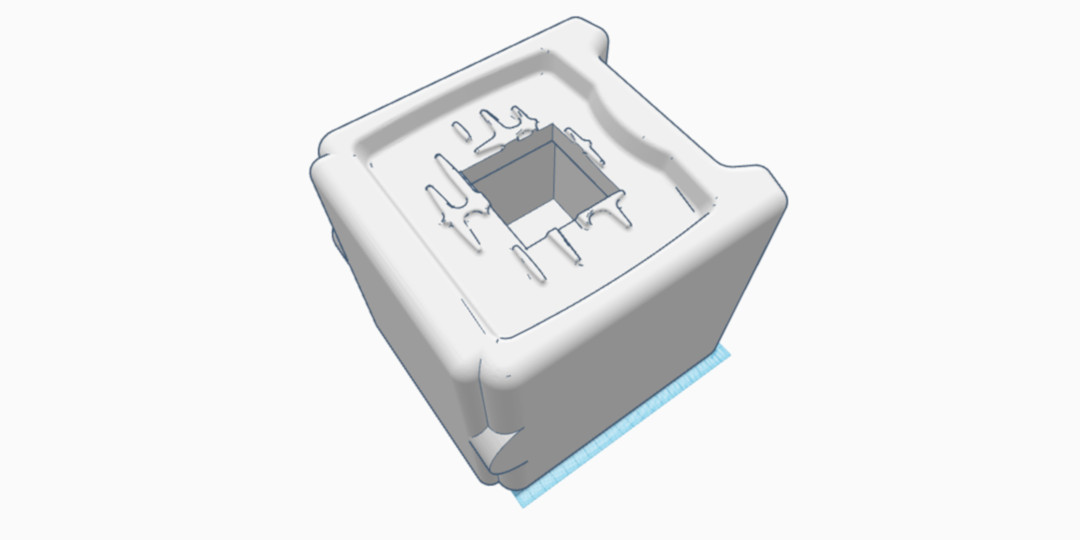
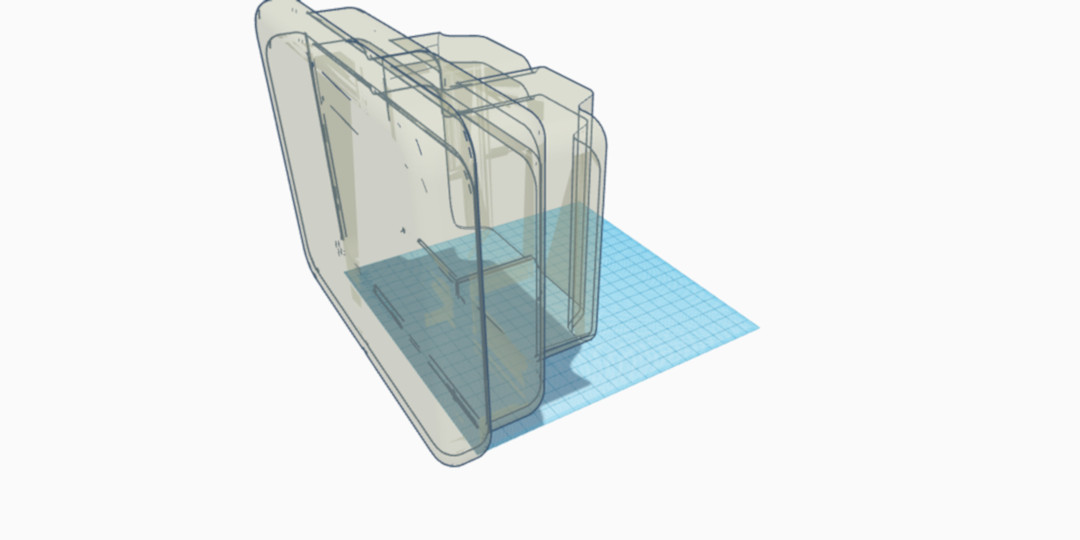
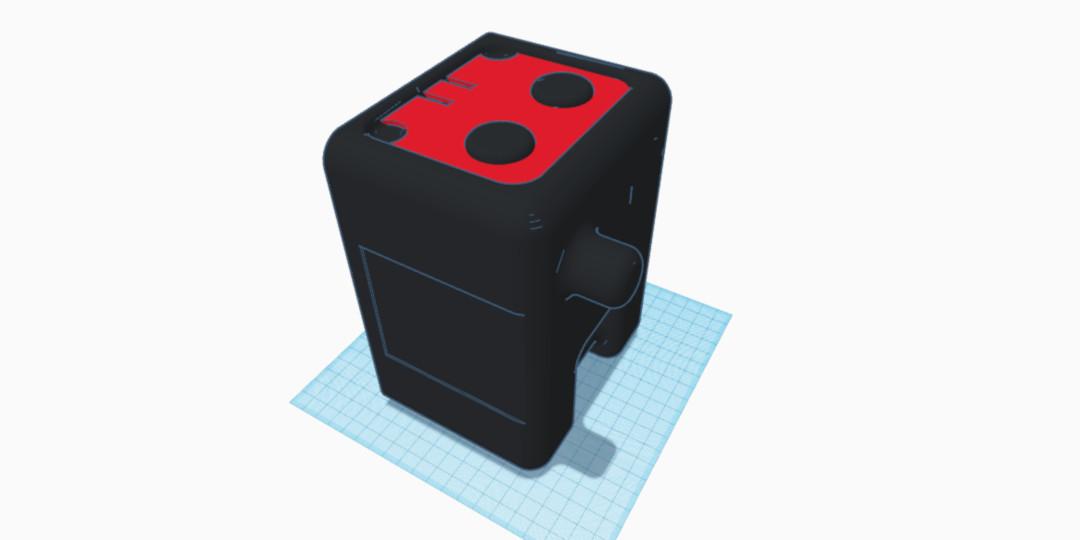
After a few weeks of working on the different parts, we took a break to explore how we would connect the robot together. Magnets and Velcro were on the table along with dowels. We had decided to stick to only 3D printed objects and we were stuck. The students were stuck. I was stuck. Then we found the dinosaur and skeleton in the printable kits section.
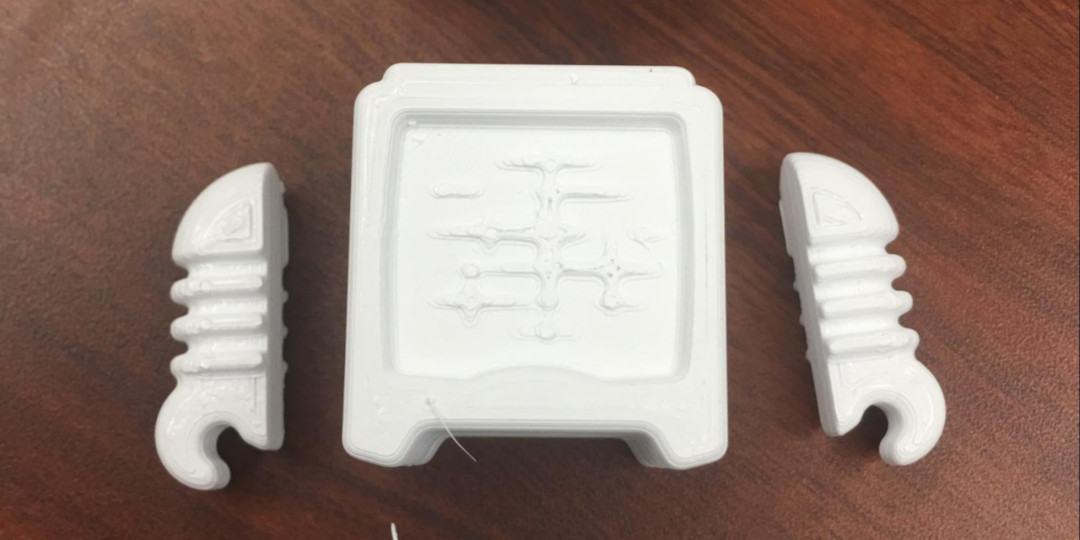
We really liked the dinosaur and printed it out to play, er, experience the joints. But that wasn’t enough. We took it to the next level by printing out sets of every joint in Tinkercad and color coding them for the students. We could talk about their different functions and experience them firsthand. After extensive testing, we went with the rotating ball and the support socket for the neck and arms.

Our next step was to scale the joint. We exported the ball and socket so that we could import them back in and unlock scaling. We made the ball base surface the size of the giant robot’s shoulder, figured out the multiple of the size, and applied that to the socket. Students were surprised that the first printed joint did not work. They went back to the original small socket to figure out what happened. They concluded that the little socket could flex and the larger socket could not. It was like a reverse ‘Sword in the Stone’ contest. Everyone had to try and push the two pieces together. I wish I had recorded the shenanigans. Finally, the students decided it was a design issue and not a question of our physical fortitude.
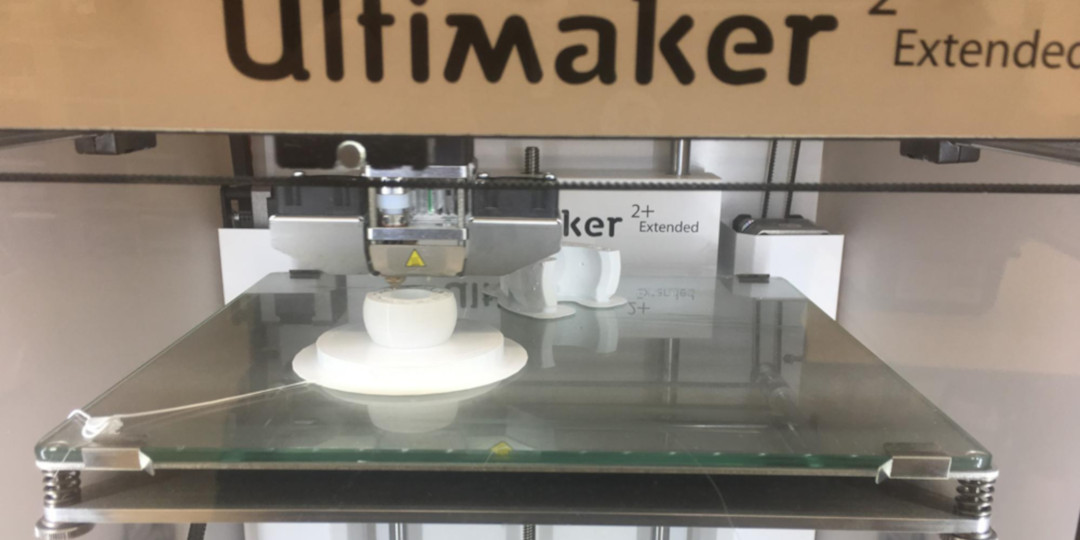

My only advice to the students was to change one variable at a time. We talked about the drawbacks of just scaling it up because, if we did, the joint would be very loose. We wouldn’t be able to pose our robot! We widened the joint horizontally by two millimeters, which allowed the ball to slip into the socket.
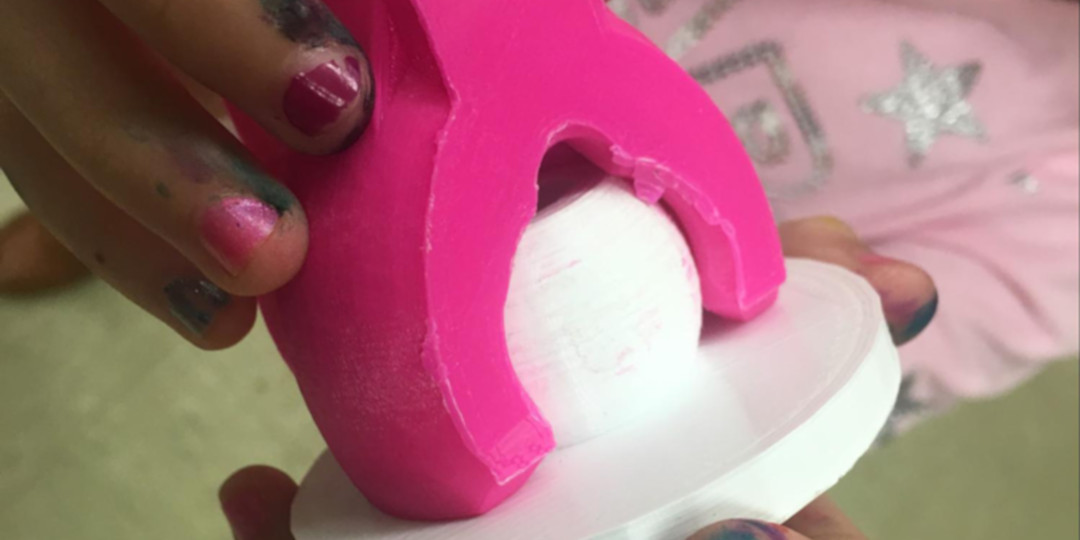
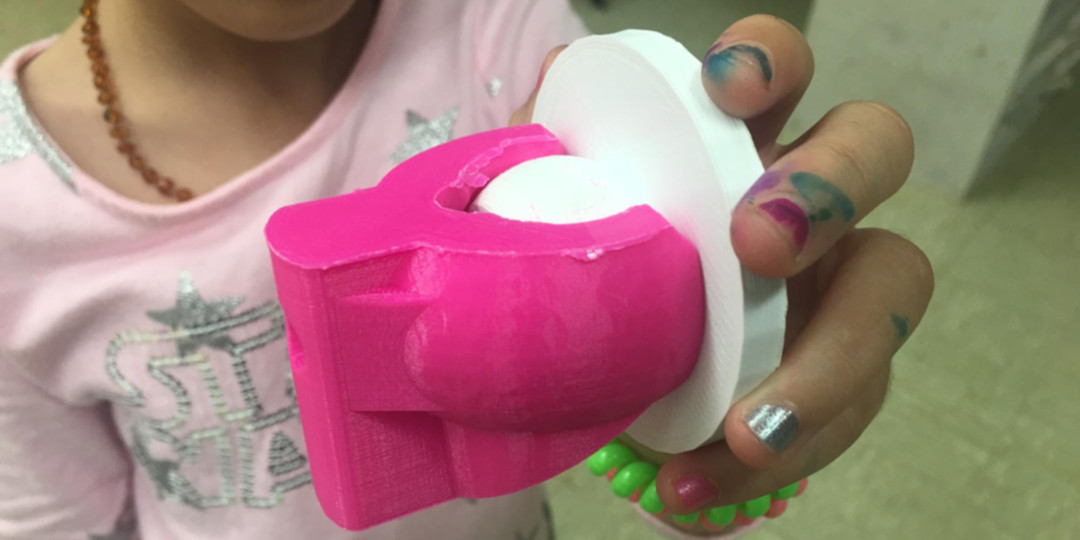
We are really making headway now and the students are looking for ways to set their robot apart and make them more interactive. Their first step is to include a Littlebits coding screen that can change to the different elements. Two girls split off to teach themselves how to program the coding kit and how to create the graphic for the different elements for each ninja.
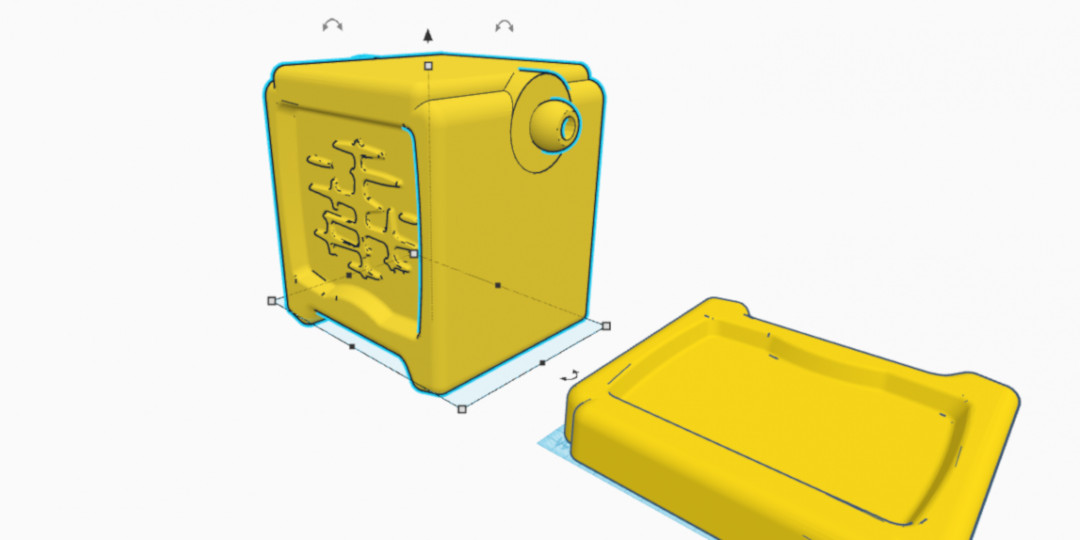
The school year ended and our robot was not done. This year, we’re picking up where we left off.


