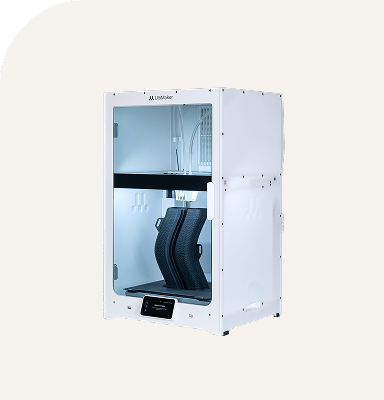
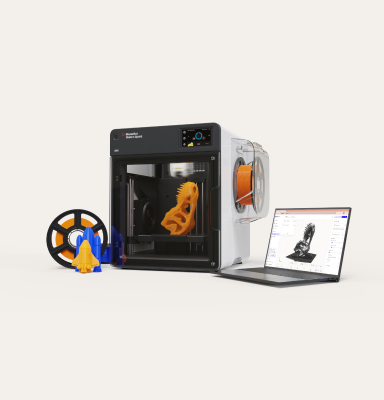
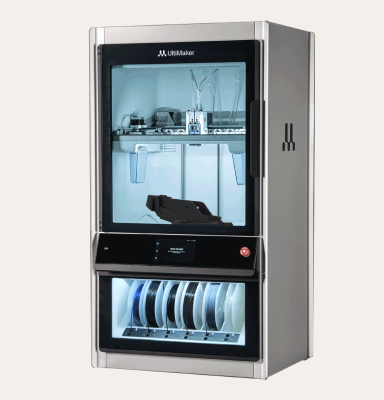
Unlimited application potential.
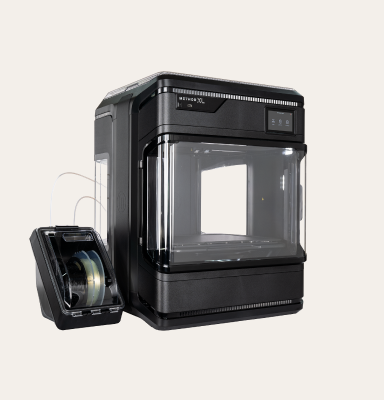
Specialized for engineering applications.
High-performance and certified materials
Over 300 materials to choose from.
From polymers to composites to metals.
Prepare, slice, and print from anywhere with the new cloud-based interface for UltiMaker Digital Factory.
Cura Cloud separates the slicing process into two distinct stages for clarity. In the Prepare Stage, you can load 3D models directly from your Digital Factory library or upload them from your local device. The interface provides essential model adjustment tools to move, scale, rotate, and multiply parts on the build plate.
Smart Arrangement: Use Quick Actions to automatically arrange multiple parts to utilize build plate space efficiently.
Printer Configuration: Select your specific printer type (including S Series, Sketch Series and Method Series), assign print cores, and and select materials from pre-configured libraries matched to your printer.
Intent-Based Profiles: Select pre-configured profiles optimized for your specific material and printer combination, or make basic adjustments to infill and support settings. Note: For deep granular control, we recommend the desktop version of Cura.
Catch errors before they cost you. As you configure your build, Cura Cloud continuously monitors your settings and geometry. If a conflict or risk is detected, the Print Validation Panel displays specific warnings and errors, allowing you to resolve blocking issues prior to slicing.
Once sliced, the interface automatically transitions to the Preview Stage. This provides a visual inspection tool where you can verify the integrity of your print.
Layer View: Use the vertical slider to scrub through the print layer-by-layer, visualizing the internal structure from bottom to top.
Color-Coded Analysis: A detailed legend explains toolpath elements, distinguishing between shell, infill, and support structures.
Print Details: Instantly view estimated print times and precise material weight requirements.
Cura Cloud creates a direct bridge between your prepared file and your hardware. Once satisfied with the preview, you can add the job directly to a networked printer’s queue via the Action Panel. Alternatively, you can save the print-ready file back to your library or download it for local transfer.
Send to queue: Route your print job directly to a connected printer’s queue for a seamless, wireless start to production.
Download file: Save a production-ready file to your local drive for manual transfer to non-networked printers via USB.
This website uses cookies and similar technologies for website operation, analytics, improving your experience, and, where applicable, advertising or marketing purposes. By clicking “Accept all,” you consent to our use of non-essential cookies as described in our Privacy Policy. If you do not consent to non-essential cookies, please click “Reject.” You can manage your cookie preferences at any time by clicking “Manage.” You may withdraw your consent at any time. Learn more.
To monitor the performance of our site and to enhance your browsing experience.
To understand user behavior in order to provide you with a more relevant browsing experience or personalize the content on our site.
To personalized and measure the effectiveness of advertising on our site and other websites.