


Material interlocking enables truly unrestricted multi-material printing
Material interlocking is a new feature in this release with the power to unlock a huge number of exciting applications. To find out how, let's take a look at a printed part:
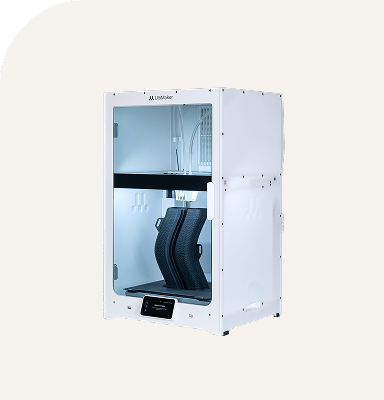
Unlimited application potential.
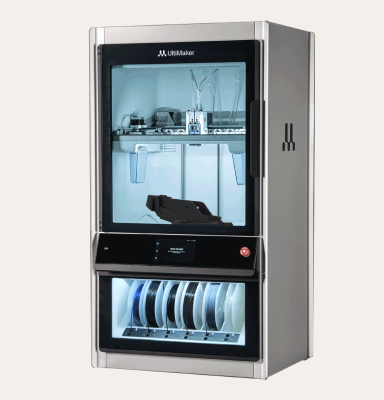
Specialized for engineering applications.
High-performance and certified materials
Over 300 materials to choose from.
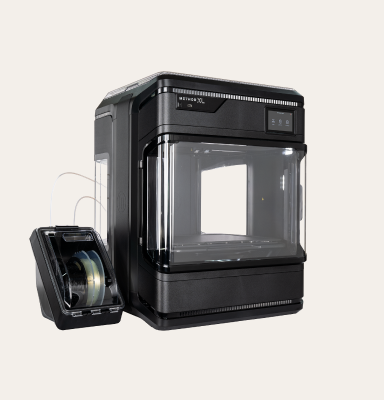
From polymers to composites to metals.
Anyone who has downloaded or heard about the recent Cura 5.3 beta release should be extremely excited! In this stable release, Cura 5.3 achieves yet another huge leap forward in 3D printing thanks to material interlocking! As well as introducing an expanded recommended print settings menu and lots of print quality improvements. Not to mention, a whole bunch of new printer profiles for non-UltiMaker printers!
Material interlocking is a new feature in this release with the power to unlock a huge number of exciting applications. To find out how, let's take a look at a printed part:
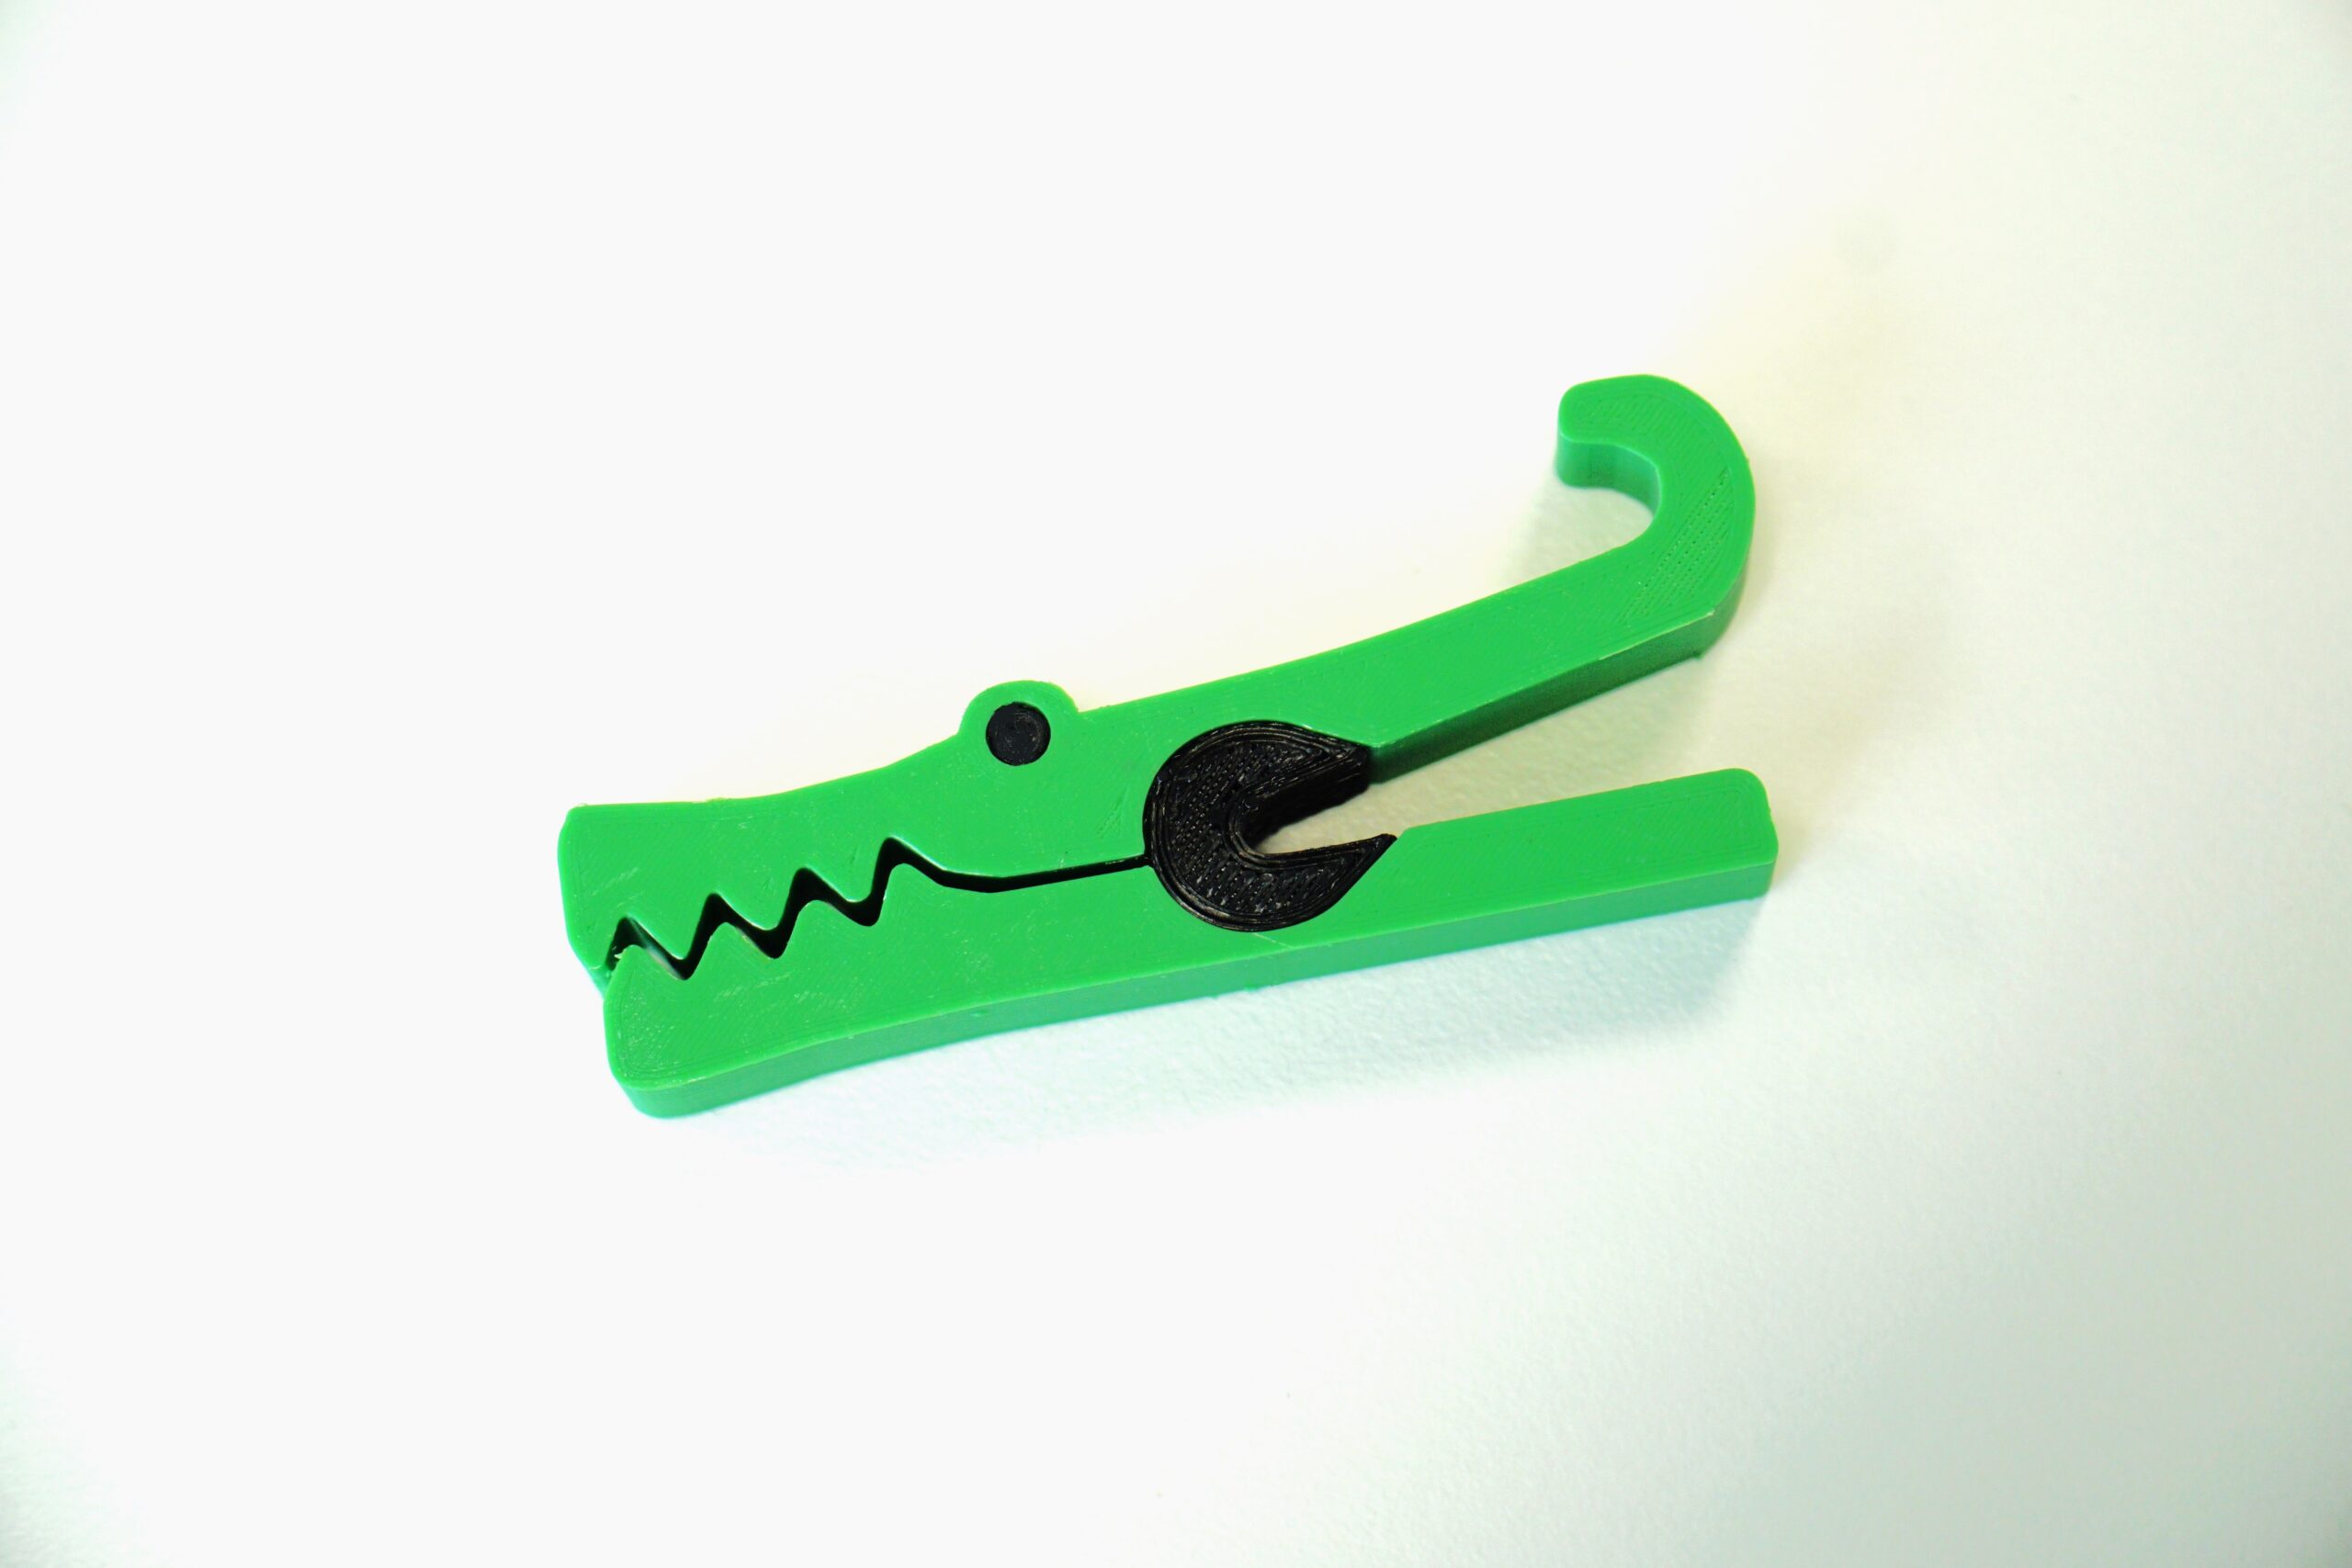
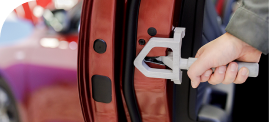
This adorable clip was designed by our very own Mariska Maas to show off the potential of material interlocking and can be found on Thingiverse. At first glance, it may not seem all that exciting, but theres a lot more going on than meets the eye.
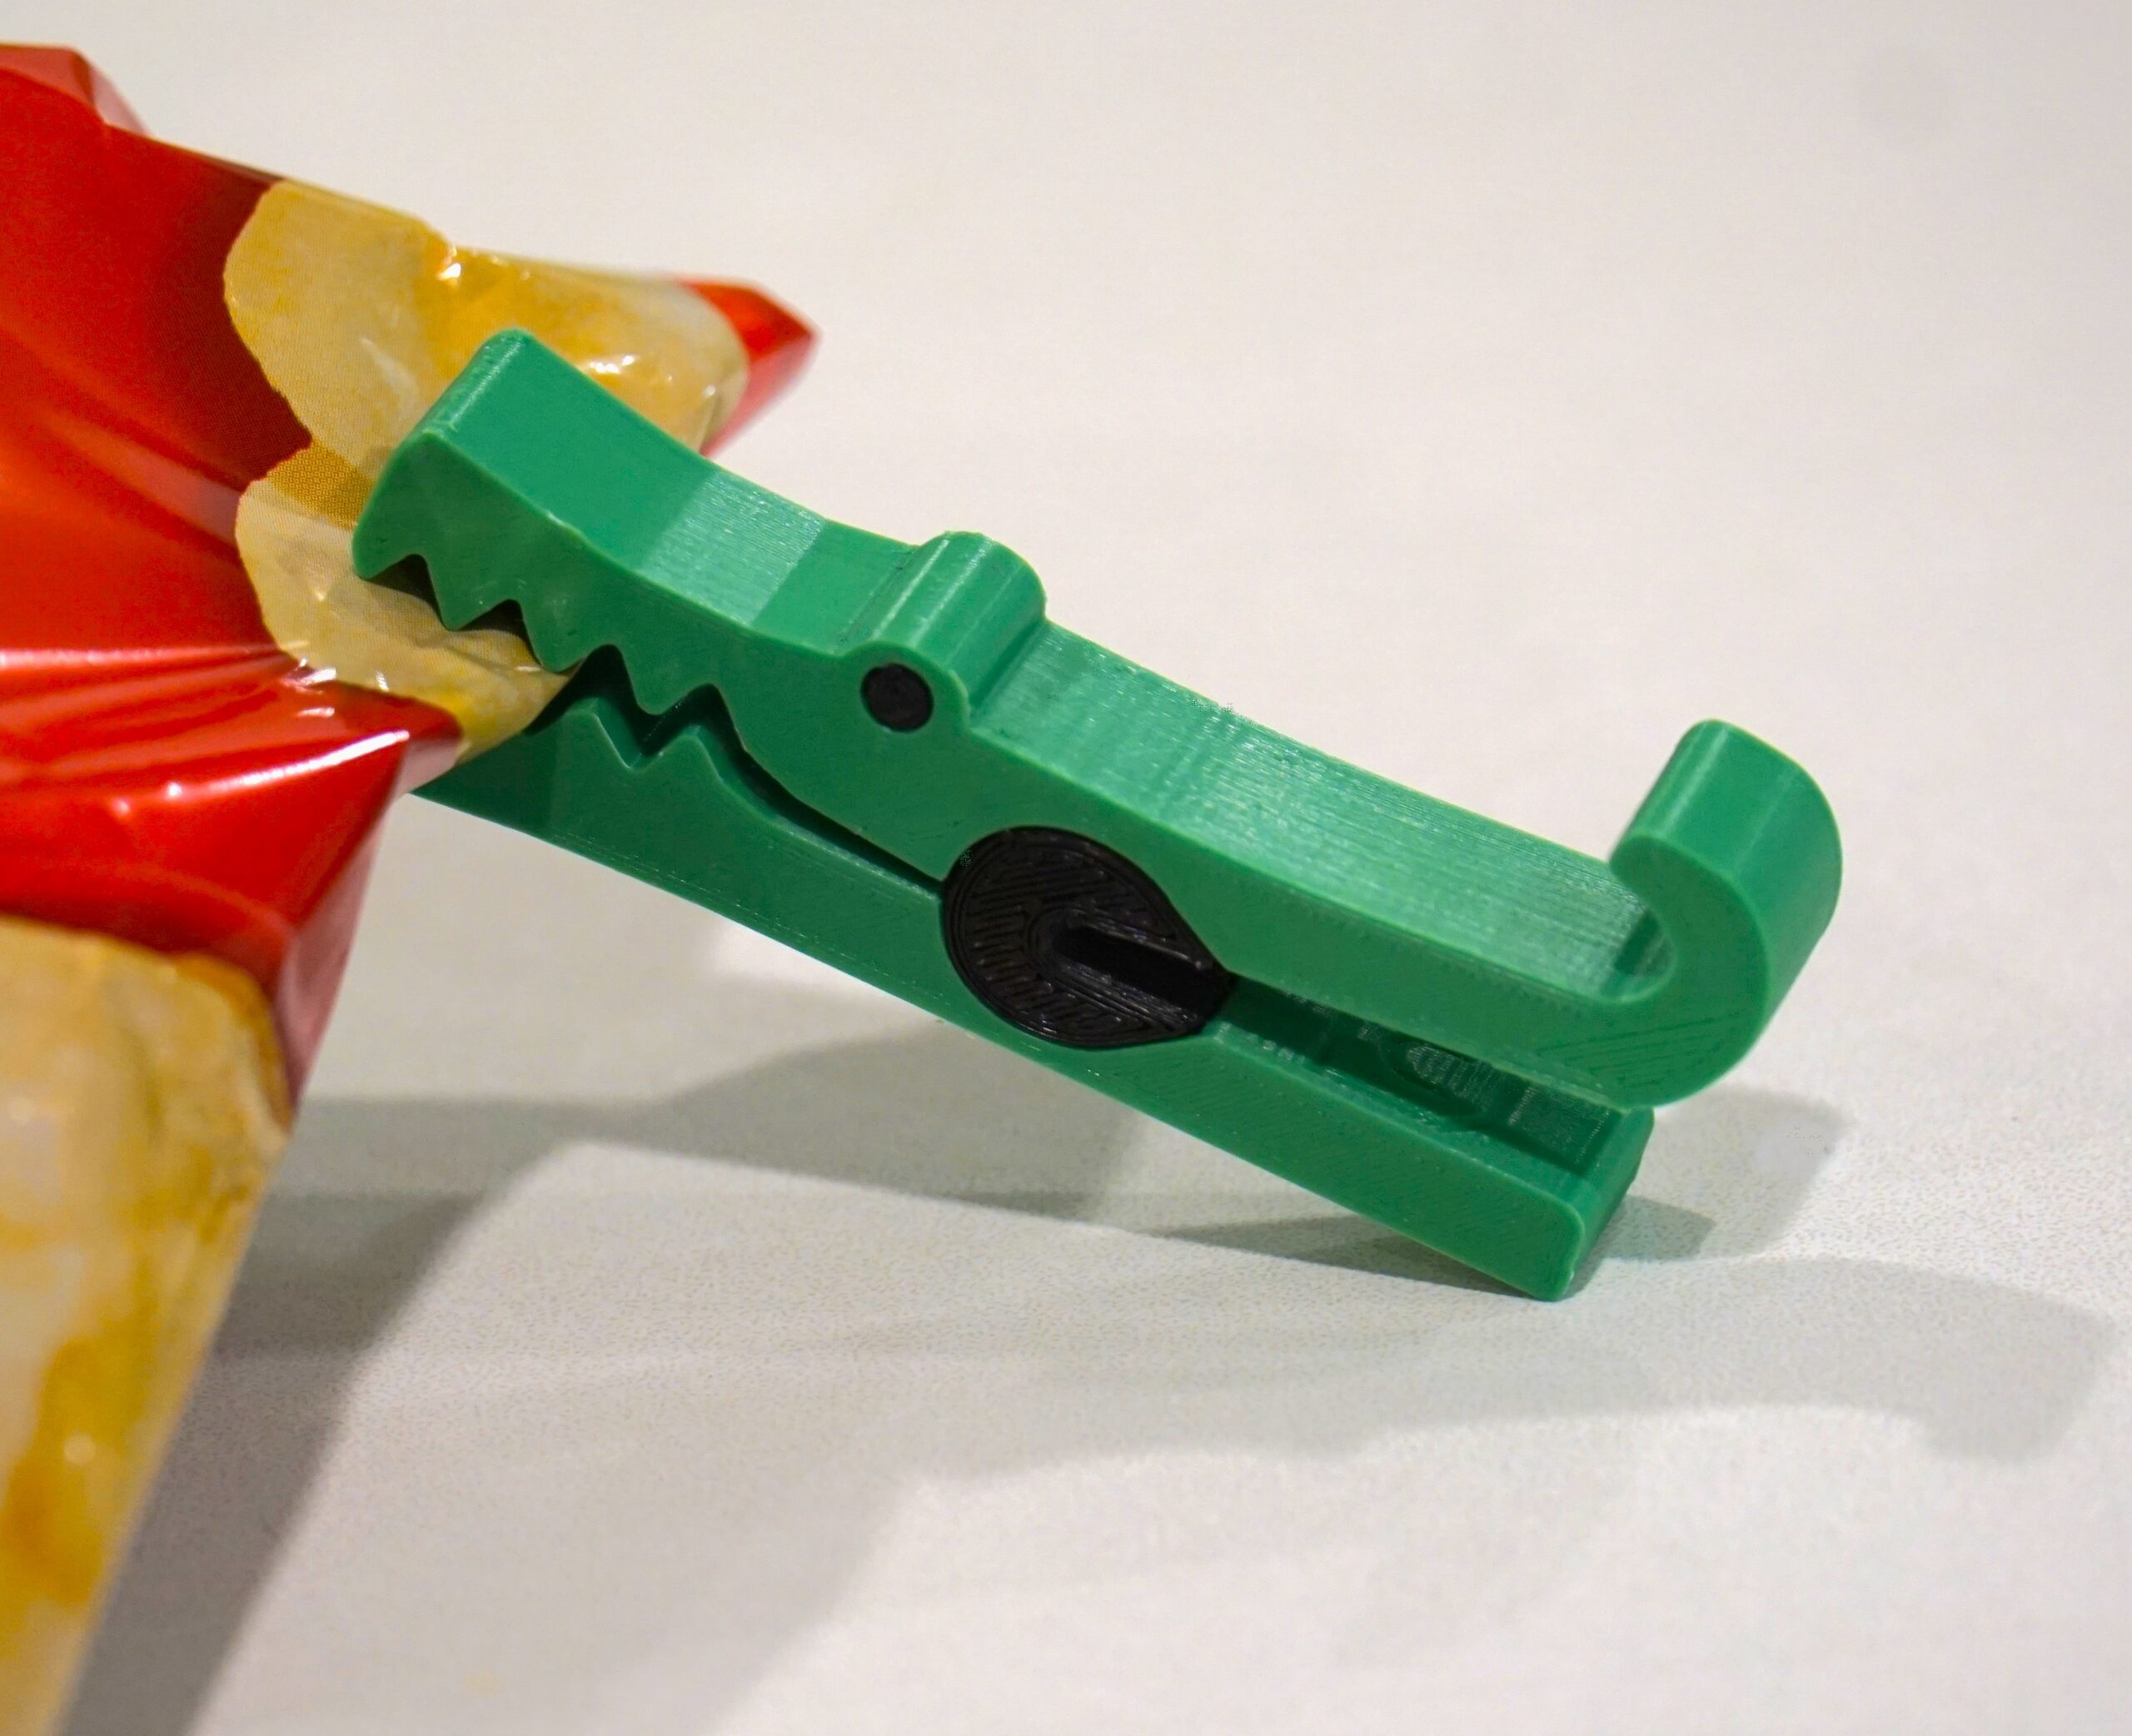
Firstly, it’s functional. This print can be used as a working clip. When squeezed at the bottom, the teeth will open and when released they will spring shut. The reason is that the print was made using two different materials. Specifically, CPE and TPU95A. CPE is a rigid material and it was used for the green prongs of the clip. TPU is flexible and it was used to print the black hinge (and the less functional but still cute eyes).
The second exciting thing about this clip is that it was printed all together as a single part without any assembly required. It’s around now that anyone experienced with multi-material printing might be getting excited. That’s because CPE and TPU are incompatible materials. Meaning that if you tried printing a part like the one above using a dual-extrusion printer, the parts would not bond together properly and would fall apart either immediately, or after light use.
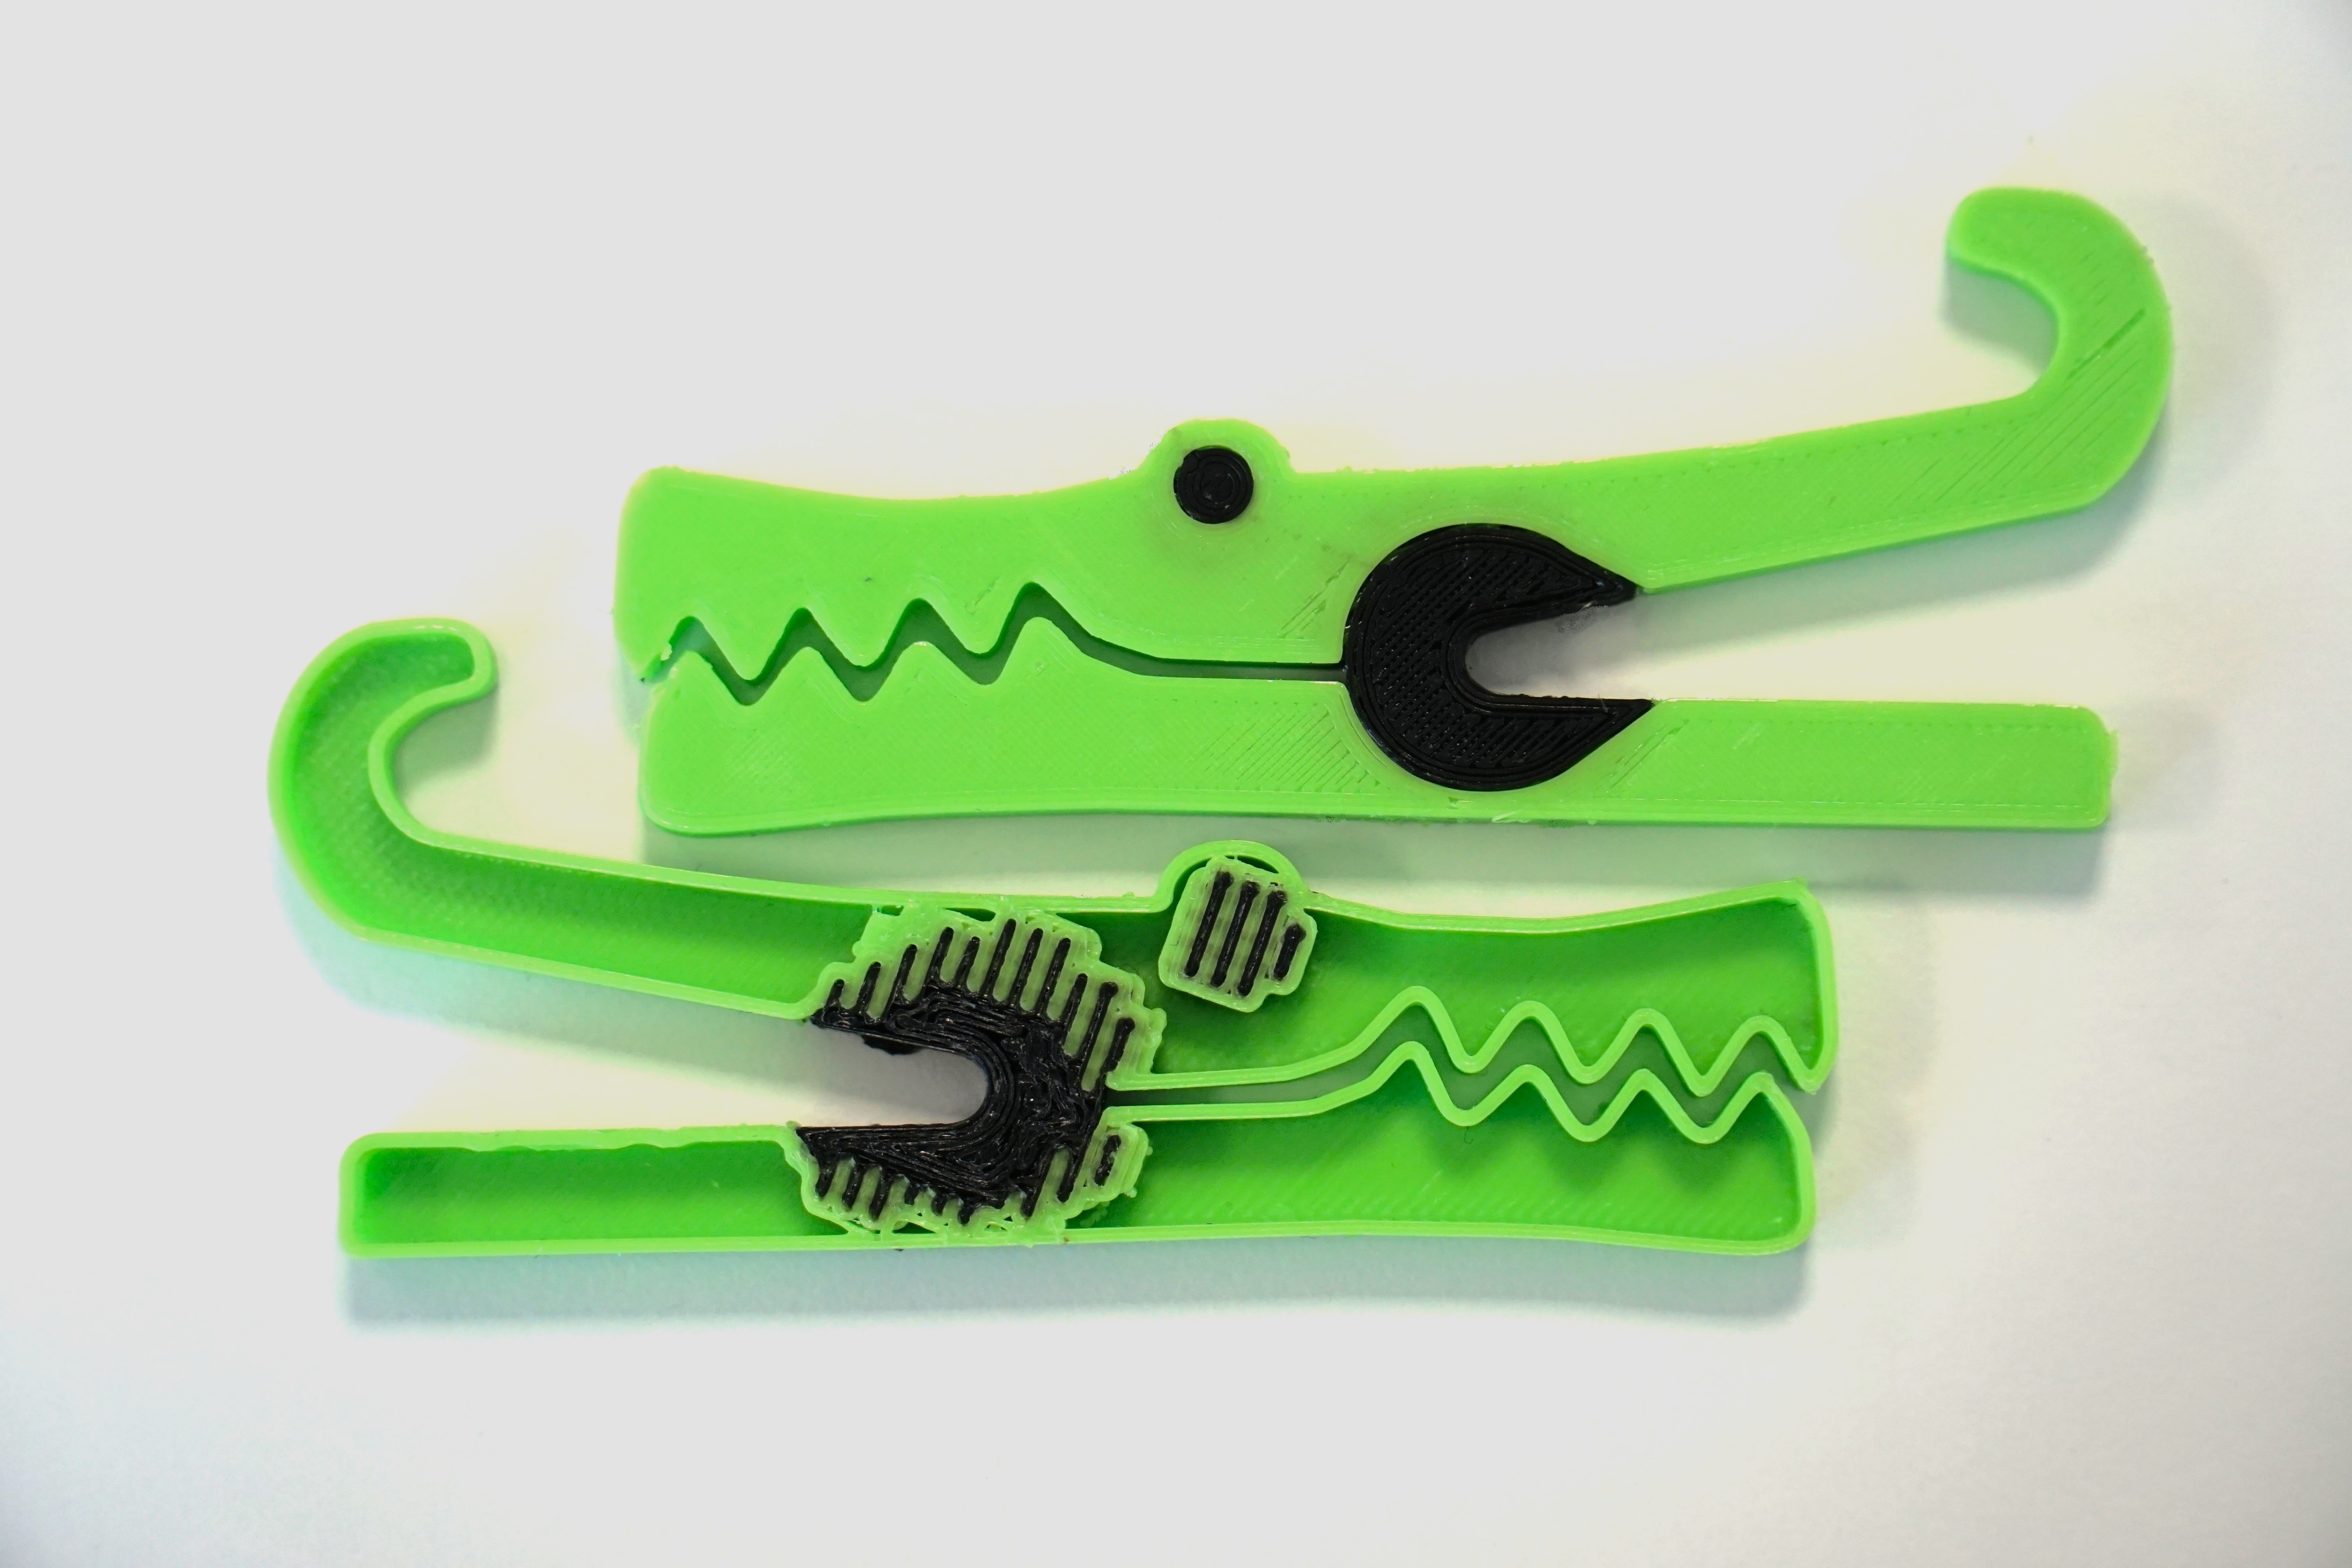
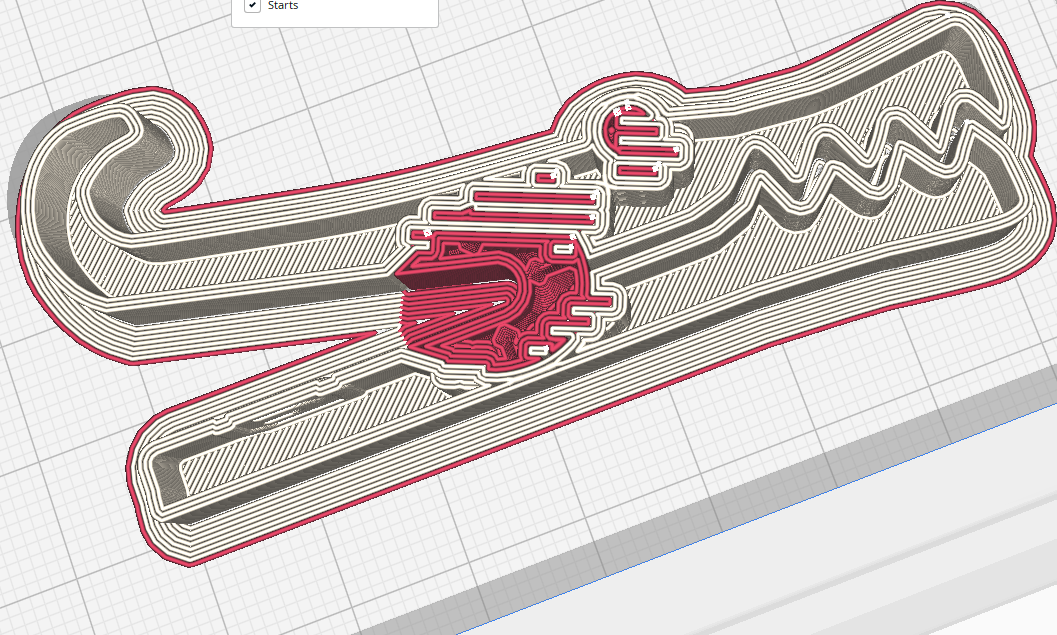
This clip, however, can be used as much as you want without breaking (trust me, I have one on my desk as I write this and I’ve been playing with it for days without any issues). This is possible because of the new material interlocking feature. To see exactly what's going on here, let's take a look inside the print:
That interesting pattern around the hinge and eye was not designed into this part. Instead, it was automatically generated by enabling the new ‘Generate Interlocking Structure’ setting added to this version of Cura. Note: this setting is only available when using advanced and expert setting presets. Or if enabled via the preferences menu.
This alternating overlapping pattern physically ‘locks’ the two materials together so that the strength of the bond between them is no longer dependent on how compatible they are, but is instead only limited by the strength of the weakest of the two materials.
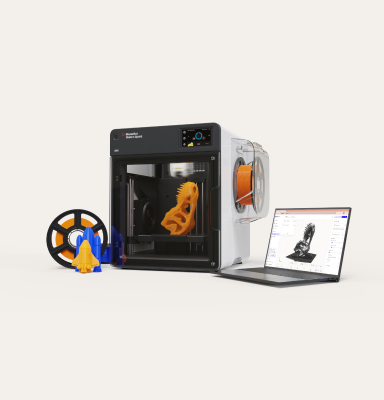
The implications of this are huge. Up until now, when printing multi-material prints on, for example, an UltiMaker printer capable of dual extrusion like the new UltiMaker S7 (although any multi-material printer will do), you would have had to consult a material compatibility chart like this one to tell if the materials you plan to use would work together. Many materials need to be printed at different temperatures and others are chemically incompatible. Using material interlocking, any material is fair game.
You also don’t have to worry about using workarounds such as designing parts that use joints, clips, or fancy print-in-place tricks. You no longer need to print a part in multiple pieces and assemble them using adhesives or fasteners. Instead, just load any part designed for multiple material printing into Cura and slice it with the new ‘Generate Interlocking Structure’ setting enabled.
To check that the setting has been properly applied, you can go to the preview tab in Cura, and use the scroll bar on the right side of the screen to scrub to a part of the print where the two materials meet. The interlocking pattern will show in the sliced part like so:
We look forward to seeing what our users do with this incredible new feature and we hope everyone enjoys testing it out! We also want to give a special shout-out to our former colleague Tim Kuiper. Tim was not only responsible for this innovative feature but also the variable line width engine which was the flagship feature of last year's Cura 5.0 release! Anyone who wants to know more about how this new feature works can read Tim’s PhD paper on the subject.
This release is jam-packed with tweaks and touch-ups that will help make your prints look better.
The first change is that concentric ordering has been improved for initial layers. Now, when selecting the ‘Concentric ‘ option under the ‘Bottom Pattern Initial Layer’ setting, your first layer will print sequentially from the outside in, rather than printing out of order. As you can see from the following GIF, the new behavior is smoother and makes much more sense:
Next, the Z seam should now be aligned more consistently when using the ‘Sharpest Corner’ Z seam alignment setting and then selecting ‘None’ under the ‘Seam Corner Preference’ dropdown.
Printing speeds and minimum layer time behavior have also been tuned to improve the quality of small layers. The result is that small spikes, cones, and pointy details will now print better.
Supports have also been improved. When printing with ‘Normal’ supports, fewer useless support structures will be generated and supports will be more reliable overall. Particularly when printing parts with small complex details. There is also less chance of unneeded supports being generated on top of your model.
Finally, printing with brims has also been improved. Brims will now print faster and should be easier to remove. Brims can also now be printed with two materials in a single model resulting in better adhesion and cleaner print post-processing.
Note: this release does not include our improved Xmas tree supports but you can still download the alpha we release at the end of last year to try them out and to help us test them!
New printer setup has been streamlined. When configuring a new printer in Cura, you are now asked if you want to add an UltiMaker printer or a non-UltiMaker printer:
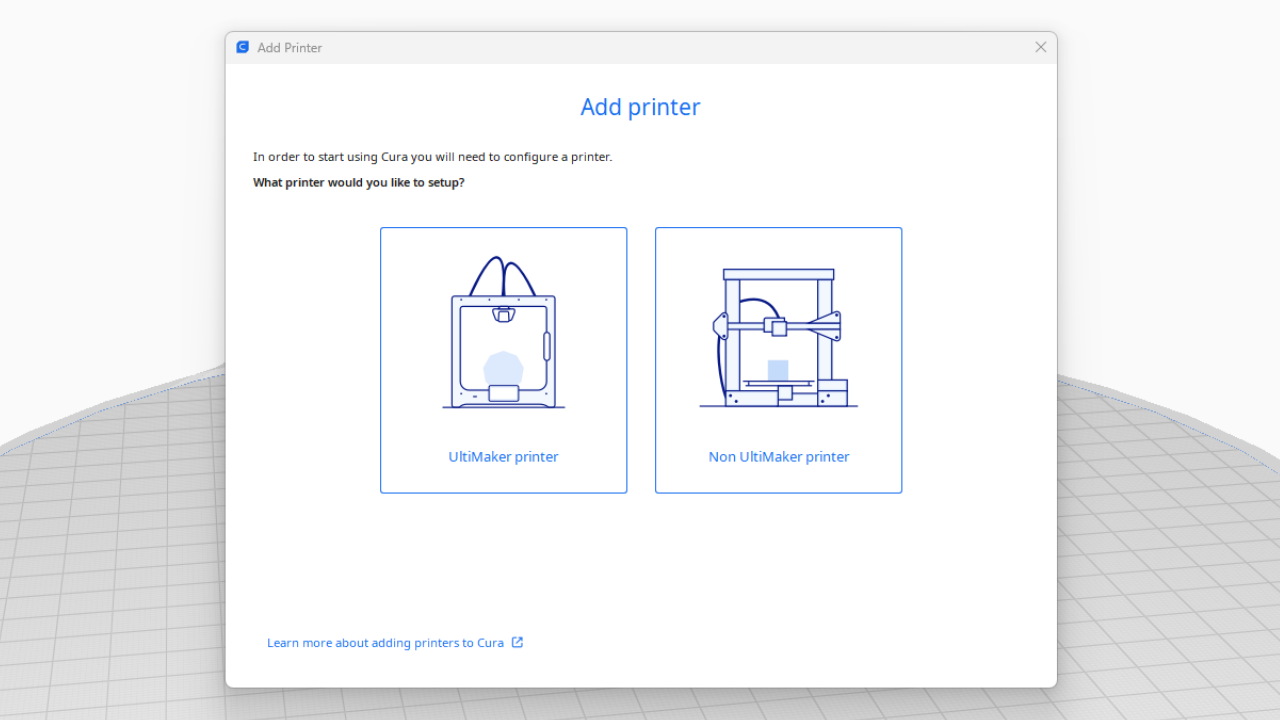
When selecting an UltiMaker printer, you are then guided through the process of connecting the printer to the UltiMaker Digital Factory for remote monitoring.
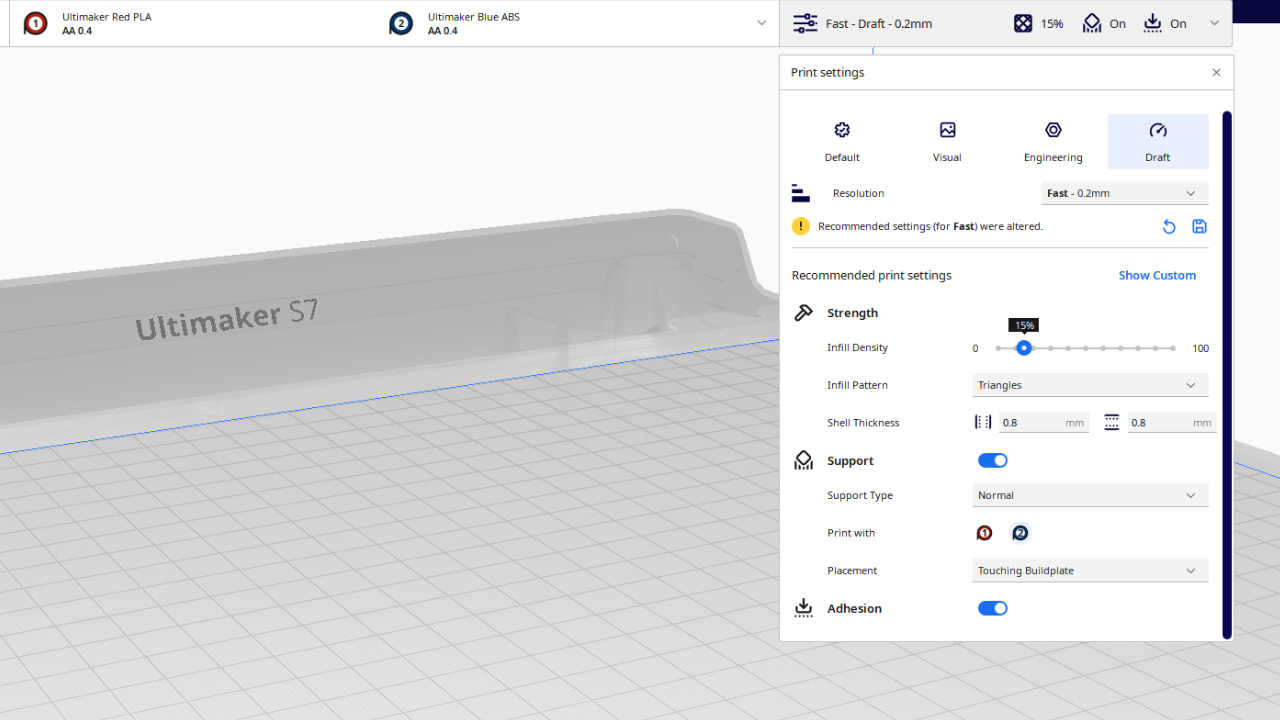
The recommended print settings menu has been extended to include additional settings such as the option to choose an infill pattern, support placement, and more. It is also now possible to save changes to the recommended settings for future prints.
The following improvements have also been implemented in UltiMaker Cura 5.3:
Added over 75 new 3rd party printer profiles
UltiMaker branding updated throughout Cura
Numerous bug fixes
Download this latest release to start discovering new 3D printing possibilities right now. Material interlocking is a cutting-edge new feature and we would love to find out how you’re using it. Go to the UltiMaker community site to give us your feedback.