Pioneer Dr. Toni Szymanski thought that 3D printing could be used in conjunction with Prototype Problem Solving Activities to engage students in math classes. To test this out, she had to learn all about 3D printing first.
As someone who has been married to an automotive designer for 21 years and has a son who is into everything tech, 3D printing has been a buzzword in my house for some time. I was aware of the unique capabilities of 3D printing, how it allowed people to create things in real-time, and how it sped up the engineering process. As a college professor and researcher in education, I am always on the lookout for ways to improve the educational experience for students, especially in mathematics. Previously, I did a study using role-playing gaming and algebra with struggling students and saw increased engagement and improved academic achievement. It got me thinking: how could I use 3D printing to get kids excited about math?
I was lucky enough to attend the Construct 3D conference last year at Duke University. The next one is planned for October 2018 at Georgia Tech and I already have it on my calendar. It is by far one of the best conferences that I have ever attended. The energy alone got me excited to think about my research project and the difference it might make. Duke has a FabLab – a huge makerspace with an entire wall filled with Ultimaker printers. I had been doing research trying to figure out the printers to buy for my project and seeing that wall sealed the deal for me.
Western Kentucky University, where I work, awarded me a small grant to start the study. With the funds, I bought two Ultimaker 2+ extended printers. These printers would be loaned to two middle schools for the year, to use in math classes, while I studied the engagement of the students. I purchased filament and some extra accessories, like additional build plates and front covers to keep curious hands out of the printers. Everything was ready to go. Only one big problem remained. I had no idea how to do 3D modeling.
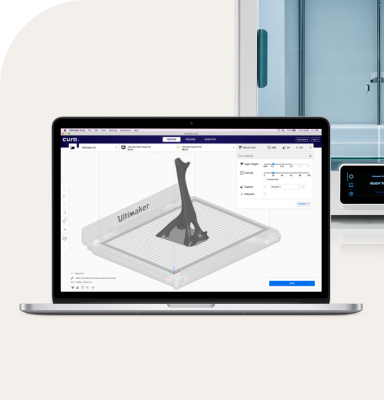
I figured it couldn’t be that hard. My son learned 3D modeling in 8th grade, my husband designed complicated engines every day. Surely I would just watch a couple of videos and be off and running. A rude awakening soon happened. I discovered a whole world of new words that I had to learn spline, face, bodies, chamfers, and fillets. In true academic fashion I started a notebook and kept a vocabulary sheet where I wrote down definitions and shortcuts as I learned them. Autodesk Fusion 360™ does come with online tutorials, and I read and tried to follow along as I worked on each project. I cried a lot. How could I, someone who championed math and taught calculus and college algebra, someone who was pretty good at computer programming not get this? More importantly – how was I going to teach the teachers who had agreed to be a part of this study, who were coming for training in a month? Then, I watched videos on Lars Christianson’s Youtube channel. It was a miracle. I am not sure why, but watching and clicking along with him worked. I had him on one screen and the projects on another. I suddenly got it. I had the “aha” moment and everything fell into place. Just like those weird drawings where you squint forever to see the magic shape and then once you do that’s all you see. I had the “aha” moment, everything became so easy. I was a modeling machine. Now my mission was to create lessons to help teachers get to this place in a much shorter time.
The hard part for me was speeding up this process so the teachers wouldn’t get frustrated and quit. I only had them for three days and had a lot to teach them about 3D printing and the Prototype Problem Solving Teaching methods. If the teachers were frustrated or confused, they weren’t going to want to spend time in the classroom trying this out with their kids. Instructional time is too precious. I had to figure out how to distill this down fast. Luckily, the internet and Youtube came to the rescue again. I found Future Engineers’ 3D Modeling Concepts video.
This video was great because it allowed the teachers to see the vocabulary in action. I also printed out my vocabulary cheat sheet and a shortcuts sheet. I began to compile and create the teacher lessons that I would use. One aspect that kept getting me hung up was remembering where I was in 3D space with the X, Y, and Z planes. I figured if I struggled, the teachers and students might struggle as well. So I made little construction paper models using red, green, and blue squares connected together to mimic the Fusion 360™ sketching planes. This turned out to be so helpful for all of us to remember where we were while drawing and orbiting around.
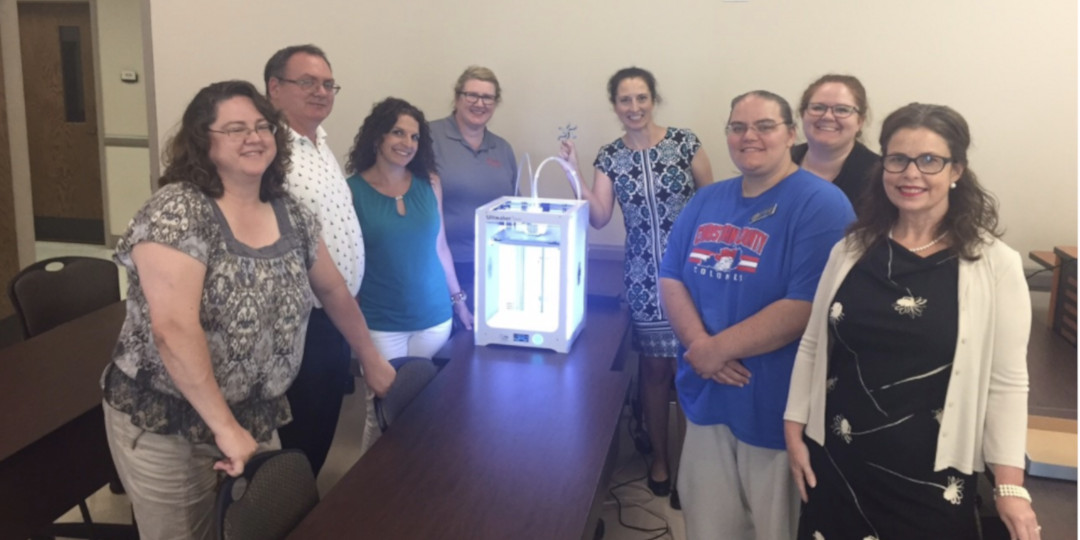
I was also really lucky in the teachers that agreed to be part of this project. They all teach middle school math in rural schools and all agreed to give up three days of their summer to come to campus and learn all I could teach them about 3D printing and the Prototype Problem-Solving Activity Method. I had one male and four female teachers, each making at least an hour drive to come to campus. Their dedication and enthusiasm gave me hope for the project. I was also really lucky in having two colleagues, Dr. Andrea Paganelli who researches makerspaces and library science and Dr. Janet Tassell who researches and teaches mathematics education. These two fantastic people helped me demo the lessons, find holes in the instruction, and organize all the training. Dr. Paganelli also interviewed the teachers throughout the training as a part of our project.
The first day of training ended with mixed results. As expected we had some technical issues. Thank goodness for my daughter coming in to help get everyone set up. Just like in a classroom, some people understood and were able to execute the steps easily, while others struggled. I tried to guide them, but not spoon feed them, because I knew they weren’t going to be able to individually direct 30 students in their classrooms. They needed to figure it out themselves. To help them keep their students in mind during the training, I asked them to keep a journal to write in throughout the day, and to put themselves in the role of the student.
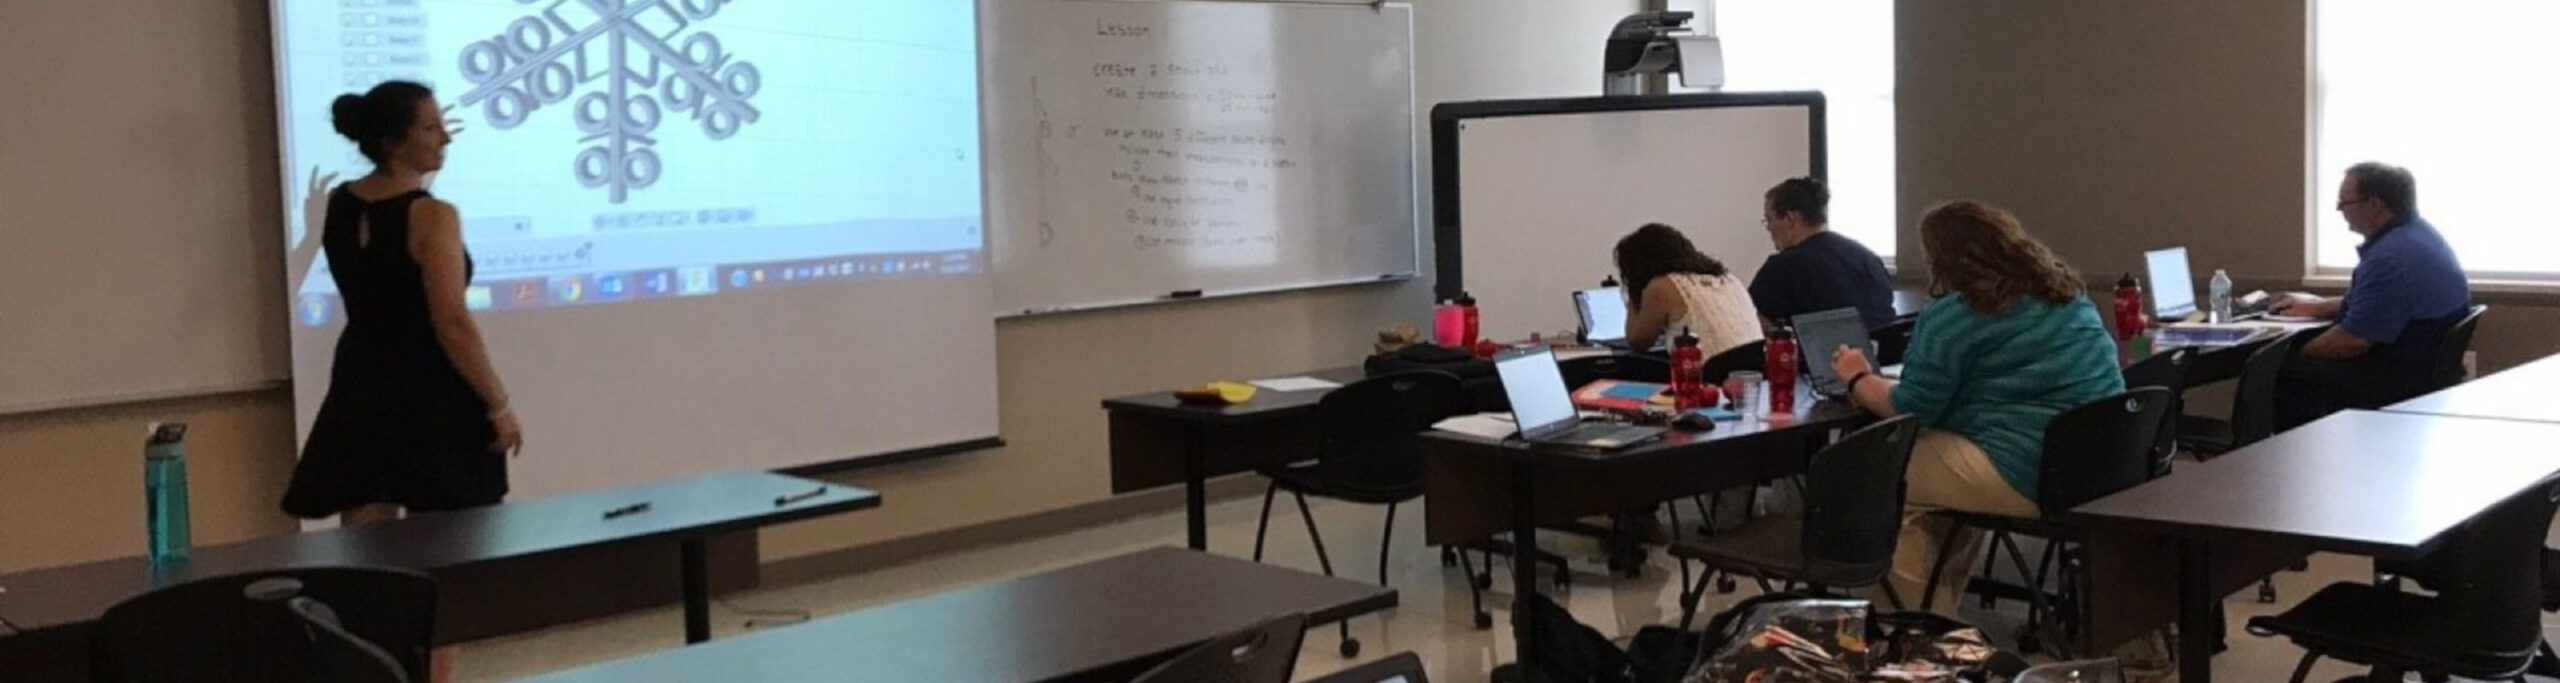
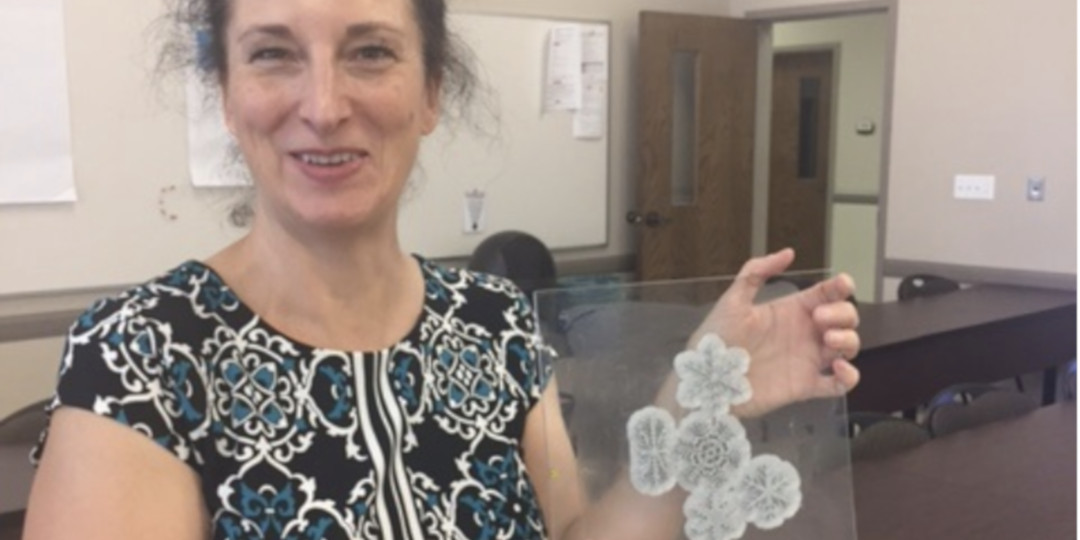
We started with a simple snowflake. I showed them some of the basics, drawing rectangles, extruding, patterning, and the tangent tool. Then I let them go with the instruction to create a snowflake with at least two acute angles on each side. It was incredible to watch the learning taking place. Some people worked together, some individually. Some asked a lot of questions and wanted to make sure they were doing it “right”, others took the instruction and immediately modified things to make it their own – circles or swords in snowflakes anyone? As day one wrapped up, we had a short focus group to talk about the day, to share things that worked, to think about barriers and things that would need to be overcome in the classroom for this to be successful, and then to think about ways they could use this to get kids excited about math. The last area was the most fun for me to hear. These teachers were full of ideas on how to use 3D printing. They could show kids in real-time about symmetry, ratios, and angles. Words like tangent, perpendicular, and parallel could take on more meaning as kids were able to see what they looked like in a drawing. The teachers left exhausted, I put their brains through boot-camp, but really excited for day two.
Toni with the teachers’ snowflakes
Day Two was the first time we wheeled the 3D printer in and showed them how it worked. Everyone was mesmerized. One teacher even face-timed her husband because she was so excited to share the moment with him. They were watching their projects coming to life. We all huddled around for about five minutes just watching the printer laying the initial brim and starting to print the snowflakes. It was hard to pull them away, and we talked about the fact that while it would be neat to allow kids to see how the printers worked, that it might also be too much of a distraction to have the printers running during class. When the snowflakes were finished and we passed them around. Everyone was grinning from ear to ear. They were just like kids comparing their work and explaining what they did. Everyone wanted to make more, which was just where I wanted them. I knew that despite the initial frustration, just like me, they were hooked. Now to figure out how to translate that to the kids and get a bigger project underway.
Day Three was focused on Prototype Problem Solving Activities (PPSA). This is a teaching tool that I have created to help teachers and students create models to demonstrate their understanding. Physical representations allow people to use their knowledge and experience in many areas. PPSA build on this idea by asking teachers to support students as they identify the problem and create physical products. Students collaborate and typically work in groups of three or four, and they must document their thinking process as they create various prototypes to test their solutions. Teachers are seen as guides, or coaches, who ask key questions rather than providing answers for students. Teachers do not give a lecture or explanation prior to the students interacting with the materials, but rather structure the experience by asking questions that require the students to create their own understanding and test it out through the models that they build. PPSA require thoughtful work upfront. Teachers must decide what they want kids to learn and what are the best questions to ask to get them to learn the concepts. PPSA training is critical to make the most out of 3D printing, because it provides the necessary “hows” and “whys” of using the technology, which increases the likelihood that it will be used effectively. The example we used was to have teachers research and design functioning water-wheels. The water-wheels would be tested by connecting them to motors and measuring the generated output. As the teachers worked on their models, we asked them to complete journals and to focus on the key questions they could ask to guide students’ understanding. Drs. Paganelli, Tassell and I modeled various roles that the teachers could play, and we had a focus group session where we completed lesson plans for this activity.
The teachers were eager to start working with the printers and their students. We delivered the printers to the schools in late August. By September students were already creating amazing designs. The excitement was building as teachers became more familiar with the printers and the students discovered more things they could do with the technology.